Here’s a valuable tip for beginners to web development. Not only you need to learn programming, which may be a challenging task itself, you also need to install many pieces of software on your computer just to get it started, such as Apache, PHP, MySQL/MariaDB… wouldn’t it be easier if there was a package with all these pieces already installed and configured, ready to use?
Well, there is. That’s exactly what XAMPP is: a completely free and open source Apache distribution containing MariaDB, PHP and Perl, designed to be extremely easy to install and use.
You can imagine that the name XAMPP comes from the initials of Apache, MariaDB, PHP and Perl. The X letter probably comes from the fact that it is available for the most common operating systems: Windows, Linux and macOS.
Today you are going to see how to install XAMPP on Linux, as well as tips that can help you use it on a daily basis. As a reference, I’m going to use the Linux Kamarada 15.5 distribution, based on openSUSE Leap 15.5, but the instructions may be similar for other Linux distributions.
Don’t use XAMPP in production
Before starting, here is an important warning: XAMPP is not meant for production use, that is, to be installed on the server that will be exposed to the Internet and will be accessed by the final users (and, possibly, by people with bad intentions).
XAMPP is a development environment and should be installed only on the developer’s computer. XAMPP components have been configured so that the developer can easily do whatever he or she want with them, but some of these configurations are a concern for security. For example, the database administrator (root) user has no password.
If you want more information about that, take a look at the XAMPP for Linux documentation.
Downloading XAMPP
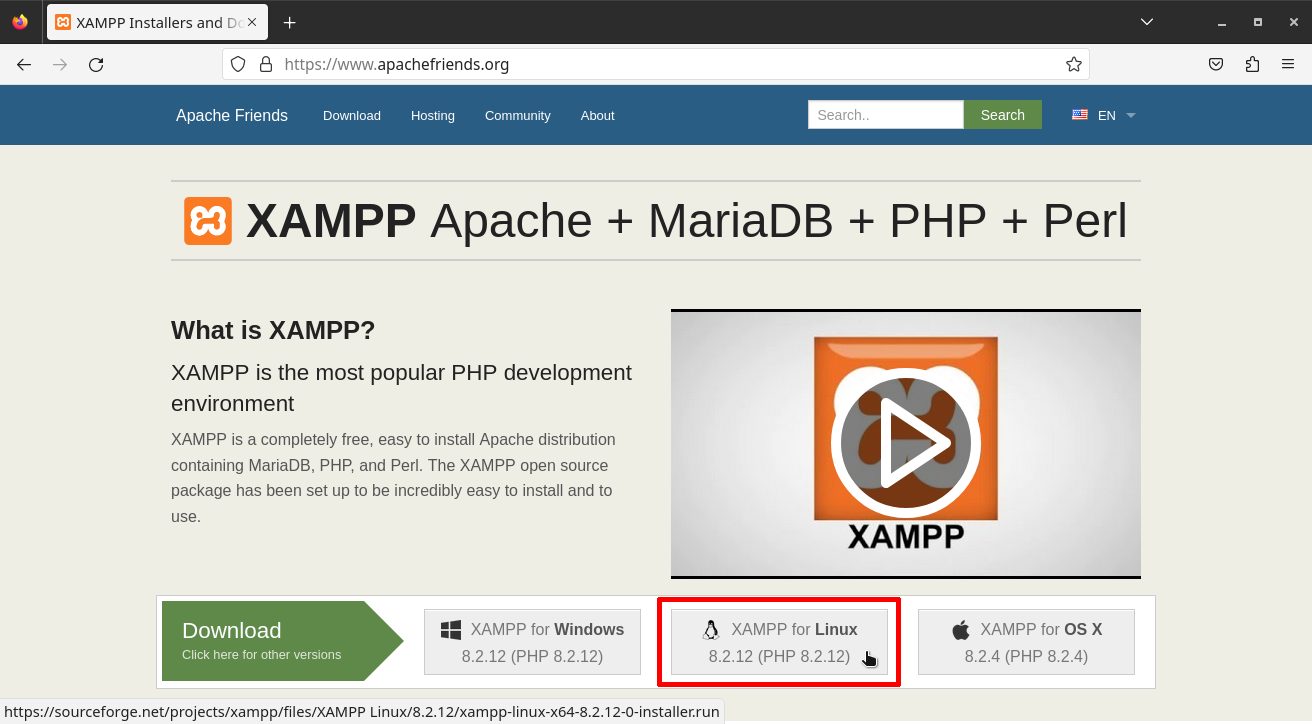
To download the XAMPP installer for Linux, visit the official XAMPP website at:
And click the XAMPP for Linux link:
The XAMPP installer will start downloading automatically.
At the time of writing, XAMPP for Linux is at version 8.2.12 and the installer is a file called xampp-linux-x64-8.2.12-0-installer.run.
Installing XAMPP
Before actually installing XAMPP, let’s install some dependencies needed to use it on Linux Kamarada or openSUSE Leap:
1
# zypper install insserv-compat net-tools-deprecated
Also create the daemon group and user, which are not created by default on a fresh Linux Kamarada 15.5 installation:
1
2
# groupadd daemon
# useradd -d /sbin -g daemon --no-create-home --system -s /usr/sbin/nologin -u 2 daemon
Change the permissions of the downloaded installer:
1
$ chmod 755 xampp-linux-*-installer.run
And finally run the installer:
1
$ sudo ./xampp-linux-*-installer.run
Hit Enter for each question to accept the default answers.
That’s all, folks! XAMPP is now installed at /opt/lampp/.
Facilitating access to the htdocs folder
The files and folders served by XAMPP’s Apache are in the htdocs folder inside /opt/lampp/.
As XAMPP is just a development environment, and will only be used by you on your computer, I suggest you change the htdocs folder permissions so that you can work more easily, without worrying about permissions at a first moment:
1
# chmod 777 /opt/lampp/htdocs
Please note that this is not a good security practice. When deploying your websites and systems into production, remember to set appropriate permissions for files and folders in order to prevent unauthorized access.
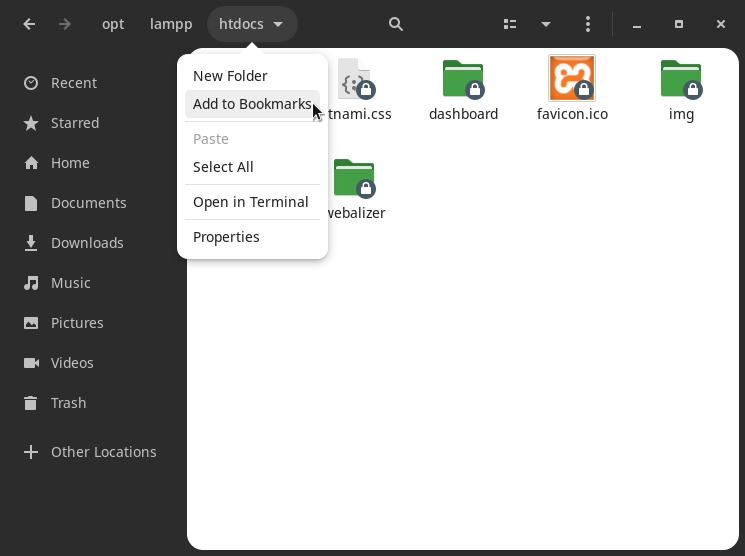
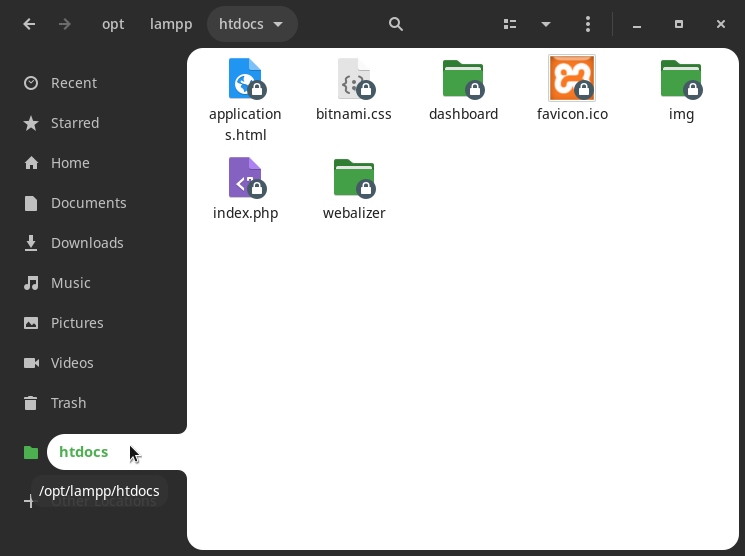
I also suggest you add a bookmark to the htdocs folder in the Files app. To do this, go to the htdocs folder, click its name in the address bar and click Add to Bookmarks. Note that now it can be easily accessed from the sidebar:
Starting XAMPP
You can start XAMPP from the terminal by running this command:
1
$ sudo /opt/lampp/lampp start
You should now see something like this on your screen:
1
2
3
4
5
Starting XAMPP for Linux 8.2.12-0...
XAMPP: Starting Apache...ok.
XAMPP: Starting MySQL...ok.
XAMPP: Starting ProFTPD...redirecting to systemctl start .service
ok.
You can also start XAMPP via a graphical tool, as well as configure your system to automatically start XAMPP at startup, as we will see below.
Checking whether XAMPP is running
You can check if XAMPP is running from the terminal using:
1
$ sudo /opt/lampp/lampp status
If XAMPP has been started, it should return something like:
1
2
3
4
Version: XAMPP for Linux 8.2.12-0
Apache is running.
MySQL is running.
ProFTPD is running.
You can also check the XAMPP’s status via a graphical tool, as we will see below.
Testing XAMPP
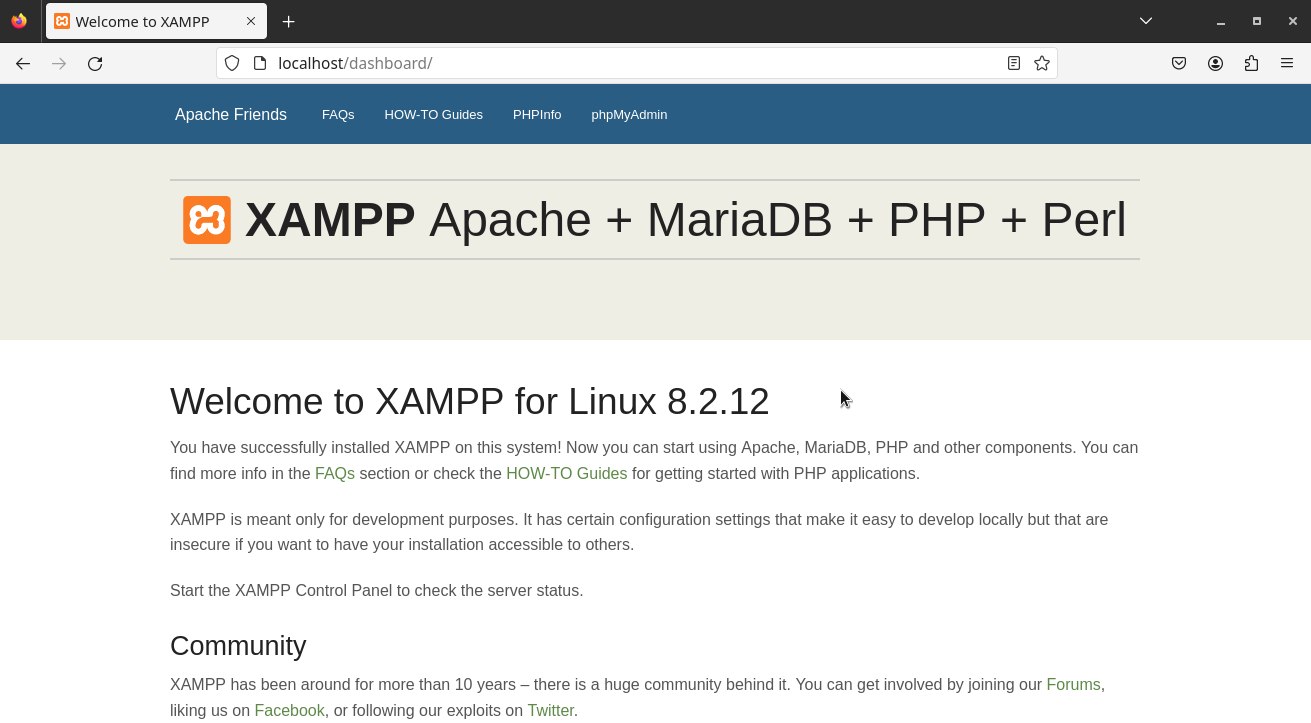
Once XAMPP has been started, open your preferred web browser and go to http://localhost. You should see the XAMPP welcome page:
This already shows that XAMPP has been installed and is working correctly.
But I propose another test: create a test folder within the htdocs folder.
Inside it, using your preferred text editor (or an integrated development environment), create an index.php file with the following content (inspired by this Stack Overflow answer):
1
2
3
4
5
6
7
8
9
10
<?php
// Set your timezone here
date_default_timezone_set('America/Sao_Paulo');

$time = date("H");
if ($time < 12) echo "Good morning";
else if ($time >= 12 && $time < 17) echo "Good afternoon";
else if ($time >= 17 && $time < 19) echo "Good evening";
else echo "Good night";
?>
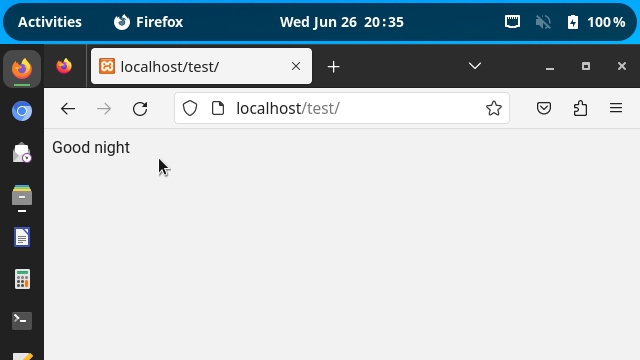
Using the web browser, go to http://localhost/test. A greeting should appear according to the current time:
Getting information about the server with phpinfo
I propose yet another, more useful test. Replace the index.php file content with the following, with just a call to the phpinfo() function:
1
2
3
<?php
phpinfo();
?>
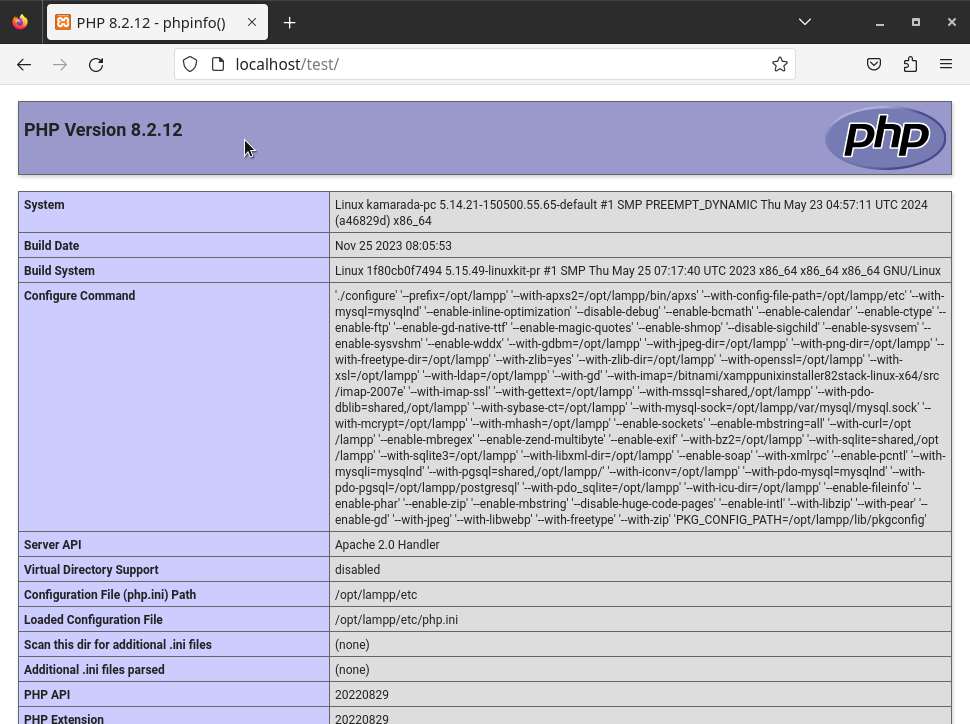
And reload the page in the web browser (F5):
The phpinfo() function is useful for obtaining information about the PHP installation.
Stopping XAMPP
If for any reason you want or need to stop XAMPP (e.g. if you have finished programming and are no longer going to work today), you can do so by running this command in the terminal:
1
$ sudo /opt/lampp/lampp stop
You should now see something like this on your screen:
1
2
3
4
Stopping XAMPP for Linux 8.2.12-0...
XAMPP: Stopping Apache...ok.
XAMPP: Stopping MySQL...ok.
XAMPP: Stopping ProFTPD...ok.
You can also stop XAMPP via a graphical tool, as we will see below.
Managing XAMPP via a graphical tool
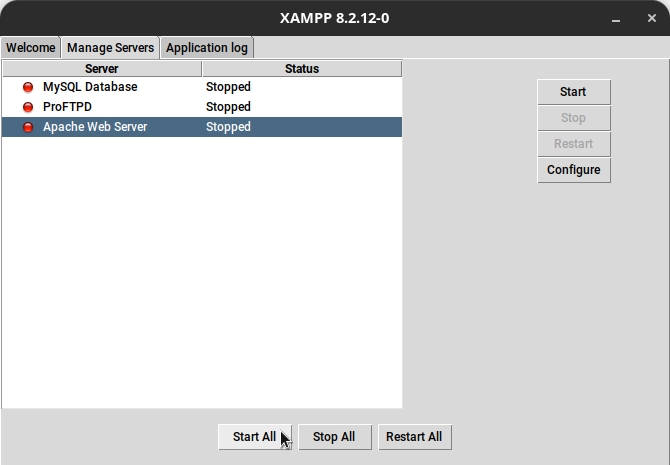
XAMPP offers a graphical tool through which you can start or stop it. It just doesn’t add an icon for it in the applications menu. Let’s do this.
Using your preferred text editor, start a new file with the following content:
1
2
3
4
5
[Desktop Entry]
Name=XAMPP
Exec=gnomesu -c /opt/lampp/manager-linux-x64.run
Icon=/opt/lampp/htdocs/dashboard/images/xampp-logo.svg
Type=Application
Save this file under ~/.local/share/applications, name it xampp.desktop.
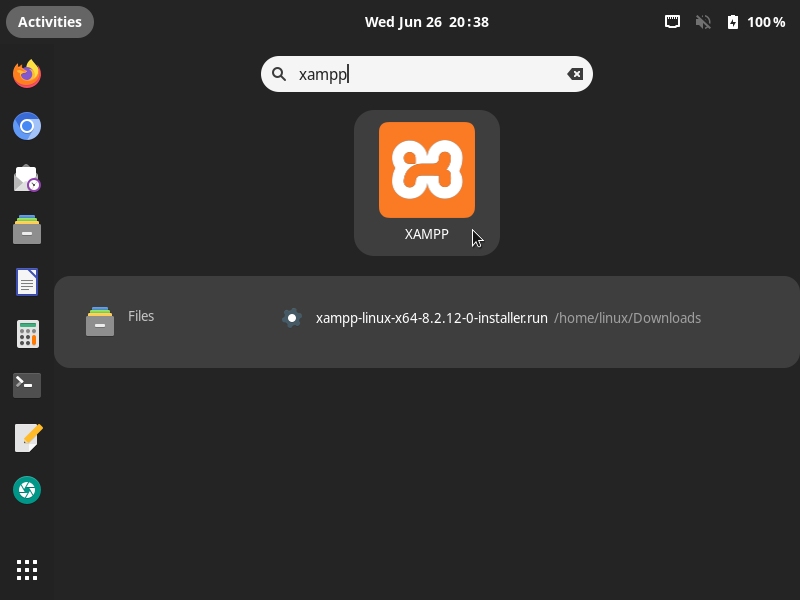
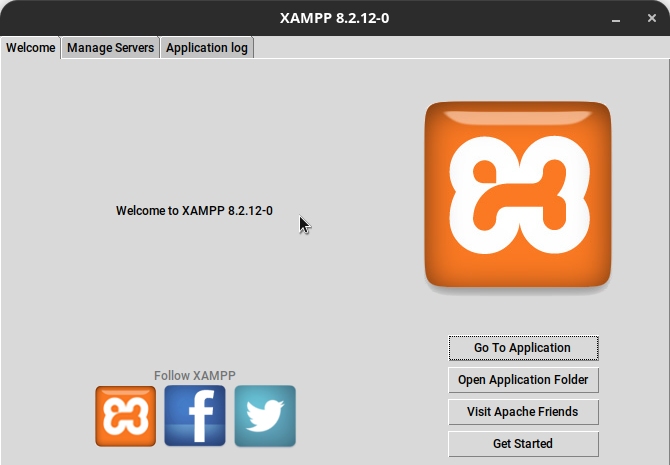
Now you should be able to open the Activities menu and launch the XAMPP graphical management interface from there:
Switch to the Manage Servers tab to check if services are running, as well as start or stop them:
Getting XAMPP started at bootup
If you use XAMPP every day, you may want your system to start it automatically during boot.
To do that on Linux Kamarada or openSUSE Leap, run these commands:
1
2
$ sudo ln -s /opt/lampp/lampp /etc/init.d/lampp
$ sudo chkconfig lampp 2345
Now if you restart your system and check the XAMPP’s status, you will see that it is running.
XAMPP configuration files
In case you need them, the main XAMPP configuration files are located as follows:
- Apache configuration files:
/opt/lampp/etc/httpd.confand/opt/lampp/etc/extra/httpd-xampp.conf; - PHP configuration file:
/opt/lampp/etc/php.ini; - MariaDB configuration file:
/opt/lampp/etc/my.cnf; and - ProFTPD configuration file:
/opt/lampp/etc/proftpd.conf.
Where to get more information
XAMPP for Linux has an excellent documentation in the form of FAQs (Frequently Asked Questions) on its website. Much of the information it presents you have already seen in this article, but you can find even more information there.
If you have a question not answered here nor there, take a look at the Community page on the official XAMPP website.
Or leave a comment below!
