If you use your phone and your computer a lot – often together – you’ve probably imagined how much easier life would be if you didn’t have to look away from your computer to see notifications on your phone, if you could copy something from your computer and turn it into a message to send on your phone, or send files from your phone to your computer using something faster than Bluetooth.
Well, know that there is a simple way to integrate your phone and your computer if you use the GNOME desktop, which is via GSConnect.
GSConnect is a GNOME Shell extension that implements the KDE Connect protocol and enables powerful integration between your GNOME desktop and your Android or iOS smartphone. GSConnect on the GNOME desktop and KDE Connect on the KDE desktop are equivalent, and with them you can:
- Send files from your computer to your phone (and vice versa);
- Copy text on your computer and then paste it on your phone (and vice versa);
- Receive your phone notifications on your computer (and vice versa);
- Control music or video playing on your computer from your phone;
- Use your phone as a remote control to your slide presentations;
- Use your phone as your computer’s mouse and/or keyboard;
- Check your phone’s battery level from your computer;
- Ring your phone (useful to help find it);
- Send SMS messages from your computer;
- Remotely access files in your phone’s internal memory from your computer;
- Run commands on your computer (such as lock, shut down, restart, etc.);
- and more!
If you use Windows, you might think that GSConnect and KDE Connect look similar to the Phone Link app. And they really are.
But, interestingly, it was KDE Connect that kicked off the concept. Of the three, it was the first to emerge, launched in 2013 as a Google Summer of Code project to integrate Android devices with KDE. Four years later, in October 2017, GSConnect was released as a complete implementation of KDE Connect for GNOME, without KDE dependencies. Only a year later, in October 2018, Microsoft announced the Your Phone app (now called Phone Link) to integrate smartphones with Windows 10 and, later, Windows 11.
GSConnect comes installed by default on Linux Kamarada 15.6 and is one of its main new features. In this how-to, you are going to learn how to enable and use it.
Installing GSConnect on your computer
If you are using Linux Kamarada 15.6, GSConnect is probably already installed on your computer and you can skip this section. However, if you are using openSUSE Leap 15.6 or openSUSE Tumbleweed, or for any reason you want to install GSConnect on your computer, read on.
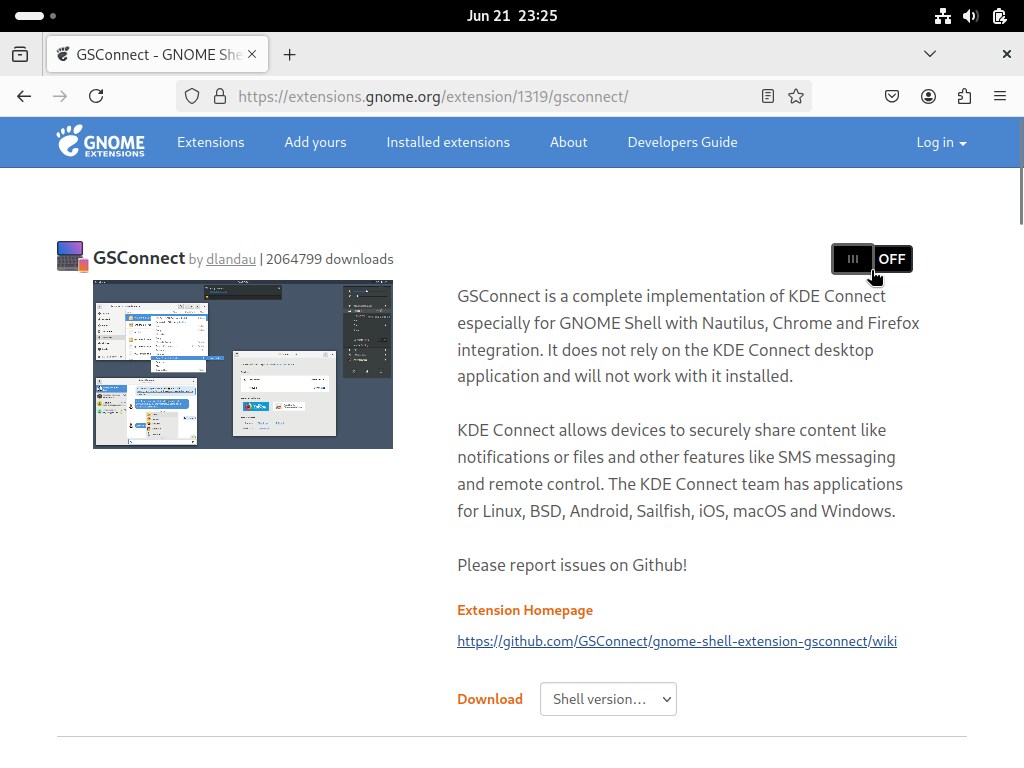
GSConnect is an extension for GNOME Shell and can be installed from:
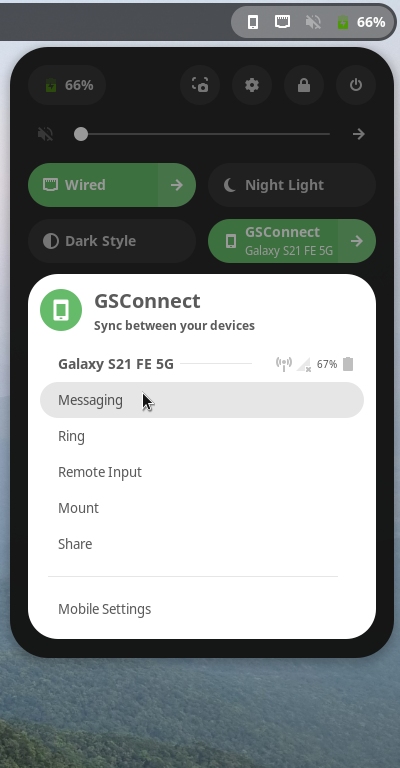
After installing the extension, you will be able to see it active in the quick settings menu:
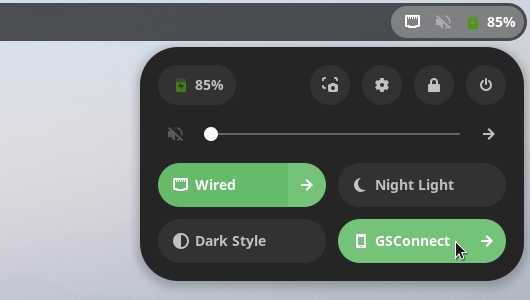
Which does not mean it’s ready for use.
Allowing KDE Connect through the Firewall
To integrate your phone and your computer with GSConnect (as well as KDE Connect), both must be connected to the same network (e.g. your home network).
Additionally, in your computer’s firewall you need to open the ports used by GSConnect (which are the same ports used by KDE Connect).
According to the KDE Connect documentation, “KDE Connect uses dynamic ports in the range 1714-1764 for UDP and TCP”.
On Linux Kamarada, the default firewall is firewalld.
Fortunately, it already has the kdeconnect service registered, so we don’t need to register the service and its ports, just enable the service in the desired zones (e.g. the home zone).
If you are comfortable with the terminal, enabling the kdeconnect service in the home zone is as simple as running the following commands as administrator (root):
1
2
# firewall-cmd --permanent --zone=home --add-service=kdeconnect
# firewall-cmd --reload
If you need to tell the firewall that you are connected to a home network (e.g. the Wi-Fi interface wlan1), you can do so with the commands:
1
2
# firewall-cmd --permanent --change-interface=wlan1 --zone=home
# firewall-cmd --reload
If you have run the commands above, you can now proceed to the next section.
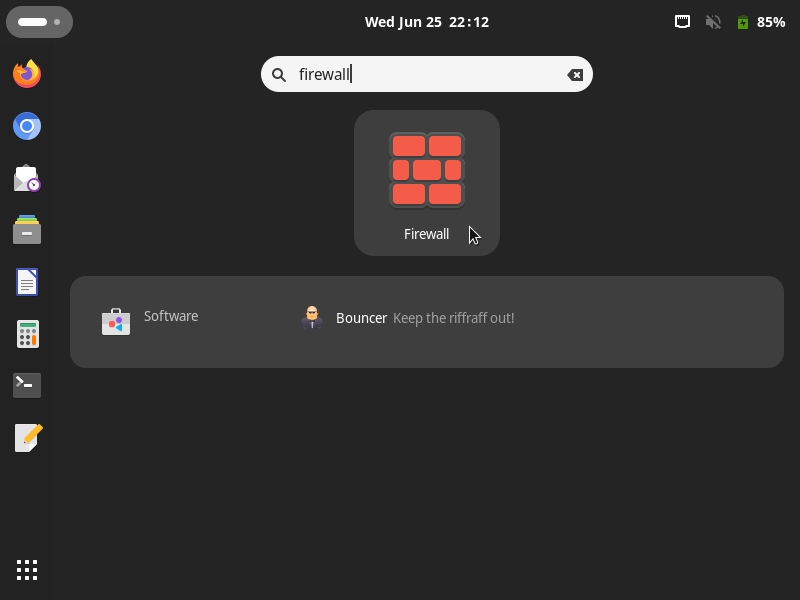
If you prefer to configure the firewall using a graphical interface, open the Firewall app:
It will ask you the administrator (root user) password, which you must provide to continue.
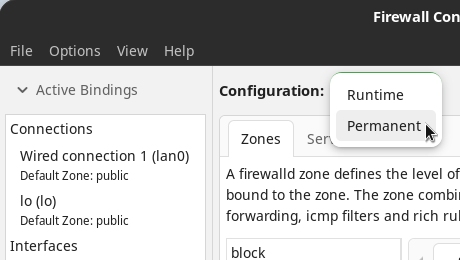
Switch Configuration (on top) to Permanent:
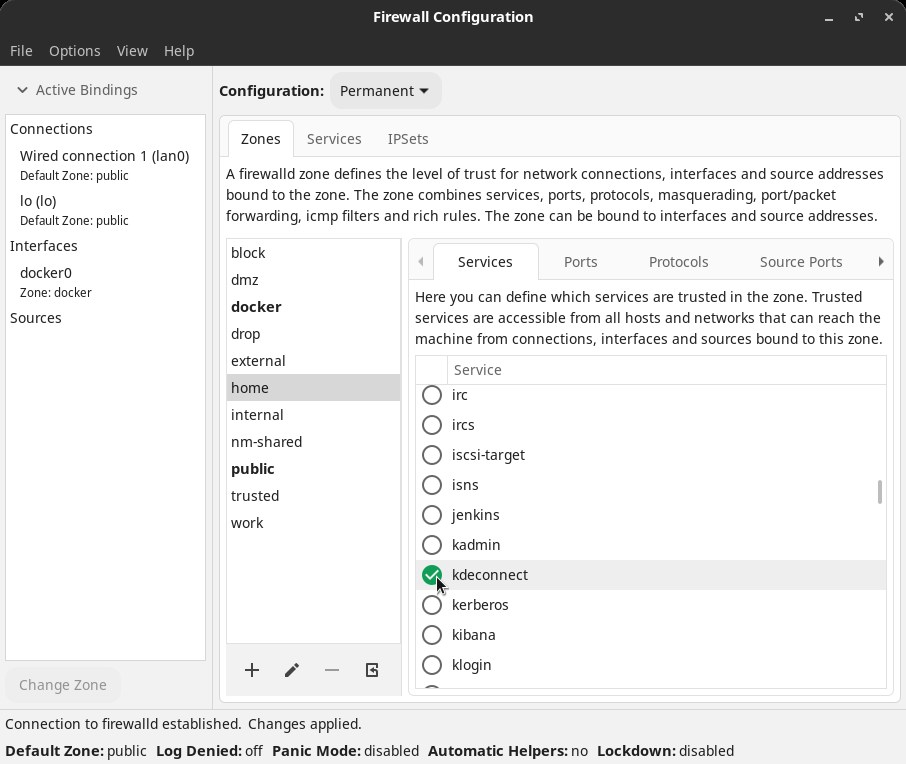
Select the Zones tab. Then, select the home zone and in the Services tab (there are two Services tabs, I’m talking about the one below), tick the kdeconnect service:
Select the network interface by the left (this could be the wired network lan0 or the Wi-Fi network wlan1) and click the Change Zone button.
Select the home zone and click OK:

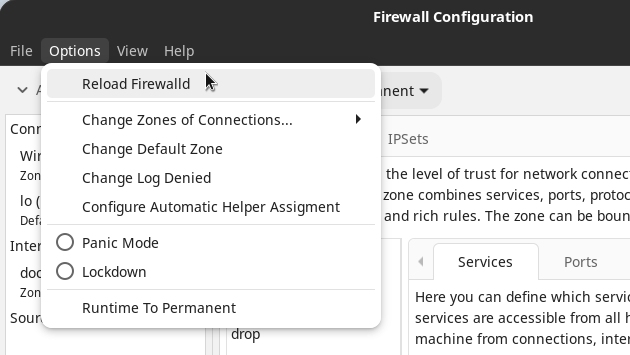
Finally, open the Options menu and click the Reload Firewalld option:
With this, you have allowed KDE Connect on home networks and informed that the current network is a home network.
Installing KDE Connect on your phone
There’s no GSConnect app for mobile, but that’s okay, because it works perfectly with the KDE Connect app. Install it on your phone according to its operating system:


In this tutorial, I’ll be using the Android version of KDE Connect. The iOS version probably works in a similar way.
Naming the devices
On both your computer and your phone, you can check (and change, if you want) the device name. This is important so you can identify and pair them correctly.
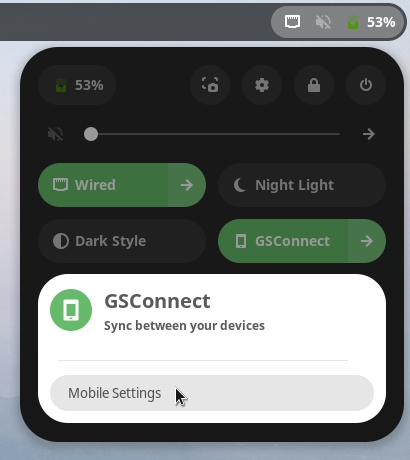
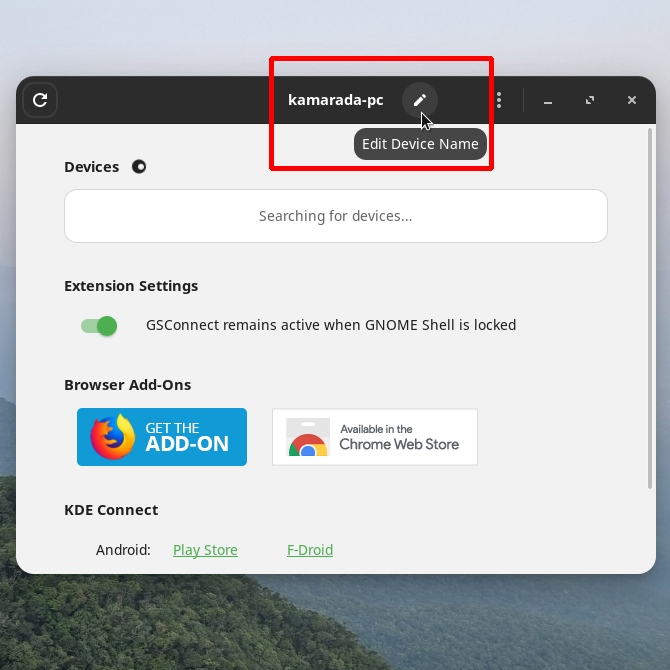
On your computer, open the quick settings menu, expand the GSConnect button, and click the Mobile Settings option. The name by which your computer announces itself to your phone appears in the window title. You can edit it, if you want:
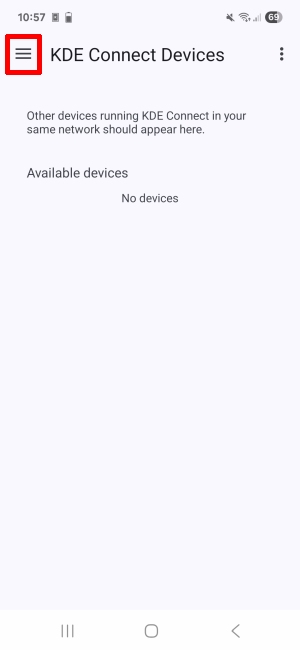
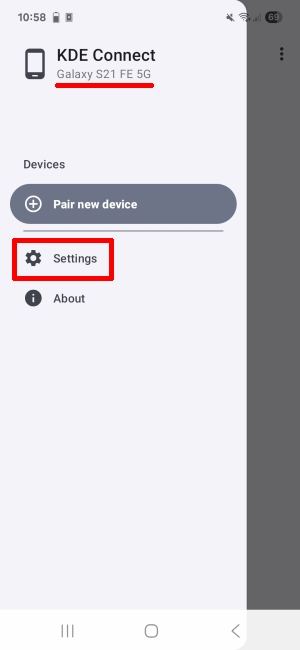
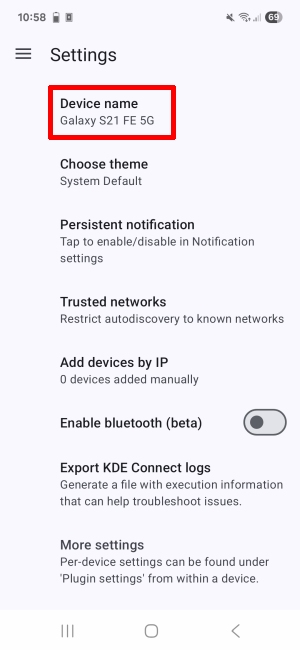
To find your phone’s name, open the KDE Connect app. Open the top-left “hamburger menu”. The name by which your phone announces itself to your computer appears at the top of the menu. If you want to change it, go to Settings > Device name:

Pairing the devices
With GSConnect installed on the computer and KDE Connect installed on the phone, to use them in an integrated way, we first need to pair them (if you are used to Bluetooth, the idea is similar).
Make sure your computer and phone are both connected to the same network.
You can start pairing from either your computer or your phone. I personally find it easier and recommend starting by the phone.
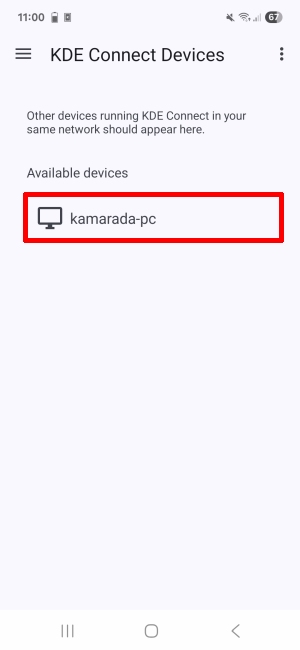
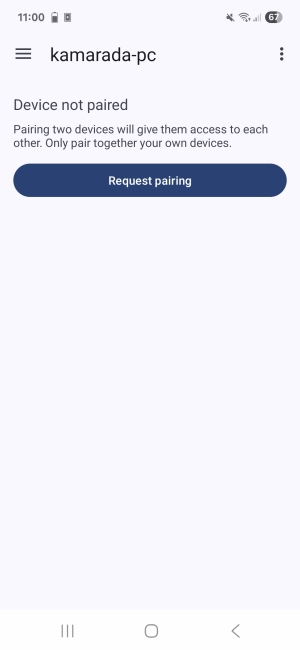
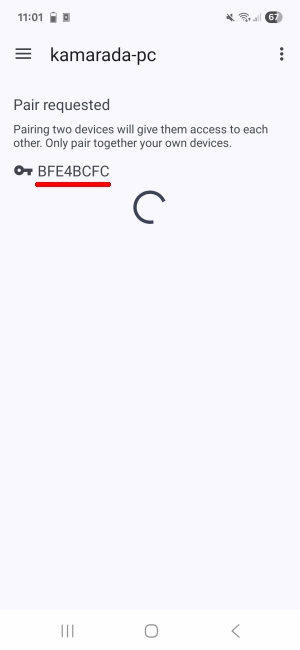
On your phone, open the KDE Connect app. Under Available devices, identify your computer and touch it. On the next screen, touch the Request pairing button. The encryption key is displayed while your phone waits for the computer to accept the request:
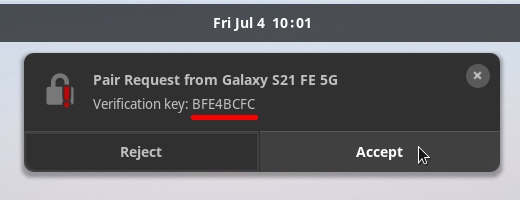
On your computer, GSConnect displays a notification. Verify the encryption key and click Accept:
Once this is done, your computer and your phone are paired and ready to be used in an integrated way. Both the GSConnect extension menu and the KDE Connect app show integrations you can use:
Enabling or disabling integrations
Most computer-to-mobile integrations are already enabled by default, but you can enable a few more by going to your device’s settings.
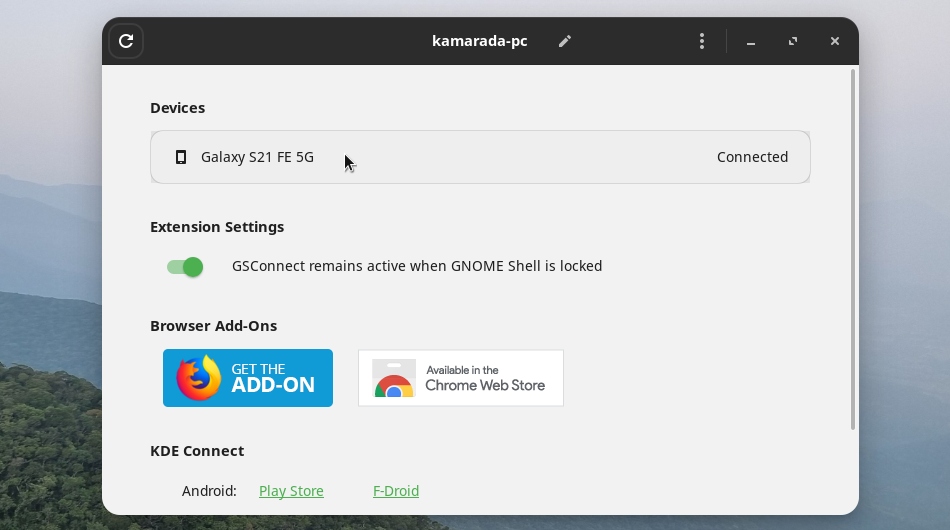
On your computer, on the Mobile Settings screen, click the paired phone:
On the window that opens, take a look at the available integrations and enable or disable them as you prefer:
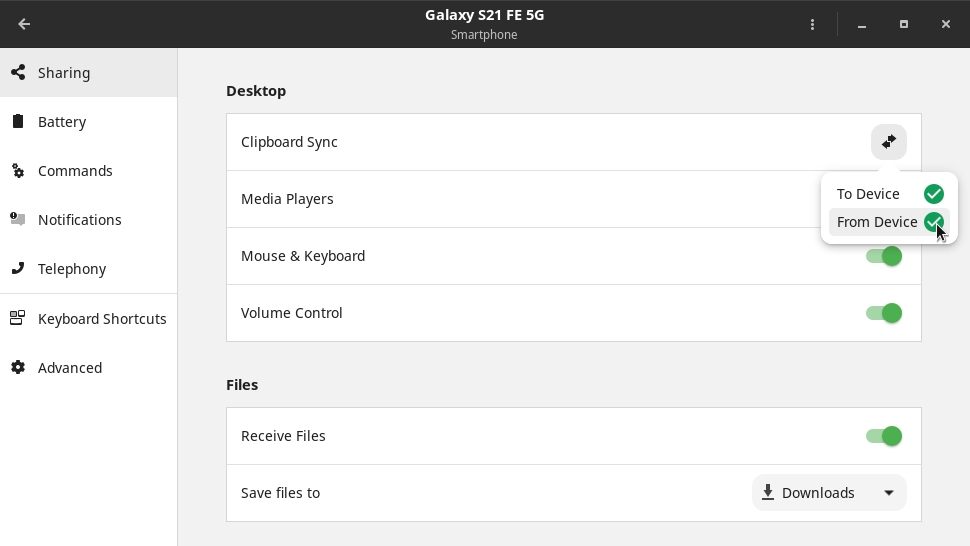
For example, one integration that I find quite useful and that is disabled by default and I enable is Clipboard Sync, and I enable it in both directions: To Device and From Device.
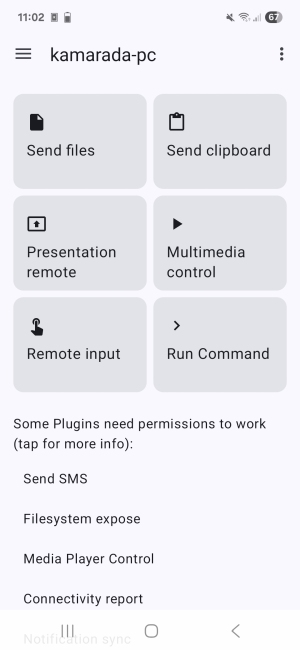
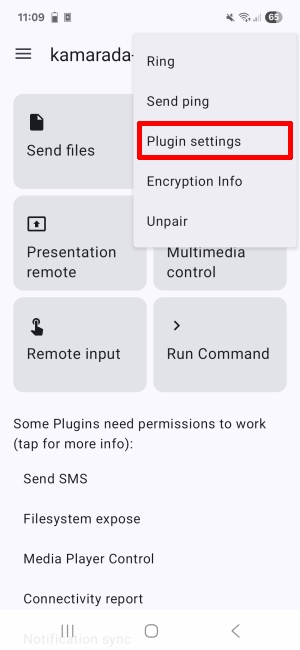
On your phone, open the top-right three-dot menu, then touch Plugin settings. Enable or disable them as you wish:
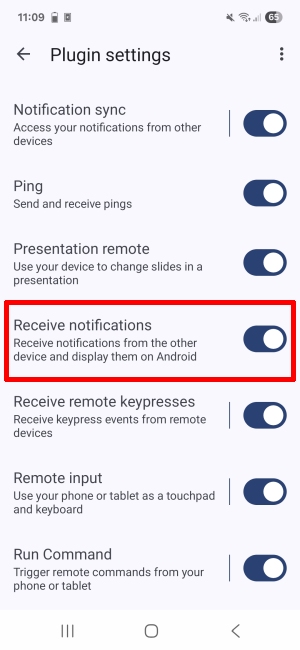
Here, I have enabled Receive notifications, so that computer notifications will also be shown on the mobile.
Using GSConnect
Now let’s see some of the things you can do with GSConnect. I don’t intend to cover every feature here, as there are many, and the tool is easy to use, allowing you to explore and discover them by yourself. But I’ll show you the ones I use the most in my daily life and find most useful.
Share files
You can send files from your phone to your computer and vice versa via GSConnect, just like you would via Bluetooth, but faster, because files are shared over the Wi-Fi network.
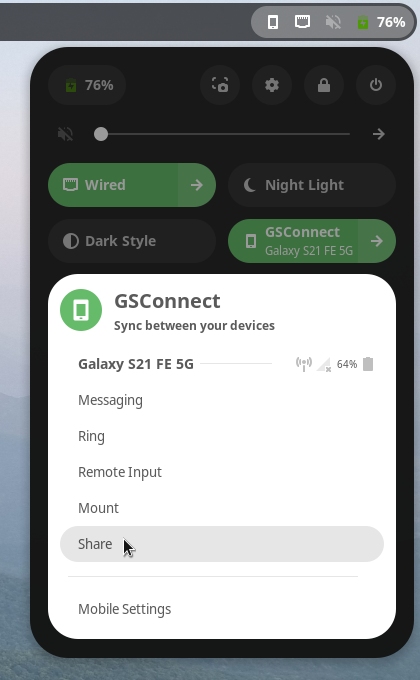
To send files from your computer to your phone, open the quick settings menu, expand the GSConnect button and click Share:
Select the file to send.
After sending, the file will be in the phone’s internal memory, in the Download folder.
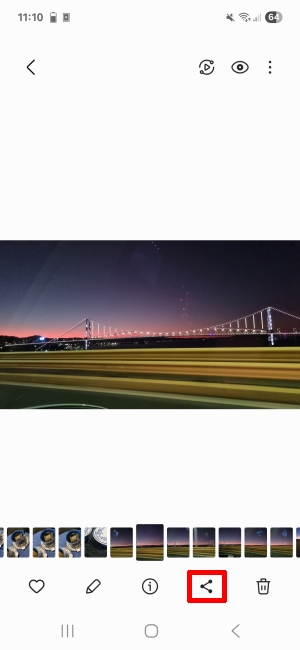
To send files from your phone to your computer, start file sharing as usual, then select the paired computer or KDE Connect as the destination:
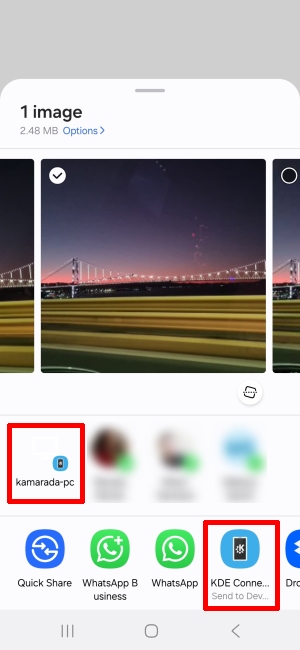
After sending, the file will be located in your computer’s Downloads folder.
Clipboard sync
If you’ve enabled Clipboard Sync, like I did before, you can copy text on your computer and then paste it on your phone, or vice versa: copy text on your phone and then paste it on your computer. Give it a try!
Notification sync
Whenever an app displays a notification on your phone, GSConnect can display that same notification on your computer.
This, however, requires extra configuration on your phone.
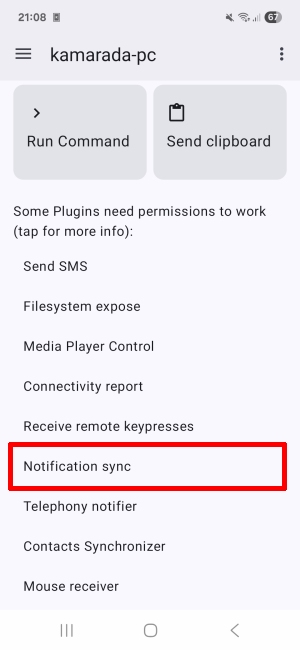
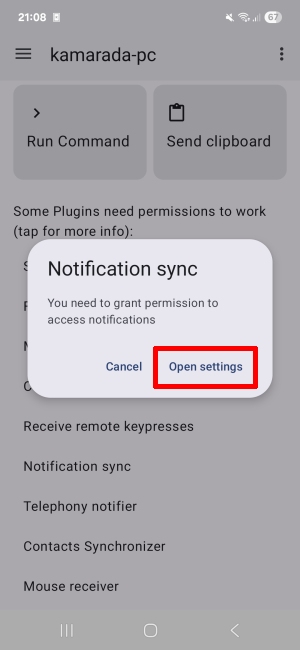
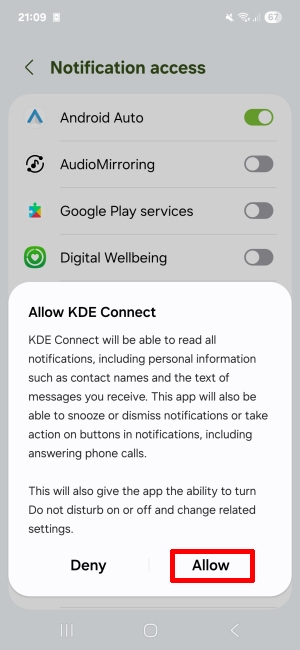
Swipe down the KDE Connect app main screen and touch Notification sync. Follow the on-screen instructions to allow KDE Connect to access your Android notifications:
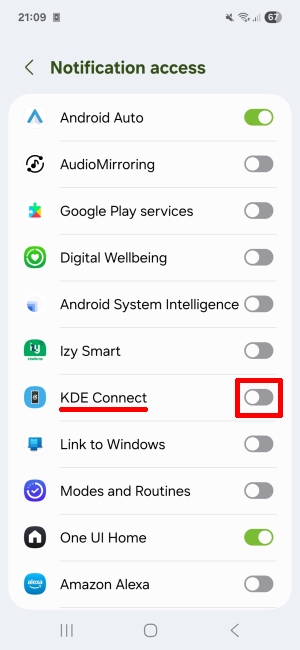
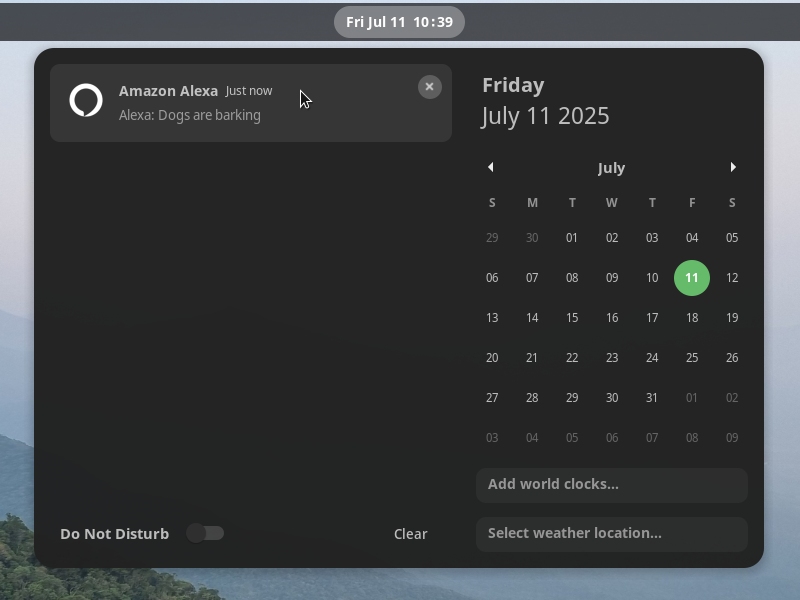
Once this is done, from now on, new phone notifications will also be shown on the computer:
Multimedia control
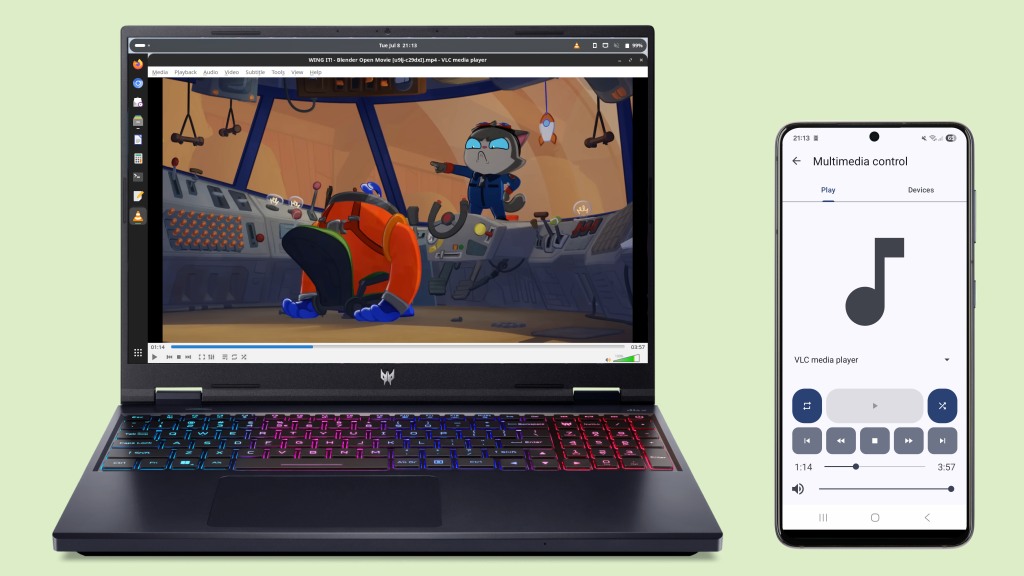
If you’re playing music or video on your computer, whether using VLC media player or a browser like Firefox or Chrome, GSConnect lets you use your phone as a remote control. To do this, on your phone, touch the Multimedia control button, and controls will appear:
This feature makes KDE Connect a good alternative to the VLC Mobile Remote app, which we saw in another tutorial, with the advantage that KDE Connect can do much more than just control media playback.
Presentation remote
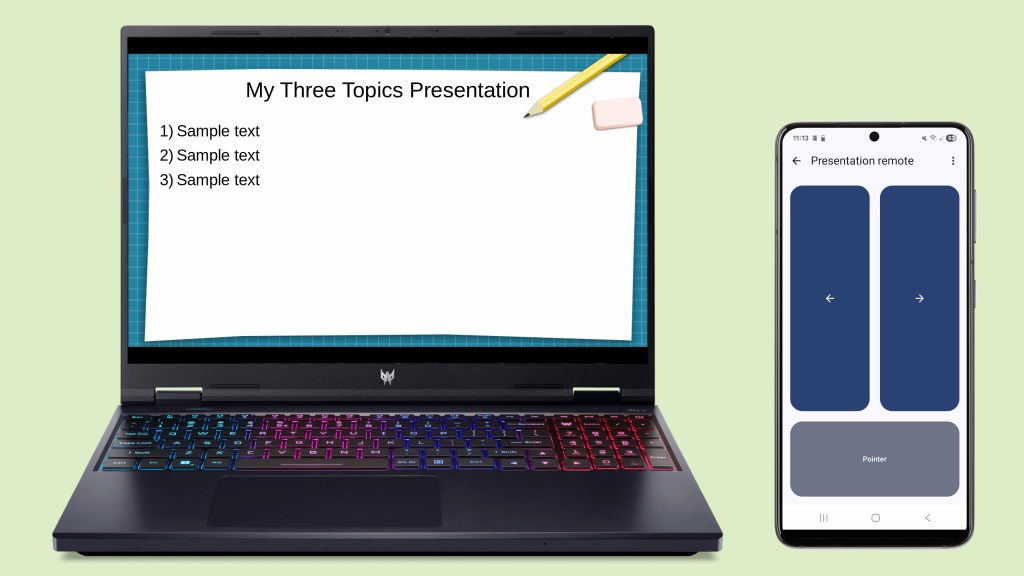
If you’re at school, college, or work presenting slides using LibreOffice Impress, GSConnect lets you use your phone as a remote control to navigate your slides. To do this, on your phone, touch the Presentation remote button, and controls will appear:
Using your phone as mouse and/or keyboard
Are you away from your computer and don’t want to go to it to use its mouse and/or keyboard? GSConnect lets you use your phone this way too. To do this, touch the Remote input button:
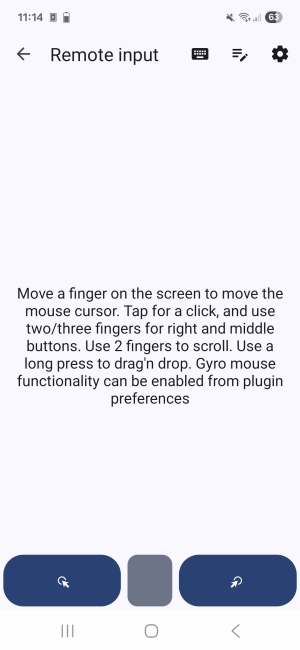
Move your finger across the screen to move the pointer on your computer. Use the buttons at the bottom of the screen to click, just like you would use the buttons on a mouse. To type, tap the keyboard icon at the top of the screen.
Conclusion
I hope this tutorial has been helpful in helping you get the most out of your smartphone’s integration with your computer using GSConnect.
If you have any questions, please write them in the comments.
Also comment on which integrations you use the most.
See you next time!


