If you have a scanner at home and want to save your old photos or important documents to your computer, you can scan them using the Document Scanner app. It’s a simple and easy-to-use application that comes pre-installed on many Linux distributions, such as Linux Kamarada. With it, you just need to place the photo or document on the scanner, open the program, and click a button to start scanning. In this tutorial, you’ll see how to do this step by step, quickly and easily.
Before you begin, make sure the scanner is properly connected to your computer, turned on, and recognized by the system.
For demonstration purposes, I will be using an HP Deskjet Ink Advantage 2600 all-in-one printer, configured according to the tutorial:
Start by placing the document or photo to be scanned on the scanner.
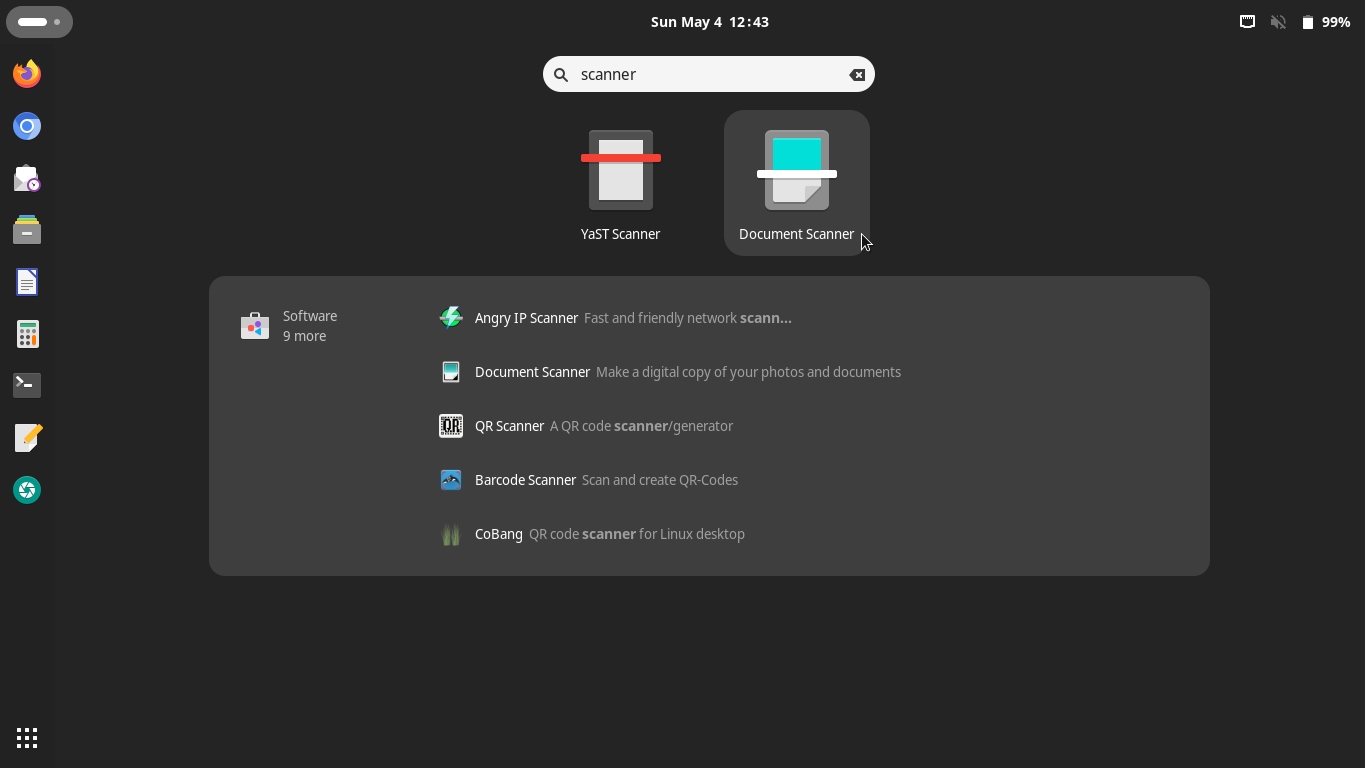
Launch the Document Scanner app, just as you would launch any other app. If you’re using the GNOME desktop (the default for Linux Kamarada), you can do this through the Activities menu:
From the Document Scanner main screen, you could simply click the Scan button at the upper-left corner of the window:
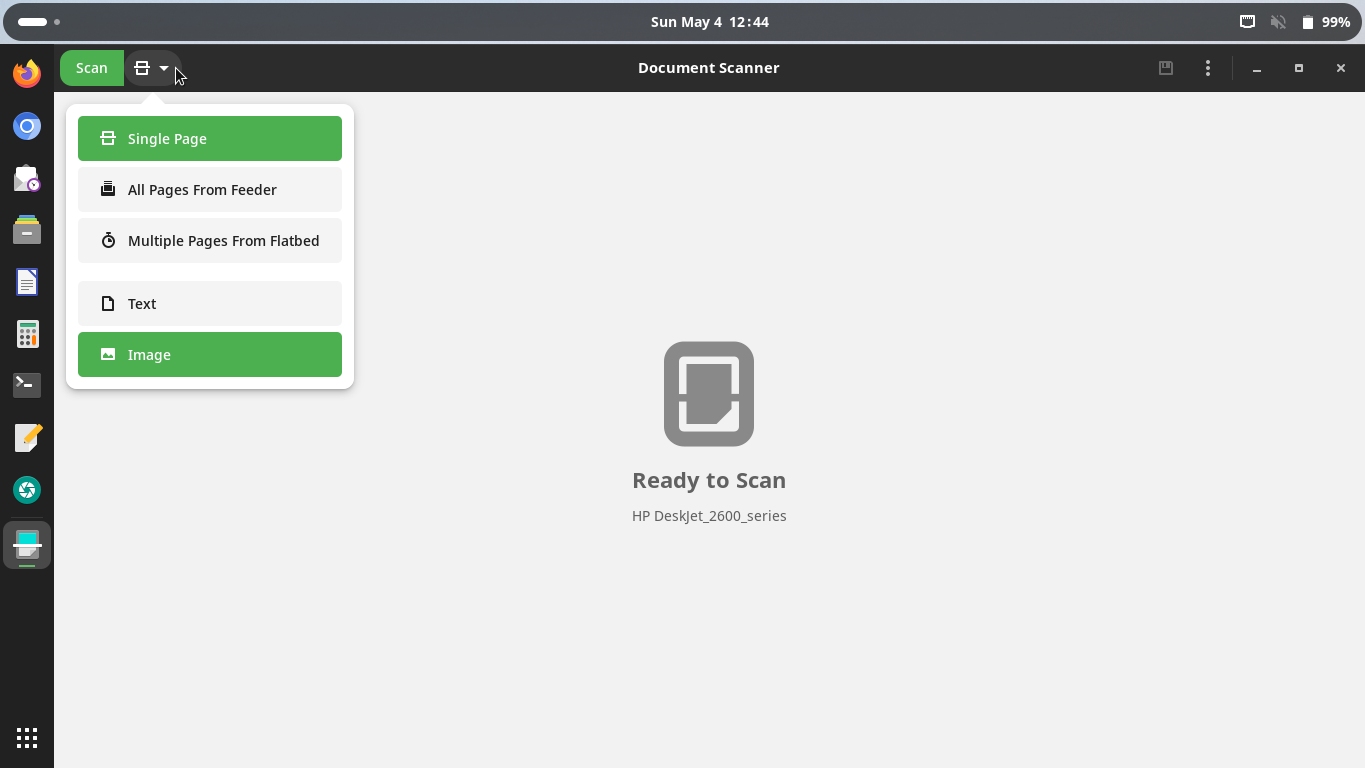
But before scanning the first page or photo, it’s a good idea to open the menu to the right of this button and make sure the settings are correctly selected. Choose what you’re scanning (Text or Image), the amount and where it’s coming from (Single Page, All Pages From Feeder or Multiple Pages From Flatbed). Then, click the Scan button.
Wait a few seconds or minutes for the scanning to finish:
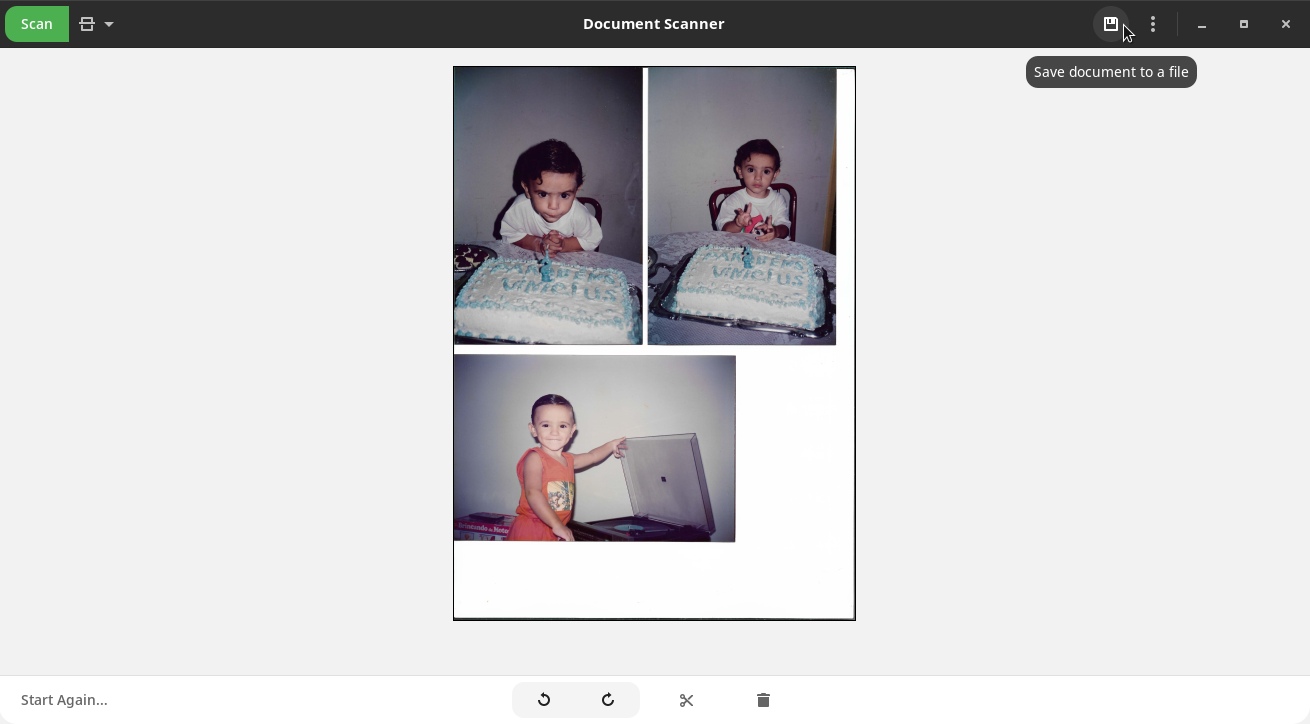
You can optionally use the buttons at the bottom to rotate or crop. If you are scanning photos, you can edit them later using another program like GIMP or IrfanView, which I personally prefer.
If you’re scanning a multi-page document with a flatbed scanner, change the page on the scanner and click Scan to scan the next page.
When you’re done, click the Save button at the upper-right corner of the window.
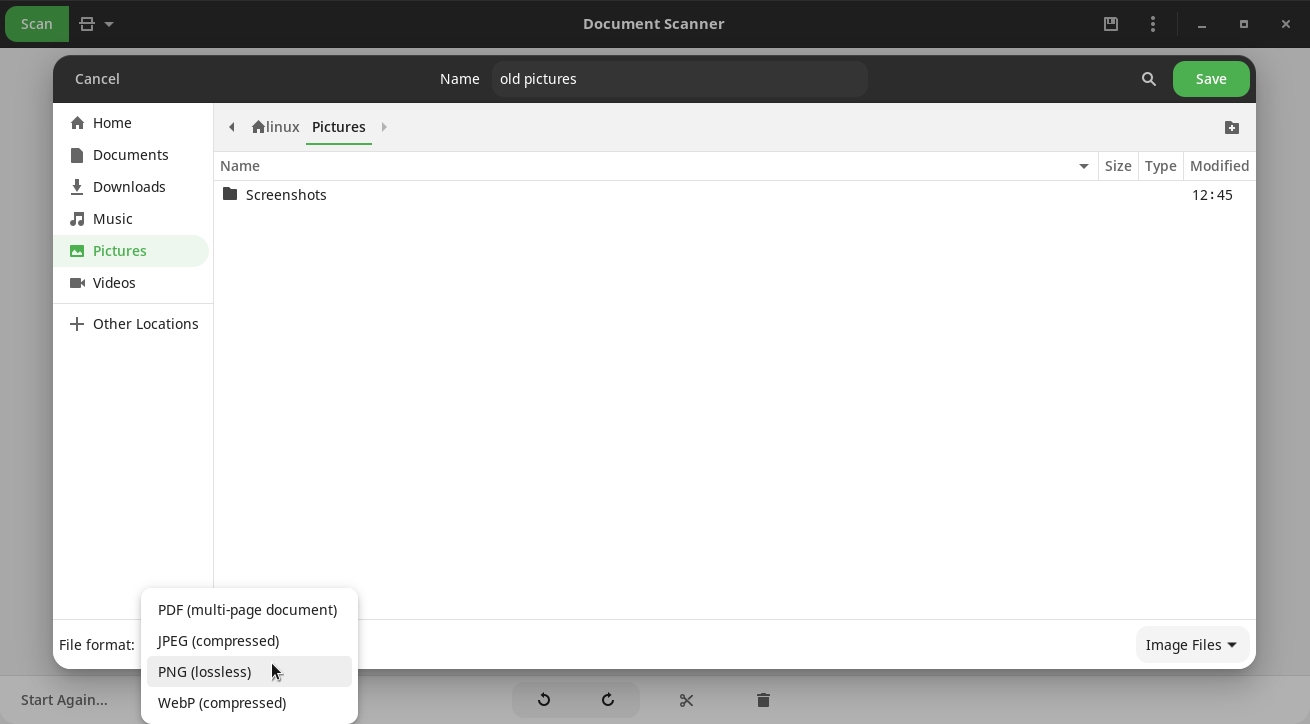
Navigate to the location where you want to save the file, set the Name and File format (for documents, the recommended format is PDF, for photos, you can use one of the other three) and click Save:
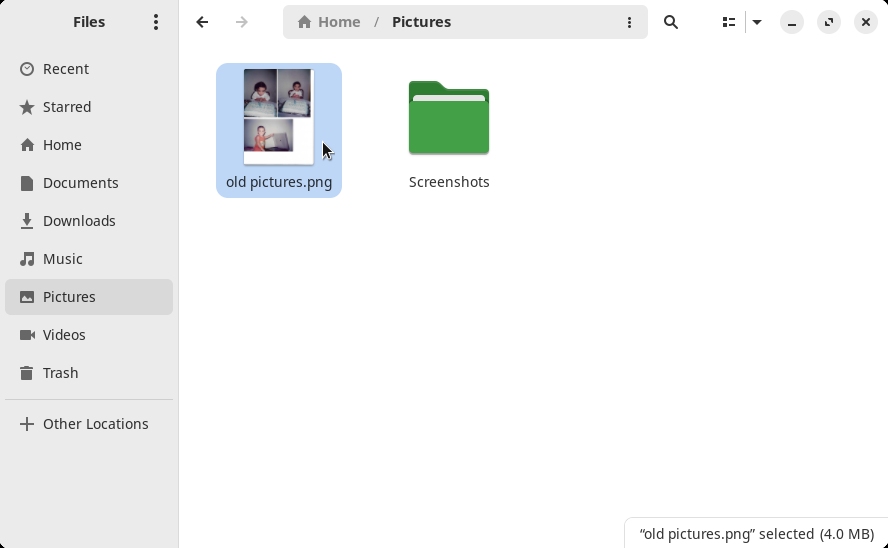
Open the Files app and make sure the scanned photo or document is there:
That’s it, enjoy!
Adjusting scanning preferences
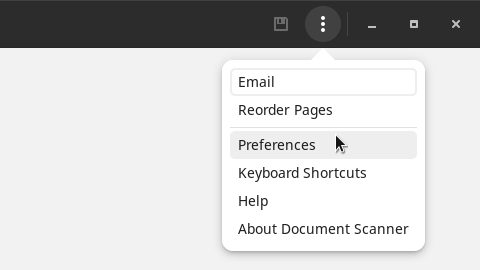
Document Scanner’s default settings are probably fine for most people. However, you may want to adjust them. To do so, open the menu by clicking the three-dot icon at the upper-right corner of the window, then click Preferences:
It’s worth checking out these settings, the interface is simple and intuitive:
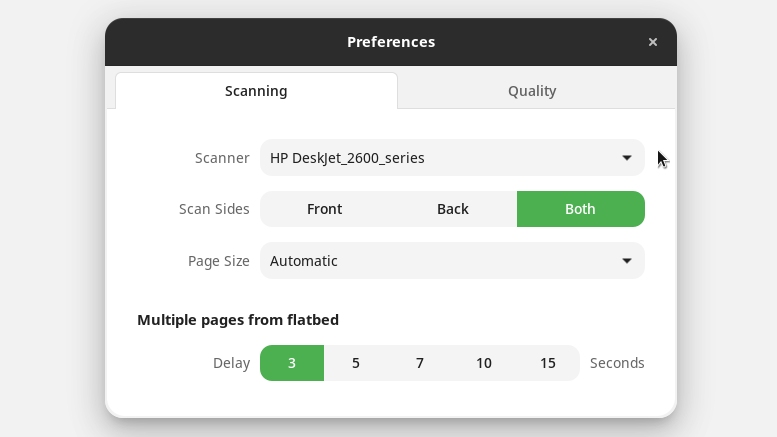
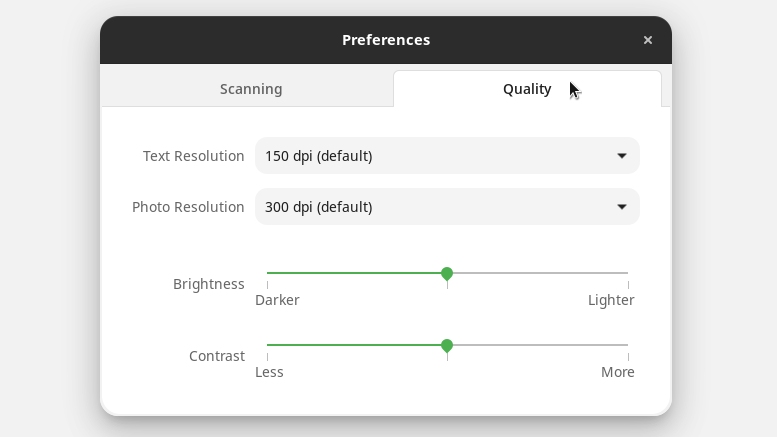
I found this one interesting: if you’re scanning Multiple pages from flatbed, you can set a Delay of a few seconds between pages, so you can simply switch pages on the scanner without having to repeatedly click the Scan button.
Conclusion
Scanning photos and documents on Linux is really that simple! So much so that I don’t even know if this tutorial was really needed. I just wanted to take advantage of the opportunity that I was using the app and wanted to show it to you. If you’ve made it this far, I hope this tutorial was helpful. If you have any questions, please leave them in the comments.
If you adjusted your scanner preferences, please also comment on which settings gave you the best results.
See you next time.


