In this increasingly connected world, you probably already have usernames and passwords for multiple websites, services and social networks. Ideally, you should create unique strong passwords for each service and memorize them, but who does that? Many people end up insecurely writing down their passwords on paper notebooks or Excel (or Calc, or Google) spreadsheets. Others store their passwords in their browser. However, if they are not synchronized with the cloud, they can be lost in the event of a system fault or formatting. On the other hand, if they are synchronized, they can be vulnerable to leaks.
Therefore, the recommended way to save passwords is to use a password manager, which is a program specifically designed for this purpose. The one I use and recommend, which comes installed by default on Linux Kamarada, is KeePassXC.
KeePassXC lets you store all your passwords in an encrypted file that acts as a password vault (you only need to memorize and remember the password for this file to access all your others). This file is, in principle, offline; you don’t need to be connected to any service to use it, but you can keep it synchronized across multiple devices using a service like Dropbox, if you want. KeePassXC works on Linux, Windows and macOS and can be combined with compatible mobile apps (such as KeePassDX on Android or Strongbox on iOS). It’s an ad-free free and open-source software.
In this tutorial, you will learn how to create a KeePassXC database and how to use it on a daily basis. I will be using Linux Kamarada as reference, but KeePassXC can be used in the same way on other Linux distributions, as well as on Windows or macOS.
Installing KeePassXC
Linux Kamarada already comes with KeePassXC installed out of the box since version 15.2, released in September 2020. Therefore, if you use Linux Kamarada, KeePassXC is probably already installed on your computer, and you can jump to the next section of this article. However, if you use openSUSE Leap or openSUSE Tumbleweed, or for any reason you want to install KeePassXC on your computer, continue reading.
You can install KeePassXC from the openSUSE official repositories using one of two ways: from the graphical interface using 1-Click Install or from the terminal using the zypper package manager – choose whichever method you prefer.
To install KeePassXC using 1-Click Install, click the following button:
To install KeePassXC using the terminal, run the following command:
1
# zypper in keepassxc
Starting KeePassXC
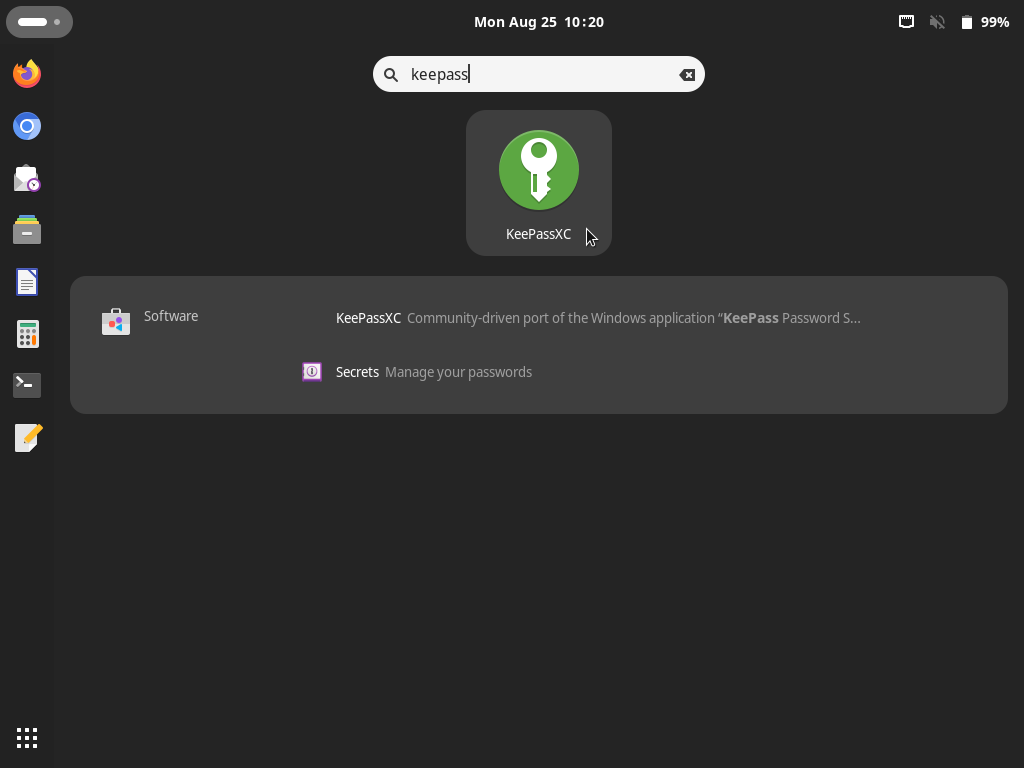
You can start KeePassXC just as you would start any other app. If you are using the GNOME desktop (the default for Linux Kamarada), you can do this through the Activities menu:
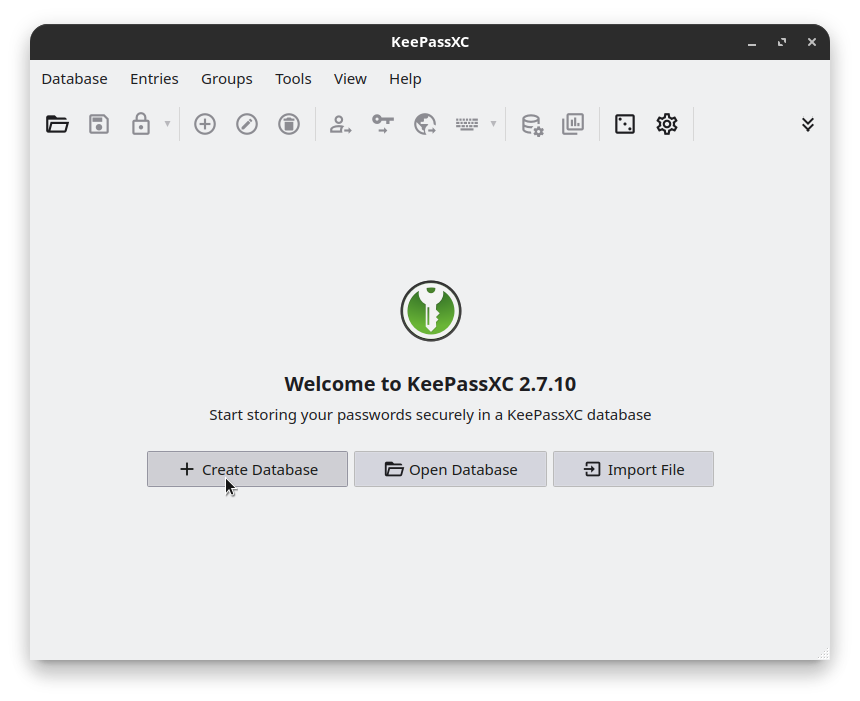
This is the KeePassXC home screen, currently without any databases created or open:
Creating a new password database
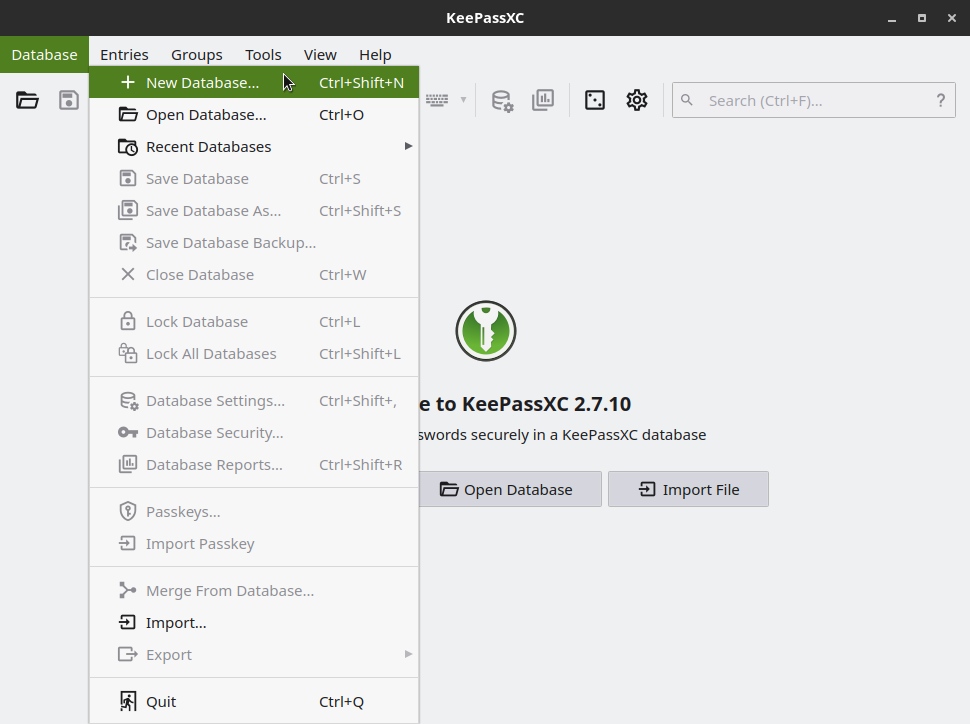
To create a new password database, on the KeePassXC home screen, click the Create Database button. Alternatively, you can open the Database menu and click New Database:
KeePassXC features a wizard to create a new database:
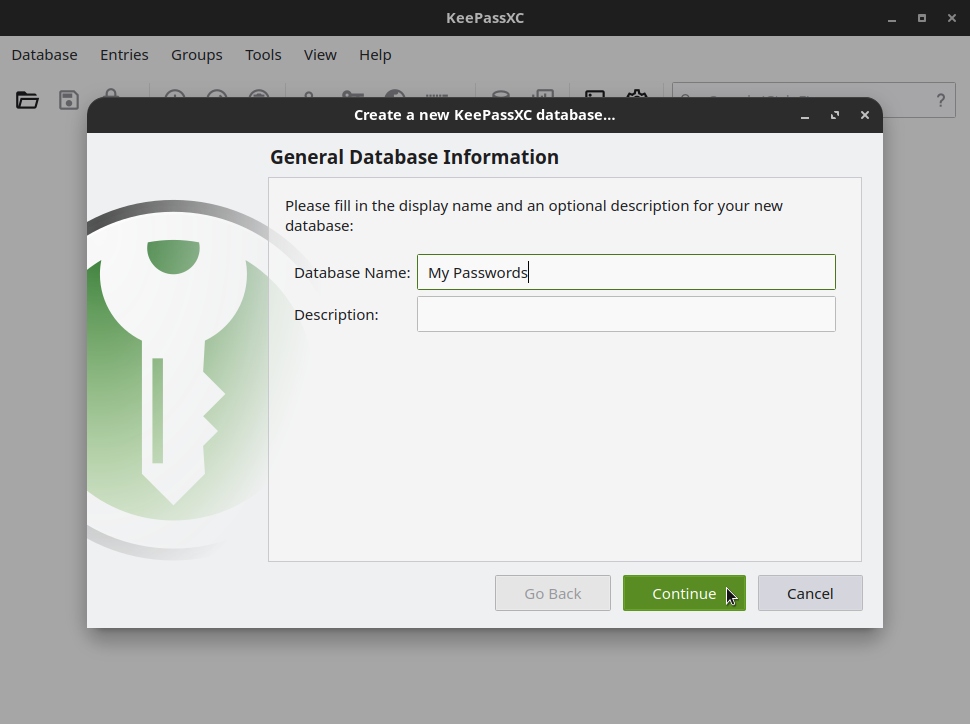
On this first screen, give the database a name and, optionally, a description, and click Continue.
On the next screen, you can adjust the encryption settings:
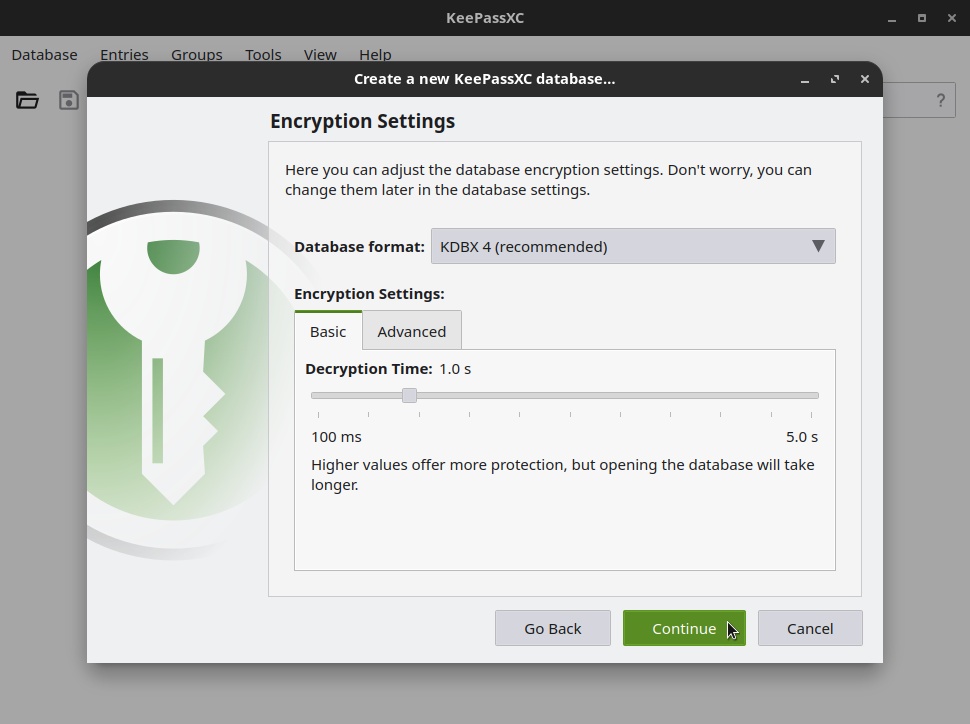
The default settings should be fine for most people. Unless you know what you are doing, leave everything as is and click Continue.
On the wizard’s last screen, set a password for the database:
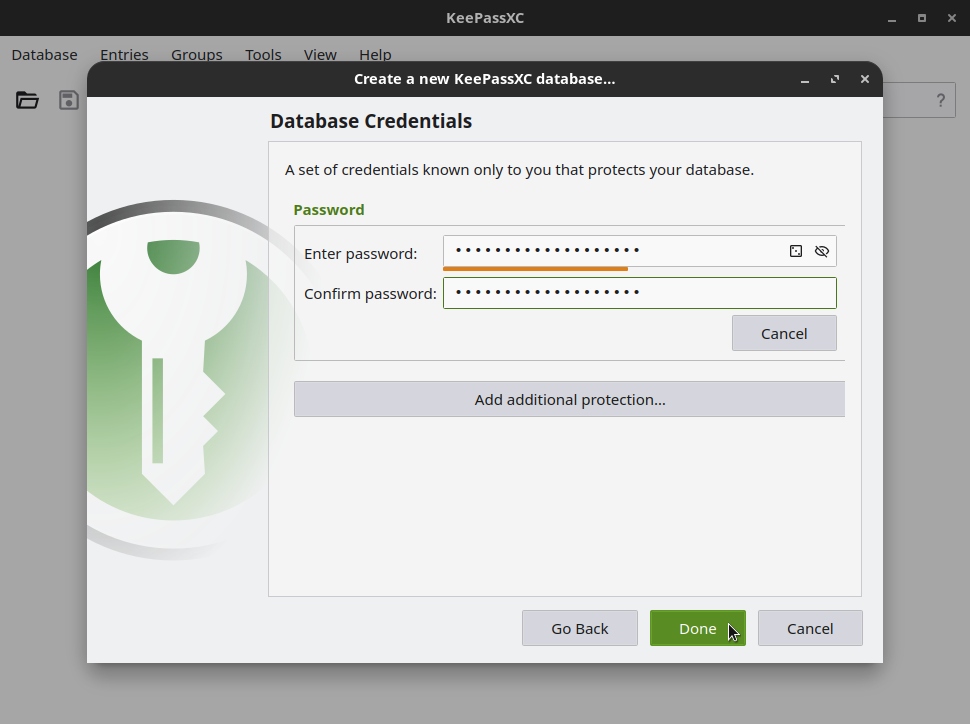
Note: once all your passwords are saved in the KeePassXC database, this will be the only password you will need to remember. Make sure you set a password you can remember!
When finished, click Done.
Save the password database file in a safe location:
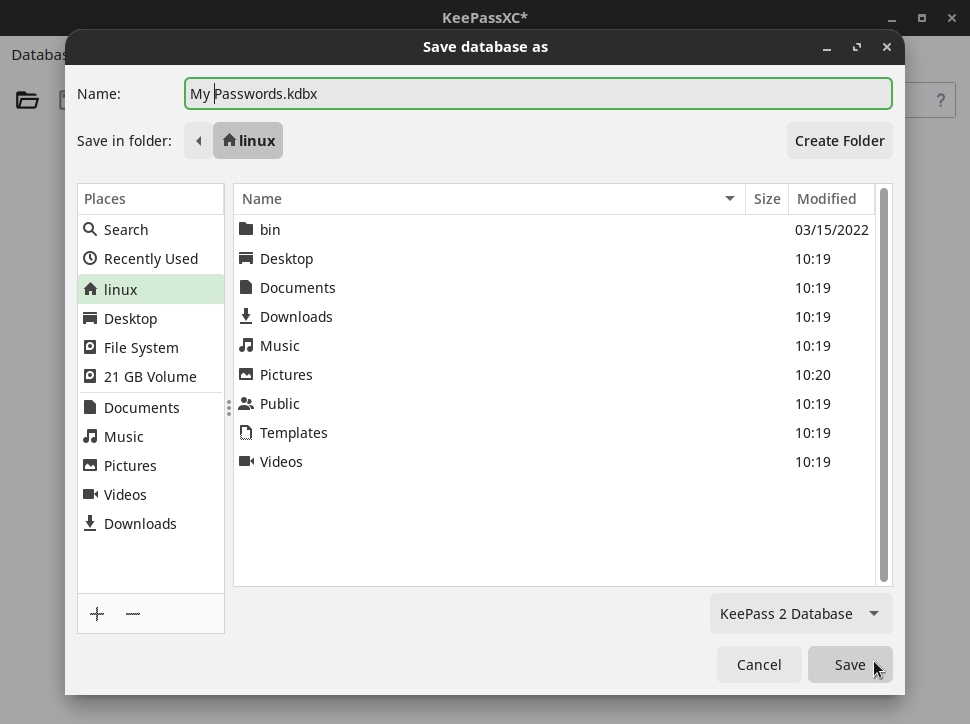
Please note that a KeePassXC database file by default has the .kdbx extension (e.g. My Passwords.kdbx).
Once the database is created, KeePassXC opens it, for now without any passwords:

Storing a password in the database
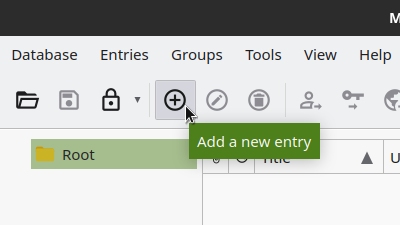
To store a password in the database, click the Add a new entry button:
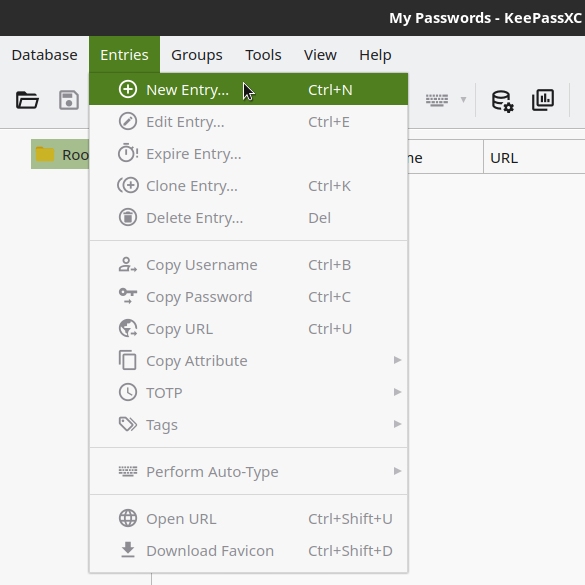
Alternatively, you can use the Entries > New Entry menu or the keyboard shortcut Ctrl + N:
Fill out the form with relevent information about the password you’re saving (provide a descriptive Title to make it easier to find it later, you can click the eye icon to see the password as you type):
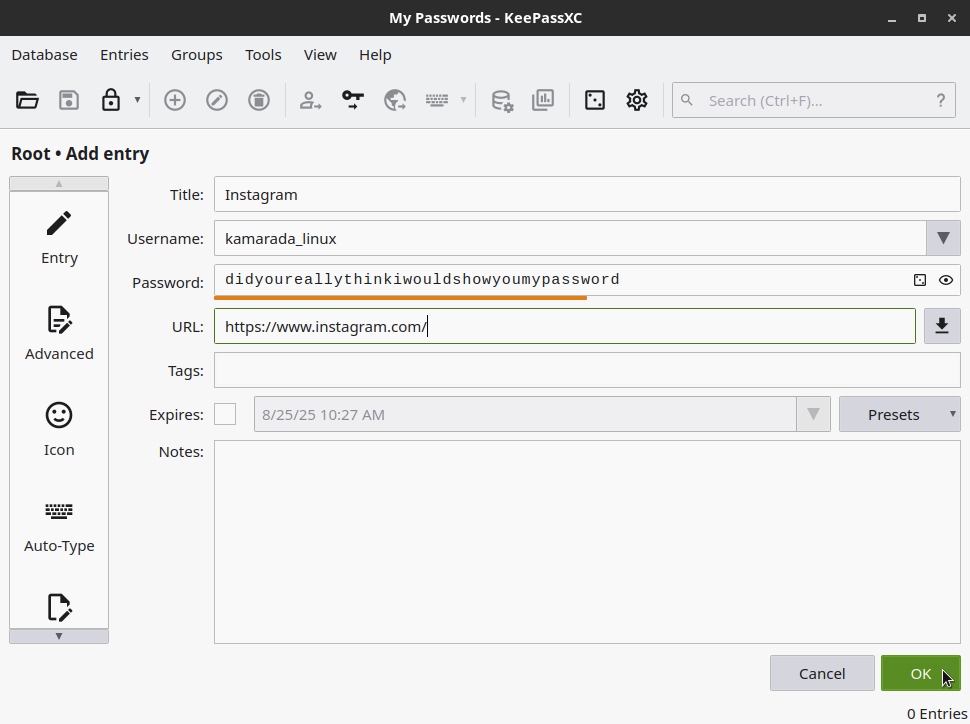
When finished, click OK.
KeePassXC updates the password list, showing the new password selected:
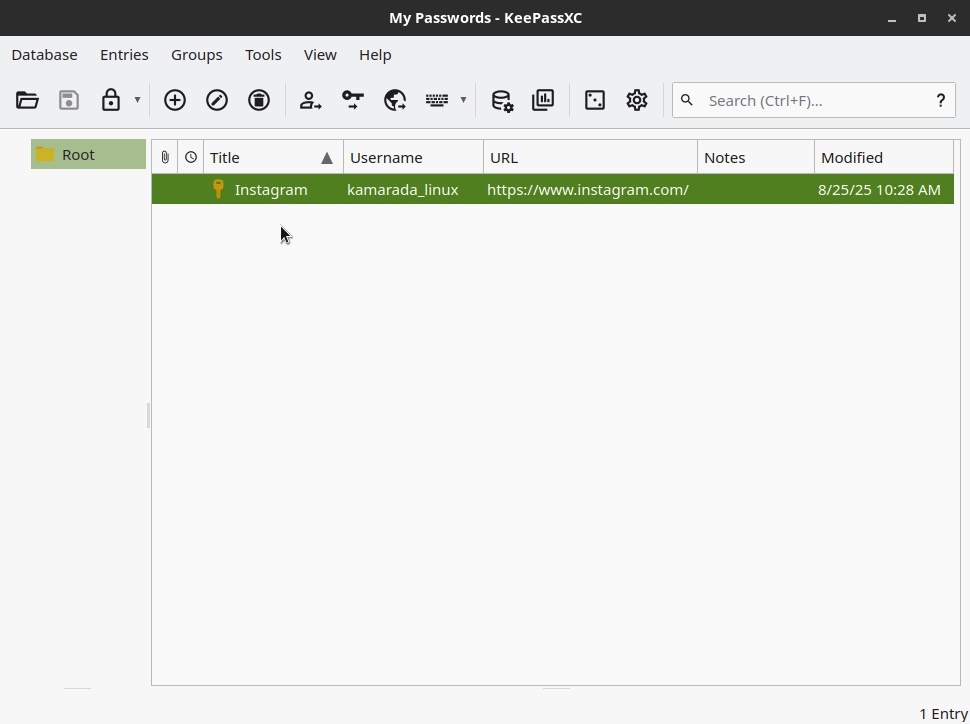
Note that, by default, the database is automatically saved every time a password is added or modified.
Modifying a saved password
Please note that storing or modifying passwords in KeePassXC does not change the passwords on your actual accounts. Your KeePassXC password database is not connected to your online accounts. Therefore, KeePassXC only stores what you write and save in it, nothing more.
If you changed a password of an online account and want to update the corresponding entry in the KeePassXC database, double-click it. Alternatively, select the entry in the list and use the Entries > Edit Entry menu or the keyboard shortcut Ctrl + E.
The editing entry screen is similar to the adding entry screen.
When you’re done modifying what you want, click OK to save your changes.
Tip: in the entries list, if you double-click a URL, it will be opened in your default browser.
Using a password stored in the database
Let’s say you accessed a website and need a password that is stored in the KeePassXC database.
On the KeePassXC screen, locate the password in the list. To do this, you can use the Search text field in the upper-right corner of the screen. It can be conveniently accessed with the keyboard shortcut Ctrl + F.
Right-click the password and click Copy Password:
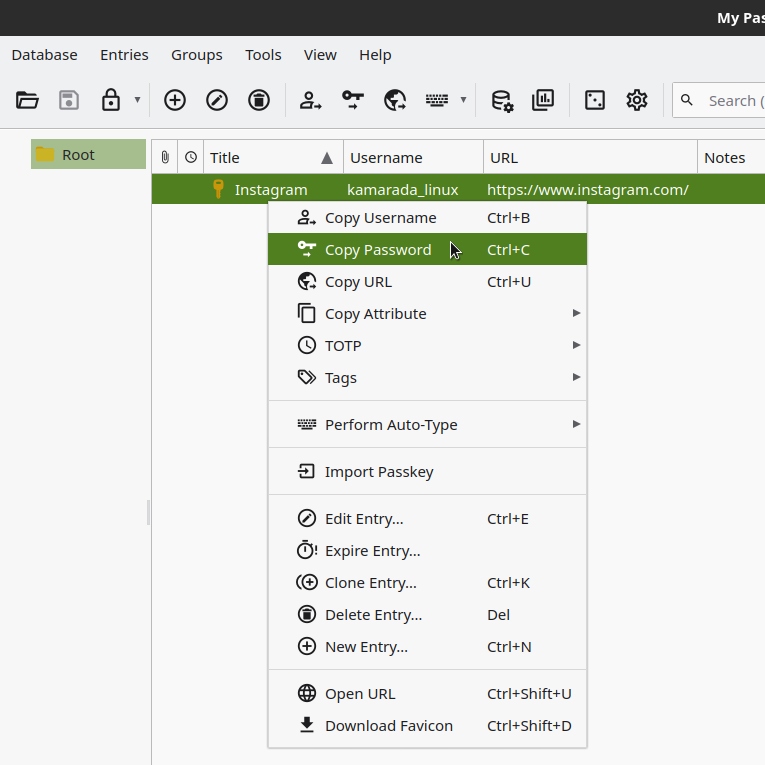
Alternatively, you can select the password and use the keyboard shortcut Ctrl + C.
On the website, paste the password copied from KeePassXC:
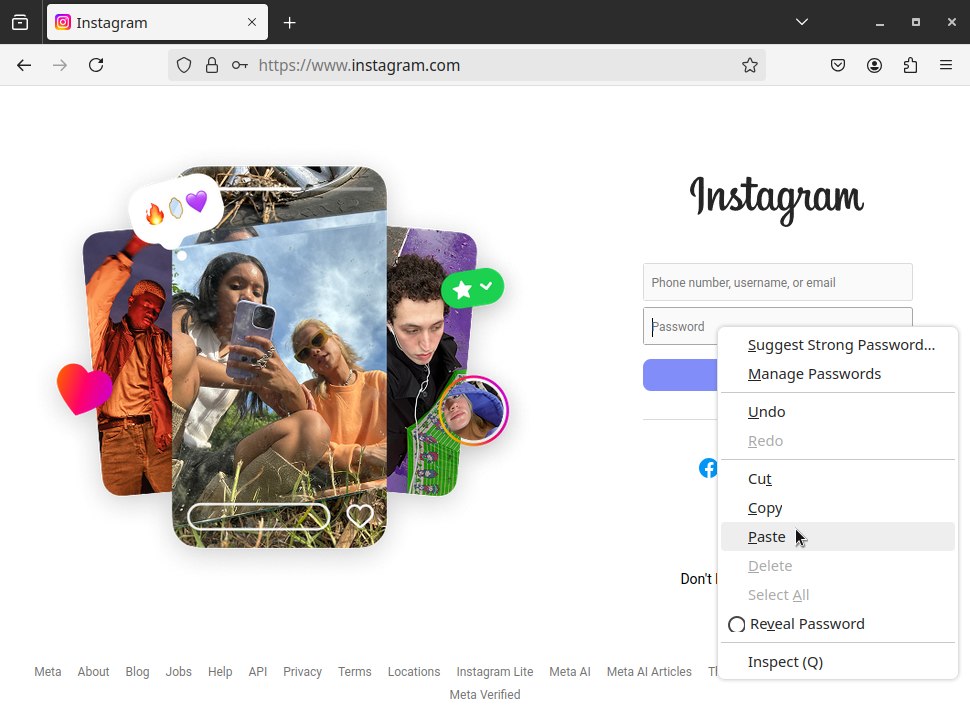
As a security measure, the copied password doesn’t stay in the clipboard for long. By default, you have 10 seconds to paste the password before KeePassXC clears the clipboard. If you don’t paste the password within that time, you’ll have to copy it again.
Note that KeePassXC also allows you to copy the username (Ctrl + B).
This isn’t the most practical way to use KeePassXC. We’ll look at how to integrate it with your browser later. But realize how flexible KeePassXC is: you don’t need a browser to use it, so you can store passwords not only for websites, but also for apps, computers, credit cards – in short, whatever passwords you want. And you can also use KeePassXC with different browsers (normally, you wouldn’t be able to access Chrome saved passwords on Firefox, and vice versa, for example).
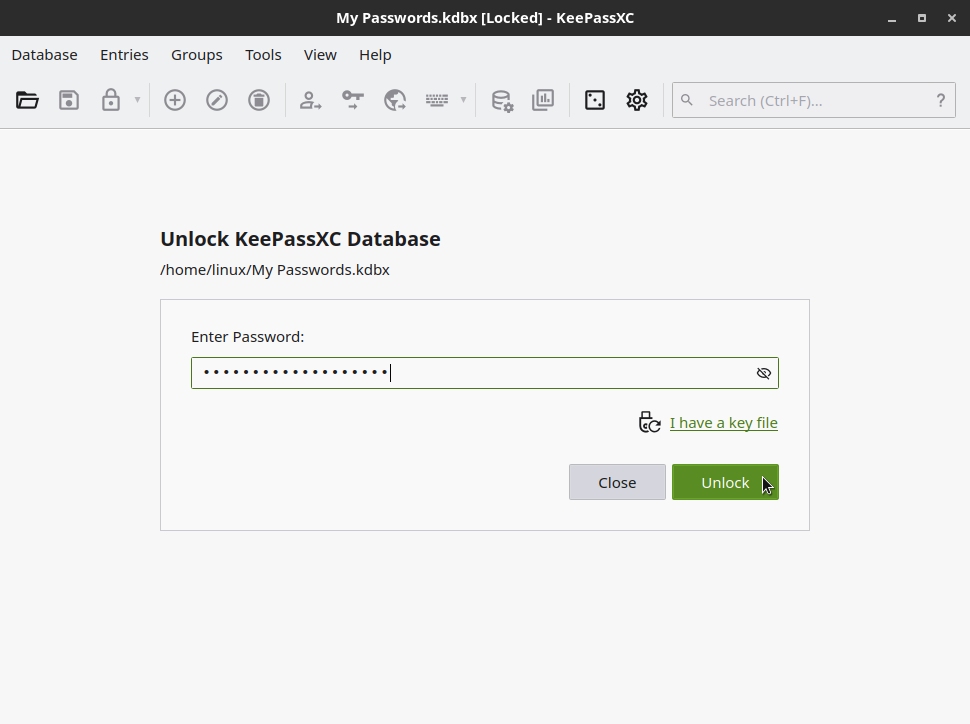
Locking and unlocking the database
As a security measure, when your computer screen gets locked, KeePassXC also locks the password database by default. When you unlock your computer, you must enter the database password to access it again:
If you want, you can also lock the database manually by going to Database > Lock Database (Ctrl + L).
Regardless of the screen lock, you can configure KeePassXC to automatically lock the database after a certain period of inactivity.
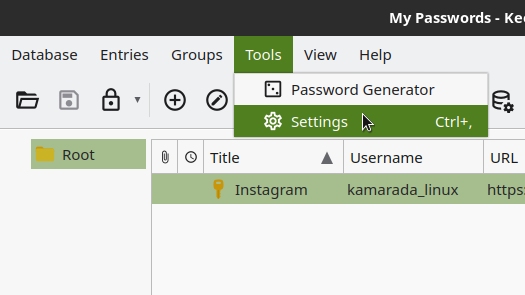
If you want to do this, go to Tools > Settings (Ctrl + ,):
Select the Security section by the left. Enable the Lock databases after inactivity option and set a delay in seconds for this to occur:

When finished, click OK.
Grouping passwords
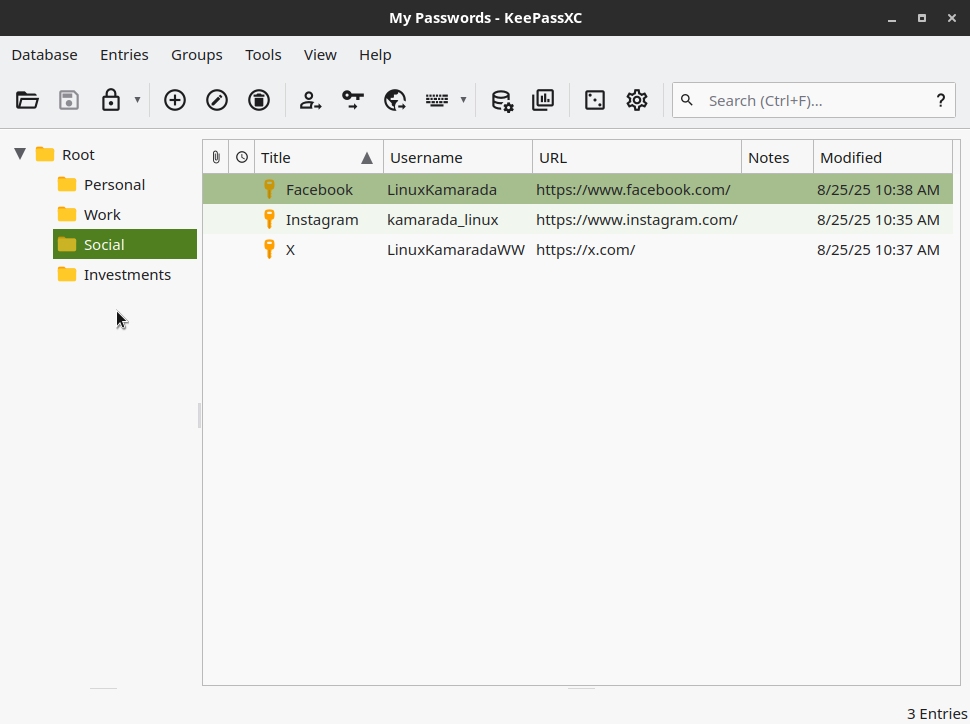
You can group passwords if you want, just like you group files into folders. You can even insert one group within another.
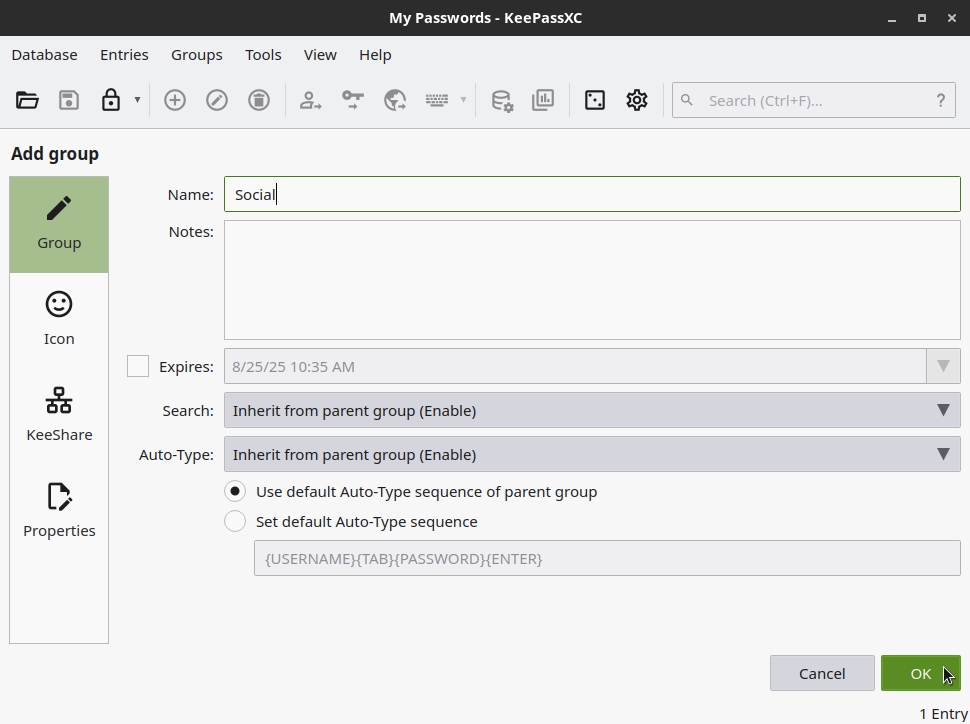
To create a new group, right-click on a free area of the Group Panel by the left and click New Group:
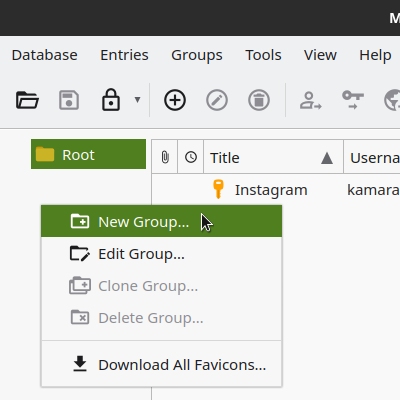
On the next screen, give the new group a Name and click OK:
Back to the KeePassXC main screen, the newly created group appears in the Group Panel by the left. You can move existing passwords into it by simply dragging them. Managing passwords and groups is very similar to managing files and folders.
Closing the database
If you are no longer working with the database, you can simply close KeePassXC. Or, if you just want to close the database but keep KeePassXC open (perhaps to use another database), you can close the currently open database by going to Database > Close Database (Ctrl + W).
Opening an existing password database
If you close KeePassXC, the next time you start it (as we saw previously, through the Activities menu), it will automatically open the last database you used, but locked, asking you the password to access it again (in the same way as we saw in a screenshot above).
You can also open a database by going to Database > Open Database (Ctrl + O).
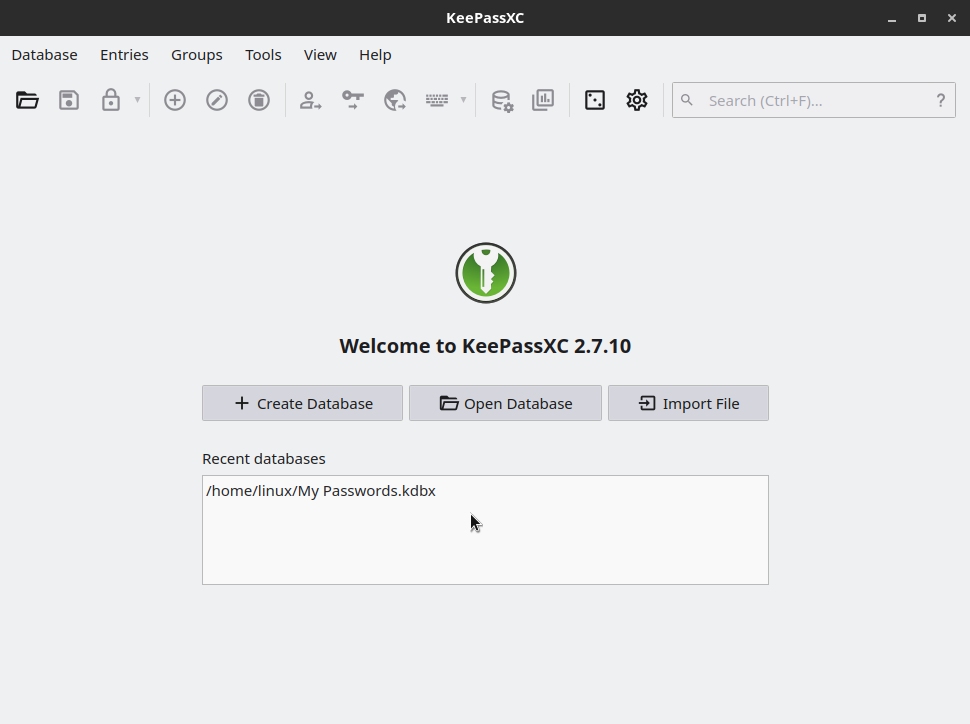
Depending on how you closed KeePassXC, if there were no databases open, the next time you start it, the home screen will list the last databases you opened, so you can open them from that list as well:
Synchronizing passwords across multiple devices
If you save your password database on a service like Dropbox, you can access your passwords on other computers (with KeePassXC, which, again, is available for Linux, Windows, and macOS) and even on mobile devices (with apps like KeePassDX on Android or Strongbox on iOS).
Just note that the password database is a file, and it is synchronized in its entirety. A service like Dropbox won’t handle each password individually. How could this be a problem? If you often modify your password database on both your computer and your phone, you might end up with conflicted copies of the database, or you might lose a password.
If you want to store your password database in the cloud, what I do and it has never given me any problems – and that’s why I recommend it – is to modify the database only on the computer, so that synchronization always happens in one direction only: from the computer to the phone.
Conclusion
Using a password manager like KeePassXC is the safer and recommended way to store your passwords and carry them with you wherever you go. KeePassXC is an excellent program, which I have been using daily for several years now.
I plan to write a few more articles about KeePassXC. While you’re waiting, if you’d like to read more about KeePassXC, I recommend:
- Official KeePassXC documentation
- KeePassXC article on the Security in a Box digital security guide
Continue reading the following articles about KeePassXC:
But by no means, even with those future articles, do I intend to end the subject. KeePassXC is a feature-rich program, but it also has a simple and intuitive interface. You can explore its interface and features on your own.


