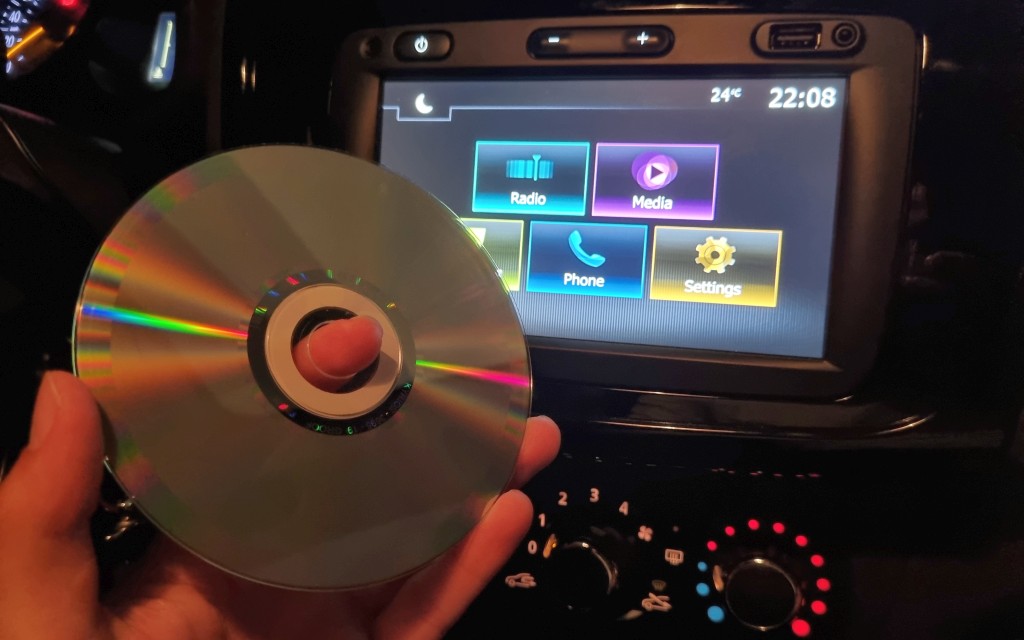
A stereo CD player is something rare nowadays. It’s interesting to think how media evolved: in my childhood, I had cassette tapes, but at the time there were already CDs. Afterwards, MP3 music files became common, first stored on CDs, then on USB sticks. Until, finally, Bluetooth-enabled smartphones came along. Today, the scenario that seems more common to me is: the stereo only serves to produce the audio that we hear, while the songs themselves are stored on a smartphone, as MP3 files or streamed from a service such as Spotify.
Streaming services made it very easy to search for and listen to music. It’s not hard to find the music I’m looking for on Spotify or YouTube.
But what to do if you are holding a CD, this album is not available on any streaming service, and you want to listen to it in your car, whose multimedia player does not have a CD drive?
In this case, extracting the songs from the CD to MP3 files – a process better known as “ripping” the CD – may be an option. You can then store these MP3 files on a USB stick or smartphone and listen to them with your car stereo.
On Linux, you can rip a CD in a few ways, and one of them is using the Sound Juicer app. In this how-to, you’ll see how to install and use Sound Juicer on Linux Kamarada 15.4, which is the Linux distribution we are going to use as reference.
Installing Sound Juicer
You can install Sound Juicer from the openSUSE official repositories using one of two ways: from the graphical interface using 1-Click Install or from the terminal using the zypper package manager – choose whichever method you prefer.
To install Sound Juicer using 1-Click Install, click the following button:
To install Sound Juicer using the terminal, run the following command:
1
# zypper in sound-juicer
If you use FlatPak, another option is to install Sound Juicer from Flathub:
1
# flatpak install org.gnome.SoundJuicer
Right after installing, you should be able to launch Sound Juicer.
Starting Sound Juicer
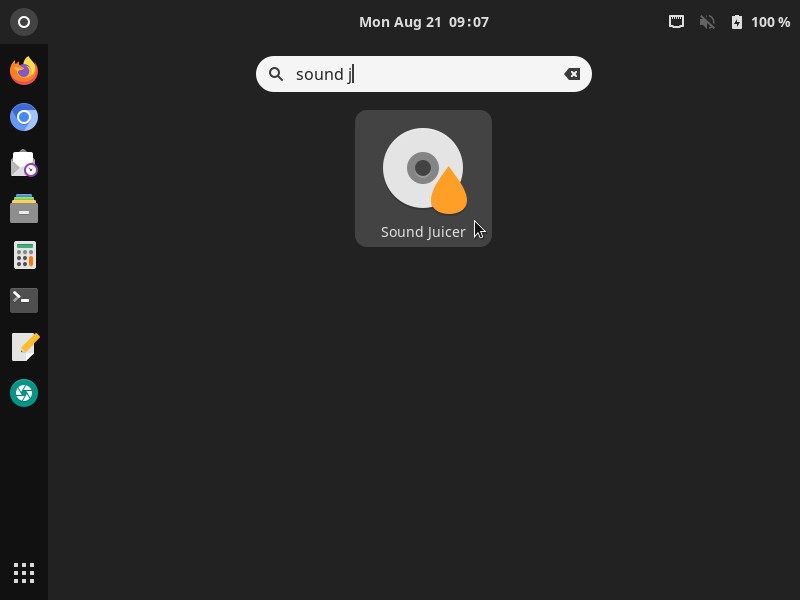
To start Sound Juicer, if you use the GNOME desktop, click Activities, by the upper-left corner of the screen, start typing sound juicer and then click its icon:
Setting up Sound Juicer on first use
Sound Juicer saves the extracted songs as Ogg Vorbis files by default. Ogg Vorbis is an open compressed audio format. But the MP3 format is more common. Let’s configure Sound Juicer to save songs as MP3 files.
Fortunately, we need to do this configuration only when using Sound Juicer for the first time. It remembers our settings in following uses.
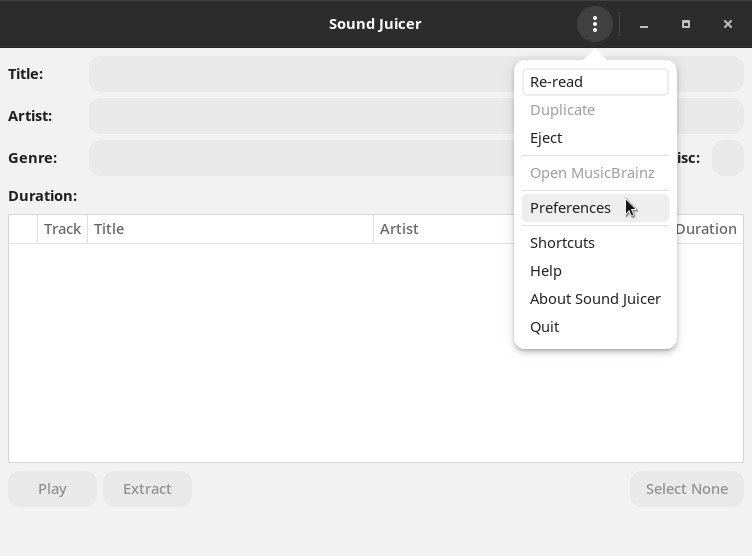
Open the Sound Juicer menu (by clicking the three-dot icon by the upper-right corner of the window) and click Preferences:
Select MPEG Layer 3 Audio as Output Format:
Close the Preferences dialog.
Ripping a CD with Sound Juicer
Insert the audio CD you want to rip into your computer’s CD drive if you haven’t already.
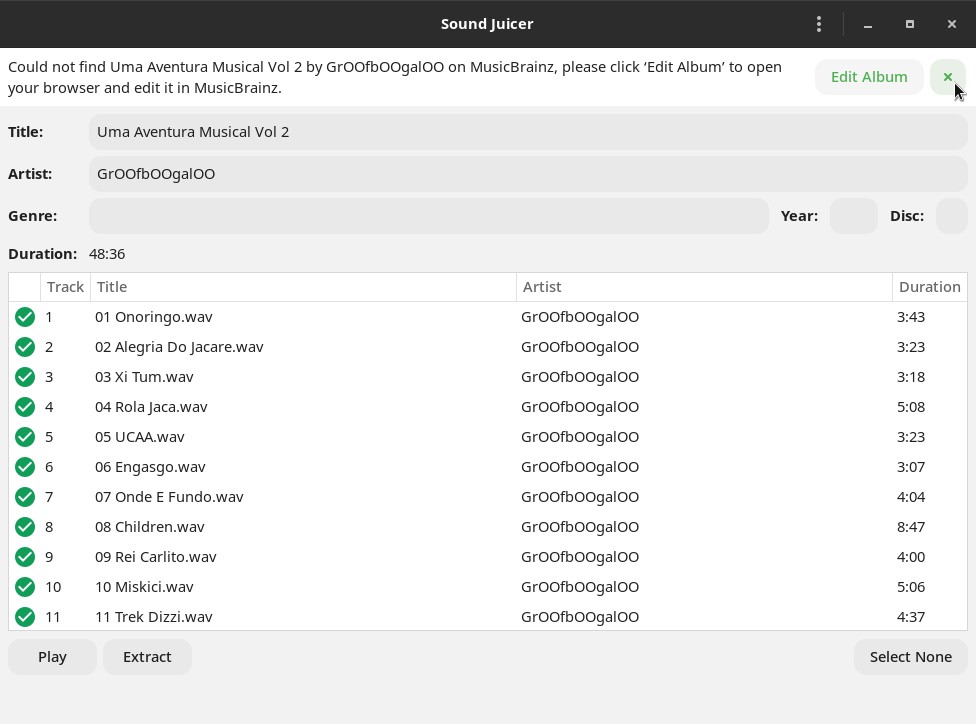
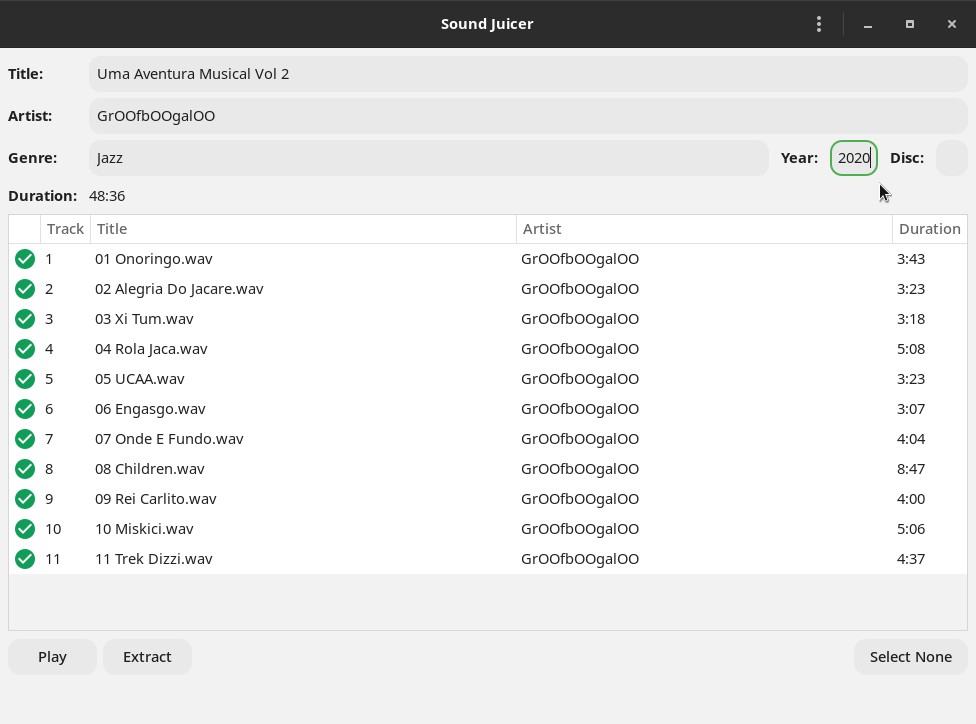
Sound Juicer reads the disc and tries to get information about it, either from the disc itself or from the MusicBrainz online music database:
Note that Title, Artist, Genre, Year and Disc are text fields and you can enter or change these data:
In this example, I set Genre to Jazz and Year to 2020.
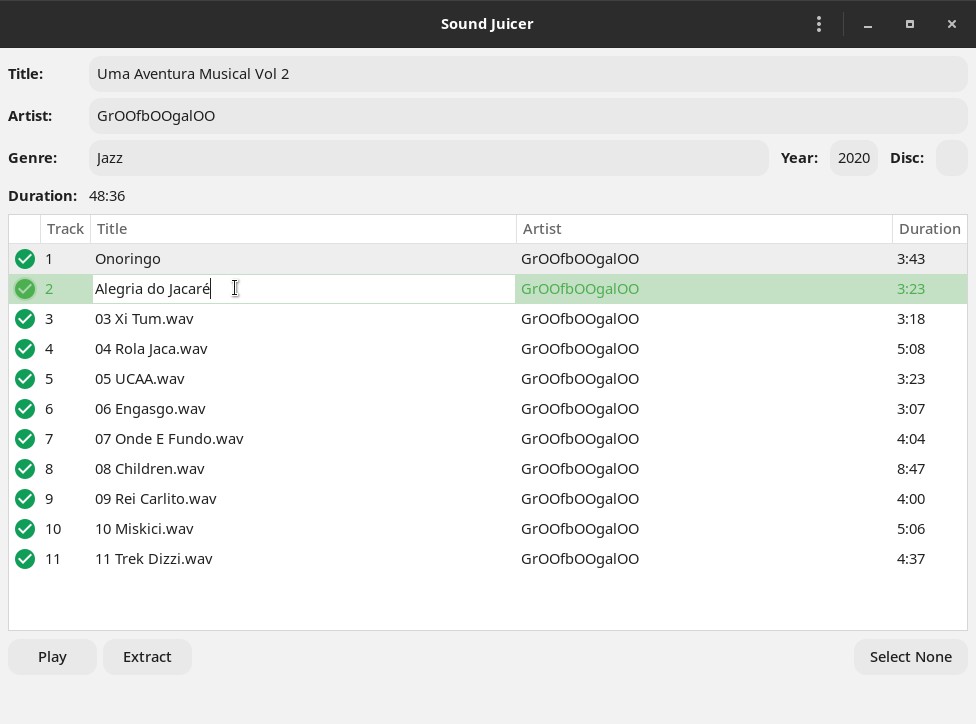
By double-clicking the track names, you can also rename them:
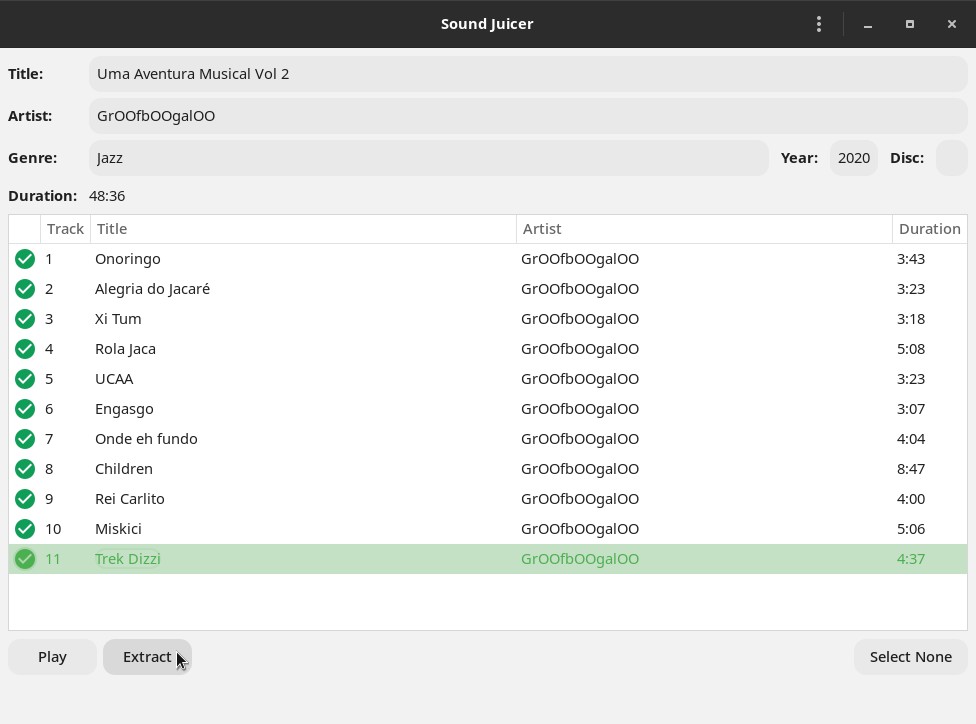
When you are done reviewing the CD data, make sure all the tracks are selected and click Extract:
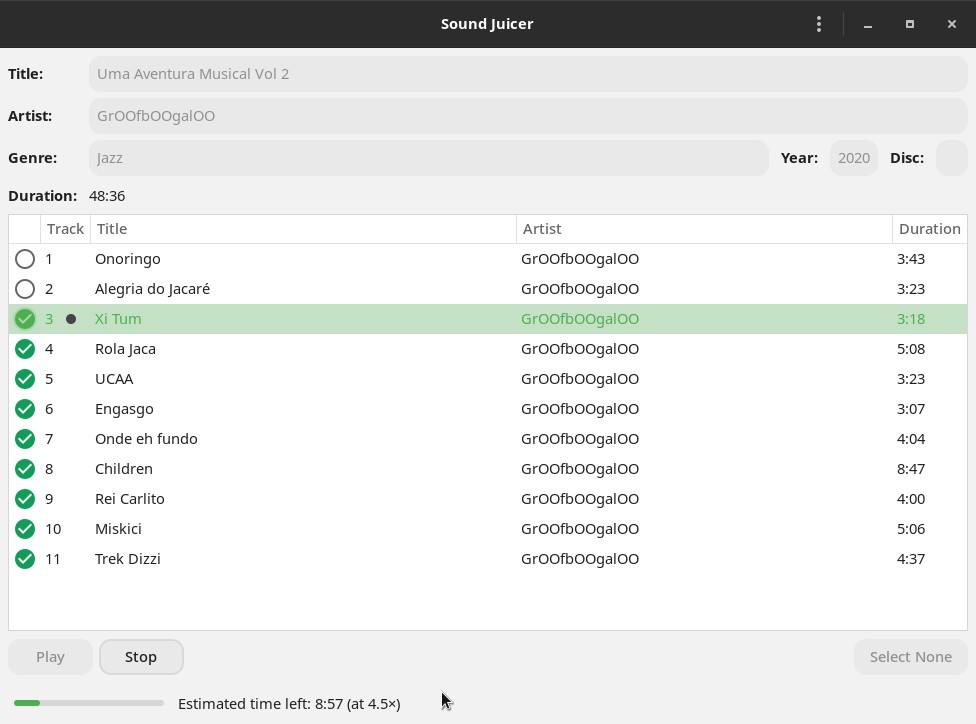
A progress bar at the end shows the ripping progress:
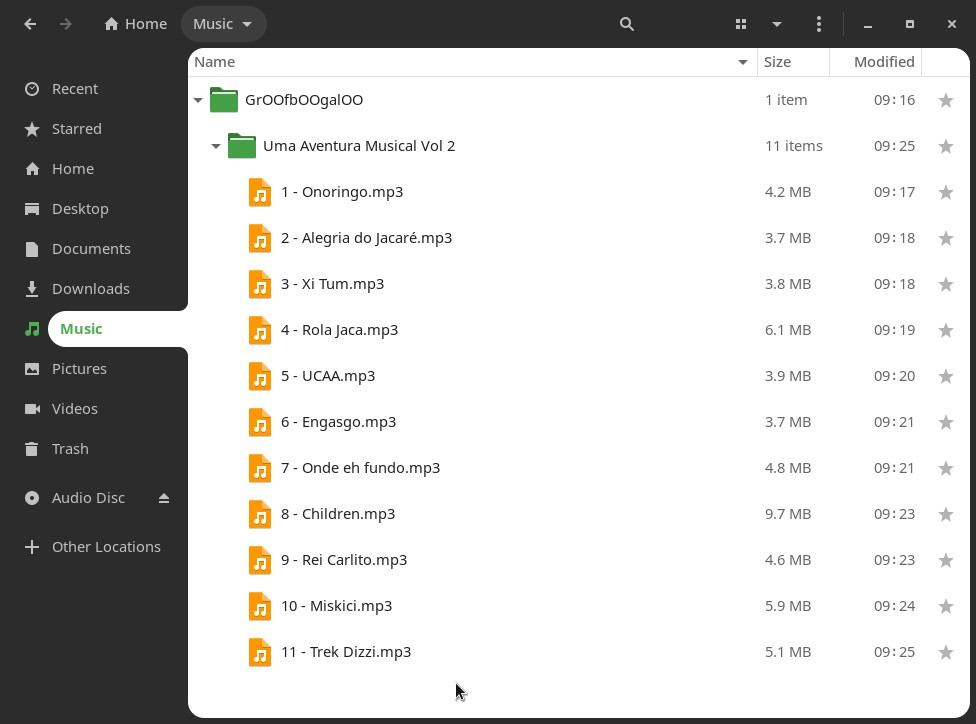
When everything is finished, the MP3 files are going to be in the Music folder:
I won’t share the MP3 files I created while writing this tutorial anywhere. Even because there is no need: if you are curious to hear this album, know that it’s from the Brazilian band GrOOfbOOgalOO and is available on Spotify, YouTube and other streaming services.
