We’ve seen what is a VPN, the Tor Network, and the easiest way to use it on Linux, which is via the Tor Browser, a web browser based on Mozilla Firefox modified to only transfer data within the Tor Network. Since on computers (desktops and laptops) it is more common to access online services by a web browser, rather than applications (as is the case with mobile devices – smartphones and tablets), the Tor Browser is the best way to start using the Tor Network on Linux.
However, if you need to tunnel one or more Linux apps through the Tor Network, you can do so using the Tor client. It is usually installed as a service, that is, a program that runs behind the scenes (in the background) while you use other programs. When started, the Tor client connects to the Tor Network and makes this connection available to other applications via a proxy. So, to tunnel an app through the Tor Network, you just need to configure it to use this proxy.
Below, you will see how to install and use Tor on Linux. As a reference distribution, I’m going to use Linux Kamarada 15.5, based on openSUSE Leap. If you use another distribution, probably only the installation method is different. For more information, take a look at your distribution’s documentation.
Installing Tor
Actually, Linux Kamarada already comes with Tor installed out of the box since version 15.2, released in September 2020, it is just not enabled by default. Therefore, if you use Linux Kamarada, you can jump to the next section of this article.
You can install Tor from the openSUSE official repositories using one of two ways: from the graphical interface using 1-Click Install or from the terminal using the zypper package manager – choose whichever method you prefer.
To install Tor using 1-Click Install, click the following button:
To install Tor using the terminal, run the following command:
1
# zypper in tor
Starting Tor
You can start the Tor service from the terminal by running this command:
1
# systemctl start tor
This command produces no output, but Tor may take a few seconds or minutes to start.
Checking whether Tor is running
You can check if the Tor service is running from the terminal using:
1
# systemctl status tor
This command should display something like:
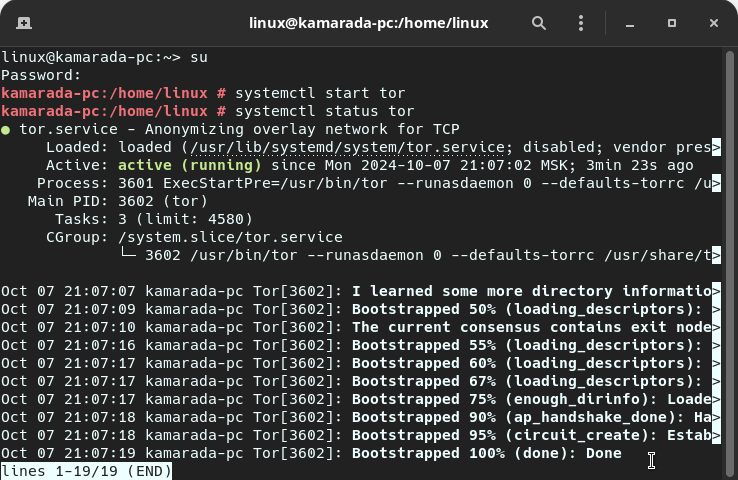
Notice at the end: Bootstrapped 100% (done): Done. This indicates that the Tor client is connected to the Tor Network and is therefore ready to use.
Testing Tor
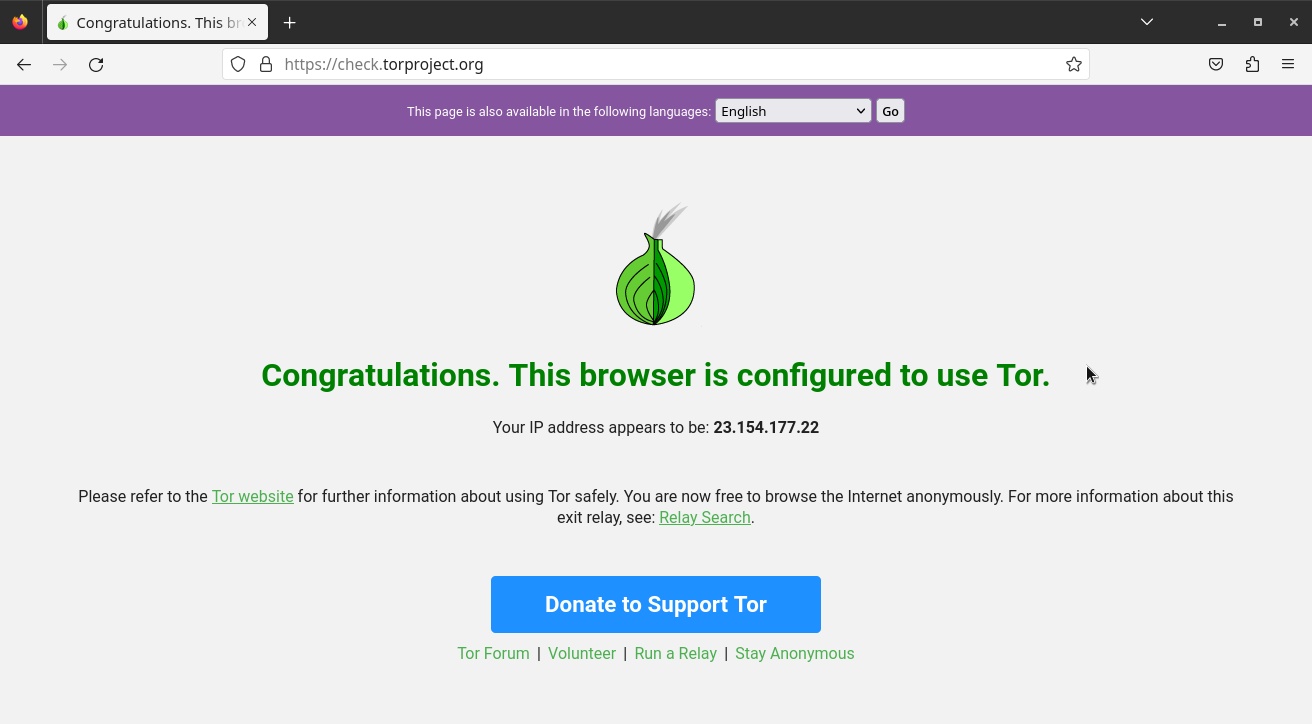
As we have seen, before you start using the Tor Network, you should always test whether your system is actually connected to the Tor Network by going to check.torproject.org. In the previous tutorial, we did this in the Tor Browser.
Since we are now using the Tor client, we can do this using any browser installed on the system, as long as we configure it to use the Tor proxy, as we will see below.
Configuring applications to use Tor
The Tor service provides a SOCKS proxy on your computer (referred to as localhost or 127.0.0.1) on port 9050. If you configure an app to use this proxy, all of that app’s network traffic will be tunneled through the Tor Network.
We have already shown in another article e.g. how to use Telegram via Tor.
Using browsers with Tor
Please note that the best way to access websites through the Tor Network is using the Tor Browser, which not only transfers data within the Tor Network, but also comes with several privacy-related settings.
It is not recommended to use a regular web browser, such as Mozilla Firefox or Google Chrome, to browse the Tor Network, even if your traffic is being tunneled through the Tor proxy.
But if for any reason you need to do this (such as to quickly access check.torproject.org to see if Tor is ready to use), here’s how to do it in major browsers.
Firefox
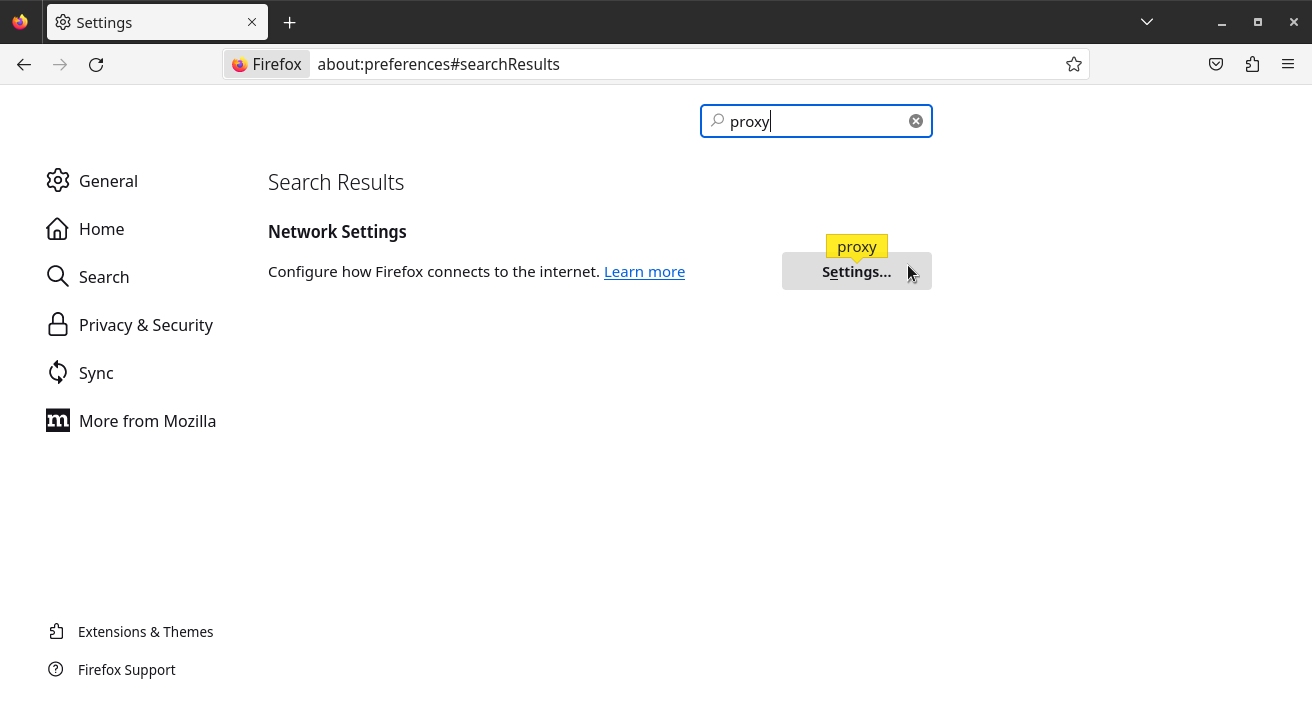
Open the Firefox menu in the top-right corner of the window and click Settings:

In the search box, type proxy, and then, under Network Settings, click the Settings button:
Choose Manual proxy configuration:
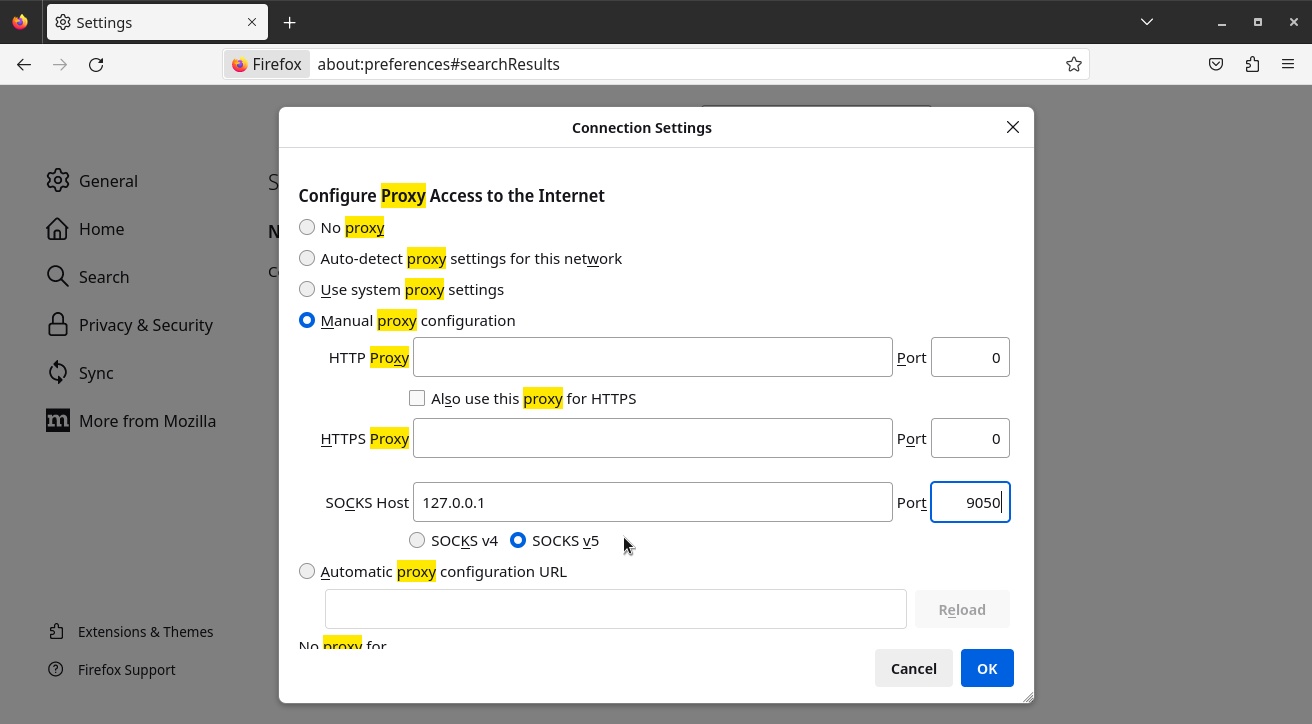
In SOCKS Host, enter 127.0.0.1.
In Port, enter 9050.
Make sure SOCKS v5 is selected (it is by default).
Further down, check the option Proxy DNS when using SOCKS v5:

Finally, click OK.
Now go to check.torproject.org to test your connection to the Tor Network:
Chromium/Chrome
Open the Chromium menu in the top-right corner of the window and click Settings:

In the search box, type proxy, and then click Open your computer’s proxy settings:

The GNOME Settings application is opened in the Network section:
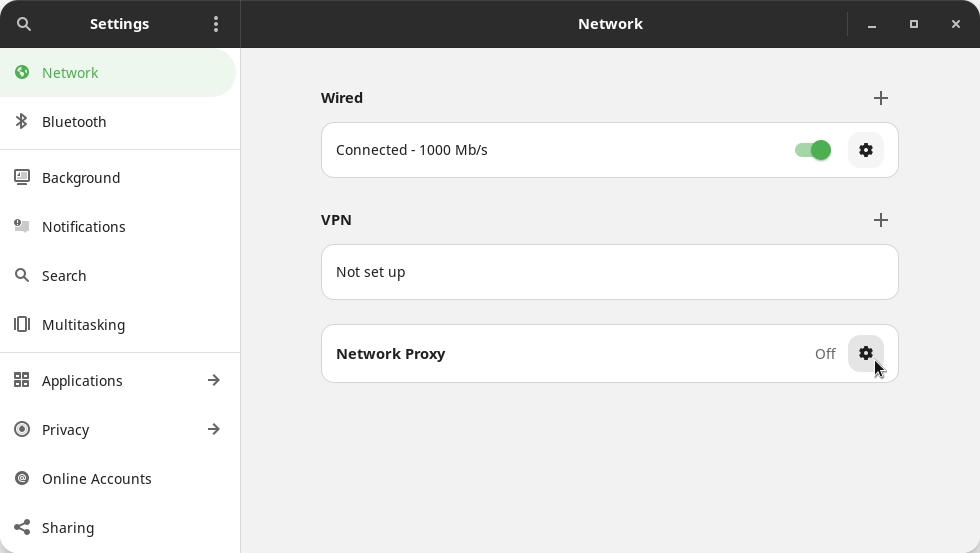
Under Network Proxy, click the gear icon.
Choose Manual:
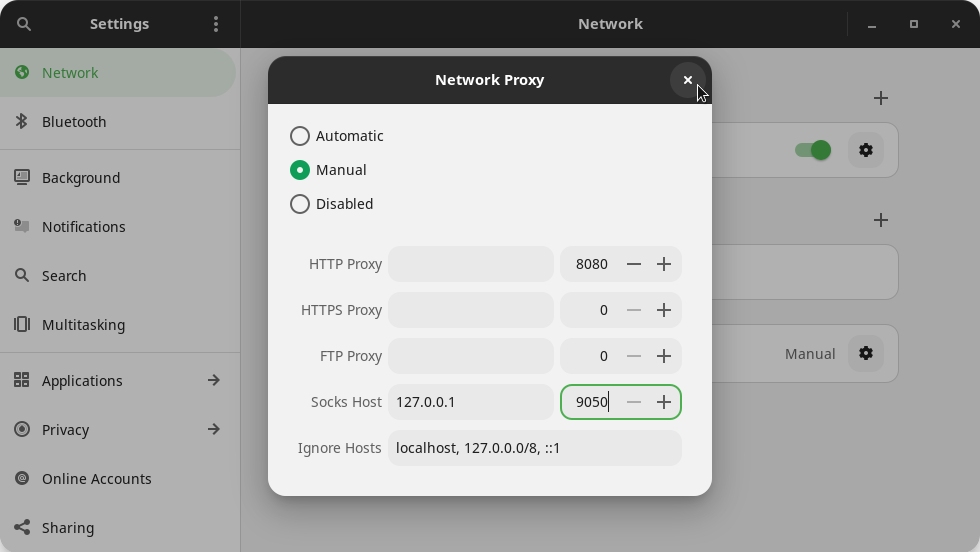
In Socks Host, enter 127.0.0.1. Next to it, enter the port 9050.
You can close the Network Proxy dialog box and the Settings window.
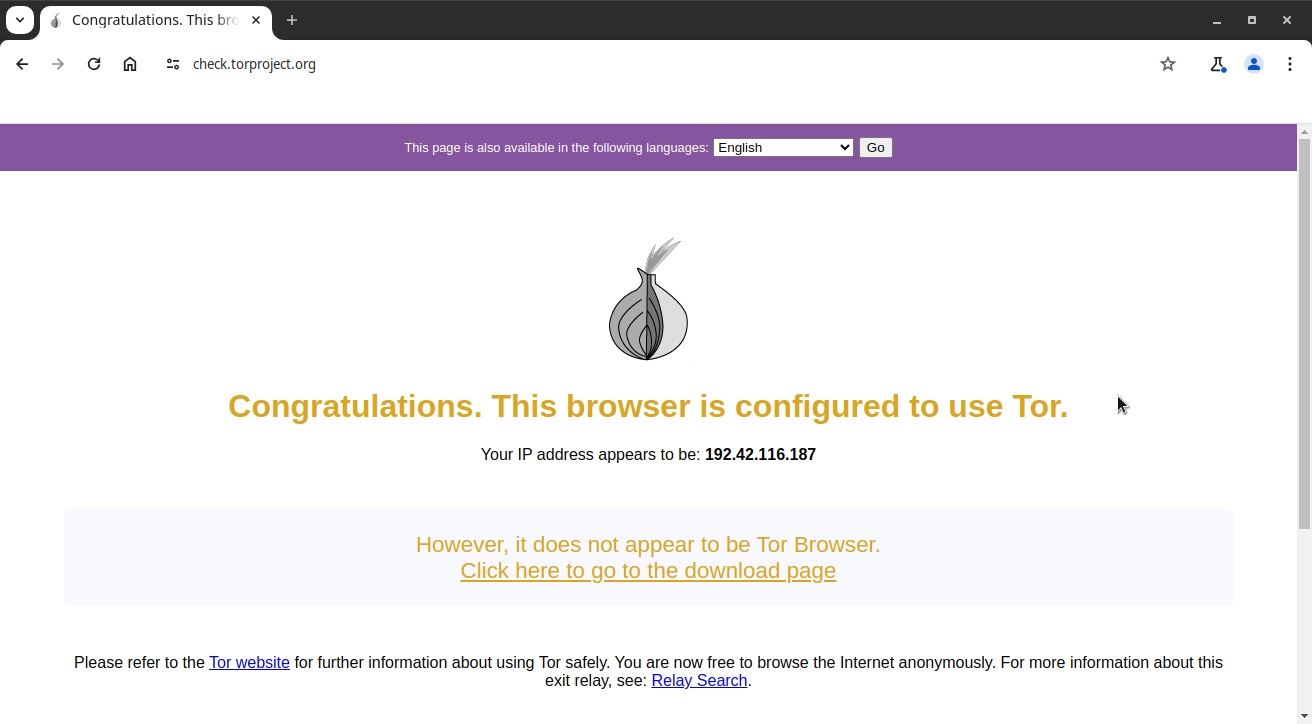
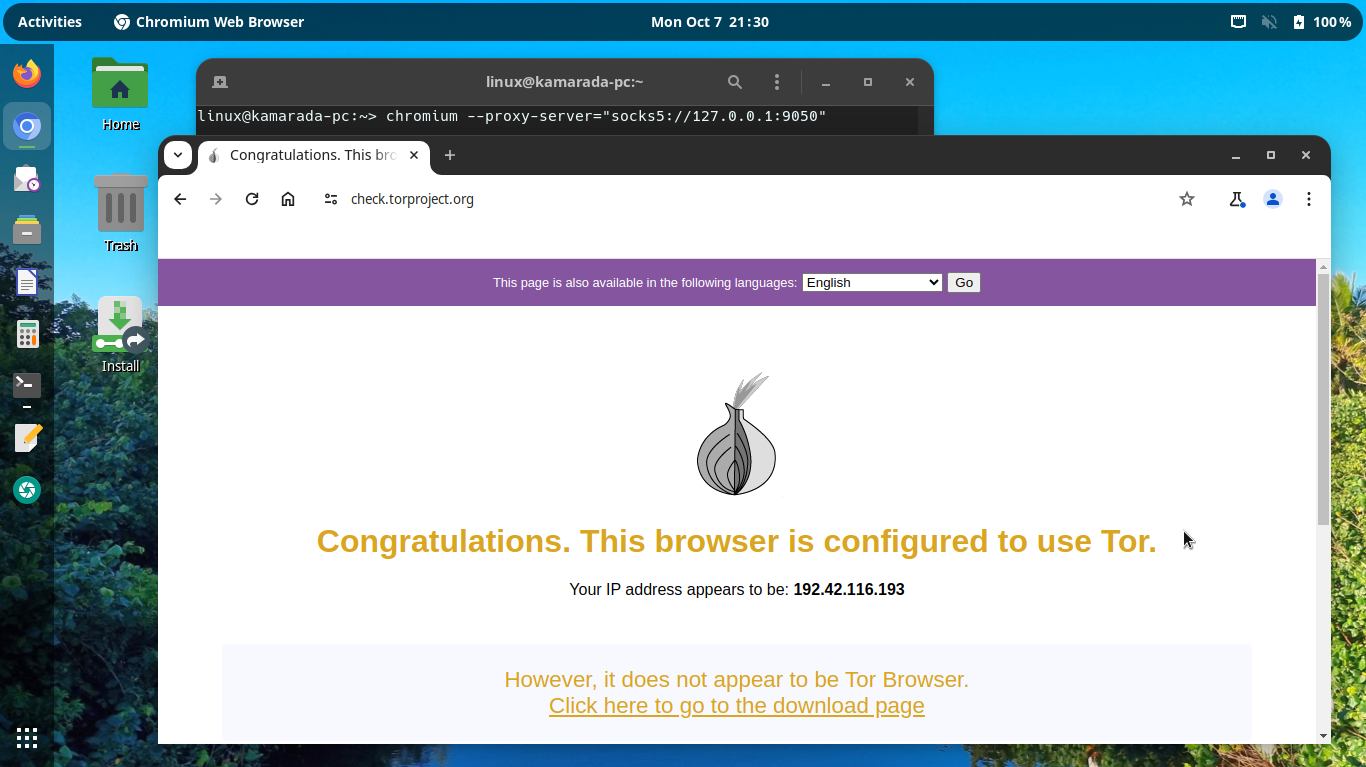
Back to Chromium, go to check.torproject.org to test your connection to the Tor Network:
Note that Chromium actually doesn’t have its own proxy configuration screen like Firefox and Telegram, it uses the system proxy settings. And the way we just did this configuration, it will affect other apps as well, which will also use this proxy.
Alternatively, you can open the terminal and start Chromium like this:
1
$ chromium --proxy-server="socks5://127.0.0.1:9050"
Stopping Tor
If for any reason you want or need to stop Tor (e.g. if you are done using the VPN and will not use it again today), you can do so by running this command in the terminal:
1
# systemctl stop tor
Getting Tor started at bootup
If you use Tor every day, you may want your system to start it automatically during boot. To do that, run:
1
# systemctl enable tor
By doing that, your system will always be ready to use the Tor Network.
Conclusion
For a more complete Tor Network experience on Linux, have both installed on your computer: the Tor Browser to access websites, and the Tor Client to enable applications.
Don’t end the subject here. Learn about VPNs, including alternative VPNs to Tor, because you may need them in the future.
If you are using Tor to overcome censorship, please note that your country may censor the Tor Network itself. You may want to take a look at the Censorship section of the Tor documentation in advance.


