If you are a developer, you probably already know how an Integrated Development Environment (IDE) makes your life easier. Sure, you can always code the hard way with a text editor and a terminal, but a good IDE speeds up development mainly through features like debugging and code completion. And if you work on multiple projects that use different programming languages, or on a project that uses multiple languages – as it is common with websites and web applications that use HTML, CSS, JavaScript, PHP, etc. – an IDE that supports those different languages allows you to handle all of them with a single tool.
Working in development, I’ve used a few IDEs, such as Eclipse, NetBeans and PhpStorm, but the ones I’ve been using the most lately are Visual Studio Code (commonly abbreviated VS Code) and its free (libre) software equivalent, VSCodium (not only have I been using them, but so have 73% of the developers who responded to the 2024 Stack Overflow Developer Survey).
Google does something similar developing Chromium, which is free (libre) software, and Chrome, which is free (can be used at no cost) but proprietary. Chrome has Chromium as its code base but adds some proprietary components.
Microsoft develops VS Code in the vscode repository on GitHub. Its source code is open and made available under the MIT license. Therefore, it is free (libre) software. You could download this code, build it on your computer and use it freely. Or you could download the ready-to-use program from the VS Code website, which is more convenient, but there is a catch: that program is built by Microsoft with the code from that repository plus some settings customized by Microsoft – for instance, telemetry – and is made available under this other proprietary license. For some people, that is an issue, and that is why the VSCodium project was created. It clones the original vscode repo, builds and makes the program available for download on its website under the MIT license, without telemetry. Note that VSCodium is not a fork of VS Code: the vscodium repository actually contains scripts to clone and build Microsoft’s vscode.
What makes VS Code interesting is that it is a very clean, lightweight, fast IDE that, at first, seems to be nothing more than an enhanced text editor with syntax highlighting and an integrated terminal, but its functionality can be extended by countless extensions that you can install according to your needs. Are you going to write PHP scripts? Then install the PHP extension. Are you going to write Python scripts? Then install the Python extension. Are you going to work with Docker? Then install the Docker extension, and so on.
I have also noticed that VS Code has received a lot of attention from the developer community on the web, and if you search, you can find tutorials on how to do practically everything with VS Code.
If you’ve been working with programming for a while, you’ve probably heard of the former Visual Studio and Visual Studio Express. Don’t confuse Visual Studio Code (VS Code) with those other products. One of the differences is that they include a built-in designer for building GUI applications. To create Visual Studio Code, Microsoft significantly reduced the functionality of Visual Studio, but ended up with a lightweight and versatile final product.
In this tutorial, you will see how to install VS Code and VSCodium on Linux Kamarada 15.6, which will be the Linux distribution we will use as reference, as well as some tips on how to use them on a daily basis.
It’s worth noting that you can install both IDEs on the same system and even use them at the same time, if you prefer. However, note that some features, such as the Dev Containers extension, are only available for VS Code.
Note: from now on, I will refer to both VS Code and VSCodium as just VS Code. When there is any difference between the two, I will make it clear.
Installing VS Code
To install VS Code, you can download the RPM package from its official website or from the Microsoft repository by following the instructions on the VS Code documentation. I created a 1-Click Install based on those instructions, so you can easily install VS Code clicking the button below:
If you prefer the terminal, running the following commands has the same effect:
1
2
3
# zypper addrepo https://packages.microsoft.com/yumrepos/vscode vscode
# zypper ref
# zypper in code
If you use Flatpak, please note that there is a VS Code package on Flathub, but I do not recommend installing it because it is problematic.
Right after installation, you should be able to start VS Code.
Installing VSCodium
To install VSCodium, you can download the RPM package from GitHub or from a repository by following the instructions on the official VSCodium website. I created a 1-Click Install based on those instructions, so you can easily install VSCodium clicking the button below:
If you prefer the terminal, running the following commands has the same effect:
1
2
3
# zypper addrepo https://download.vscodium.com/rpms/ vscodium
# zypper ref
# zypper in codium
If you use Flatpak, please note that there is a VSCodium package on Flathub, but I do not recommend installing it because it is problematic.
Right after installation, you should be able to start VSCodium.
Starting VS Code (or VSCodium)
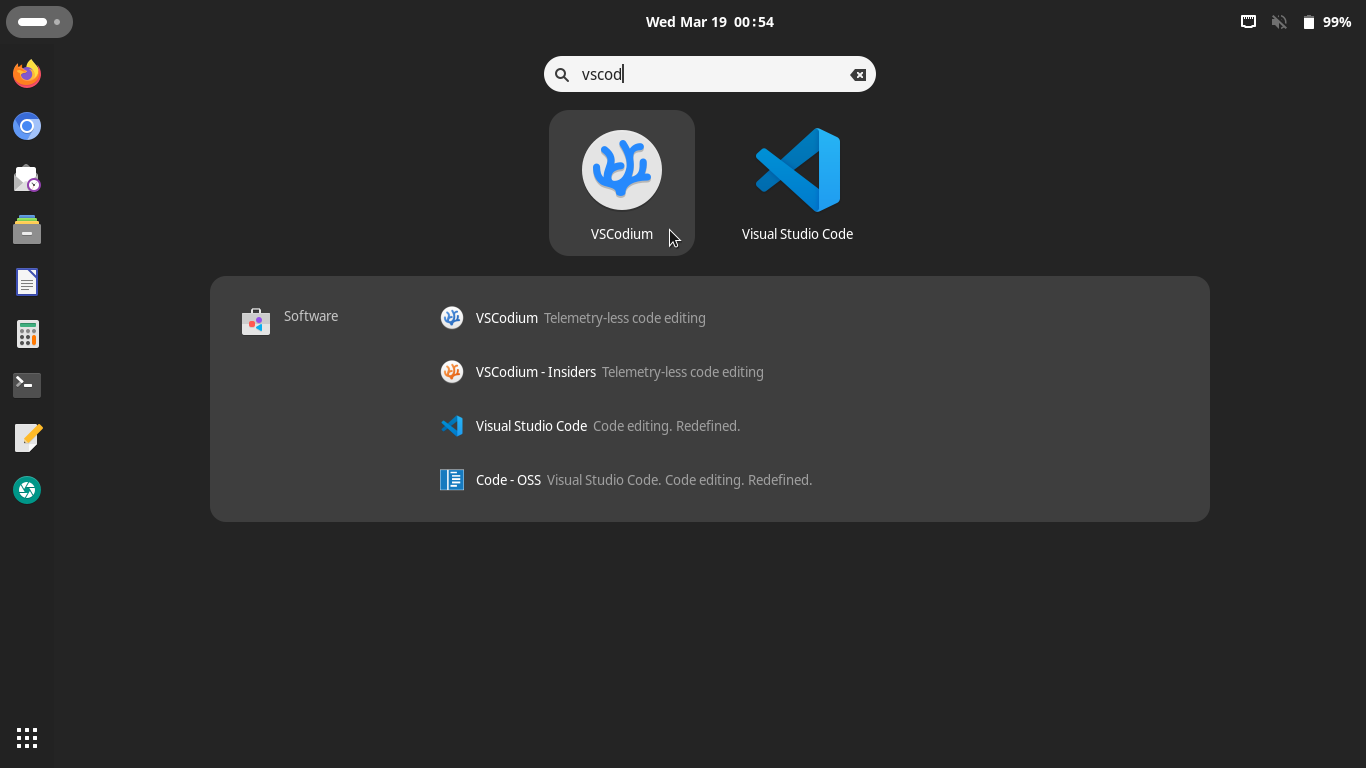
If you use the GNOME desktop (default for Linux Kamarada), you can start VS Code (or VSCodium) the same way you would start any other app, via the Activities menu:
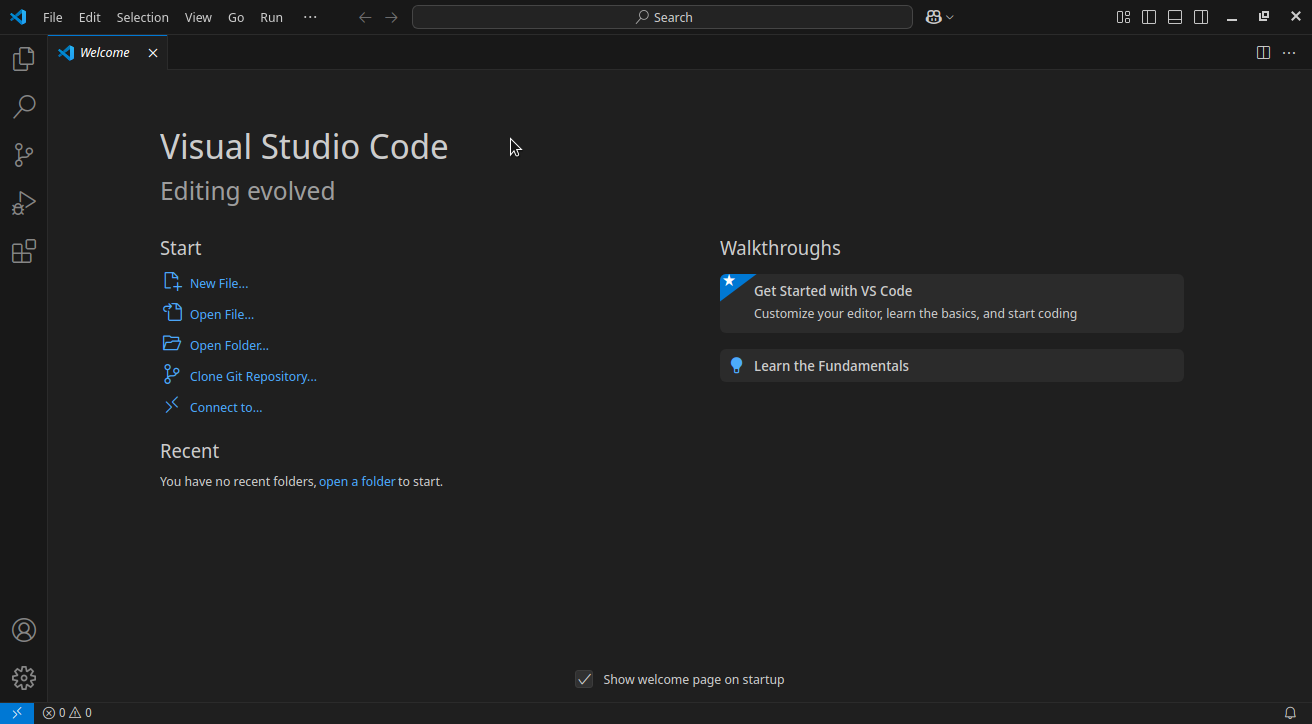
This is the VS Code start screen, currently without any project opened:
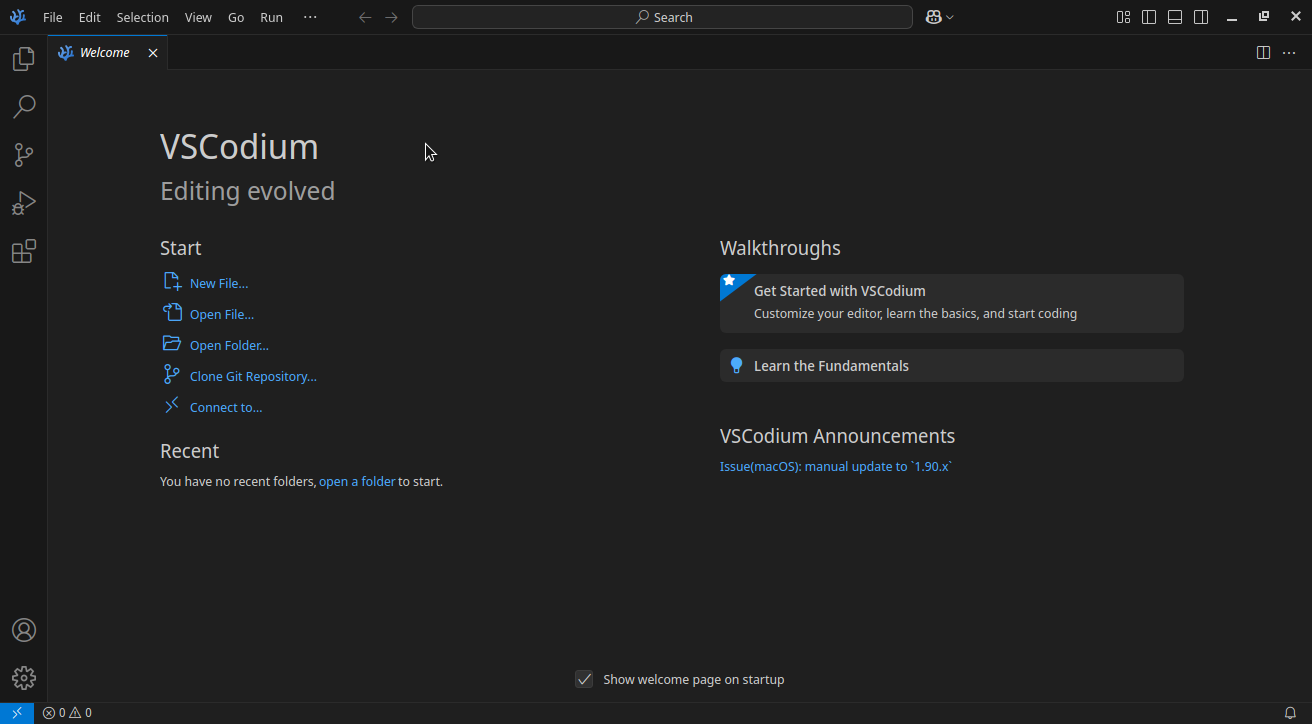
The VSCodium start screen is pretty much the same:
Opening a folder
Once you started VS Code (or VSCodium), you can go to File > Open Folder to open a folder.
You can also start VS Code from the terminal, using the code command and passing as argument the project folder you want to open:
1
$ code /path/to/the/project/
Or change to the project folder using the cd command and invoke the code command passing the current folder as argument:
1
2
$ cd /path/to/the/project/
$ code .
You can also launch VSCodium from the terminal in the same ways. Just invoke codium instead of code.
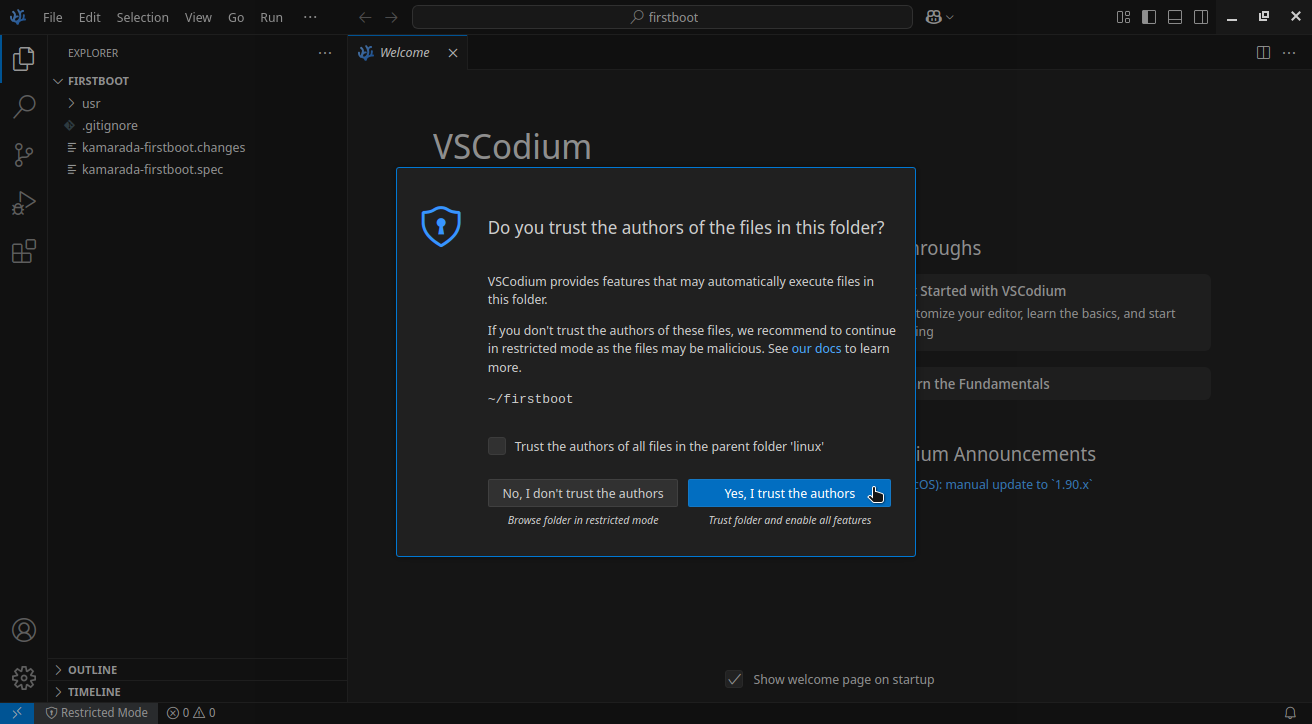
If this is the first time you open this folder, VS Code will ask you if you trust the authors of the files in this folder. This question is a security feature of VS Code: based on your answer, code in this folder can or cannot be executed by VS Code and extensions. Click Yes, I trust the authors:
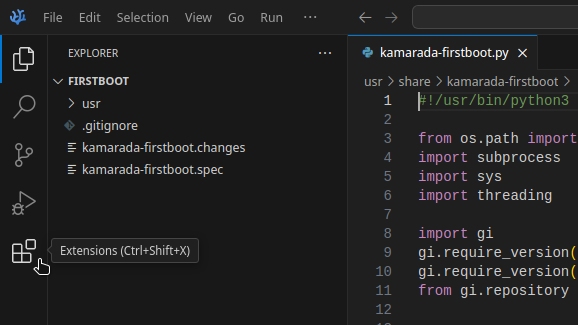
Now the Explorer view on the left shows the folder and its files:
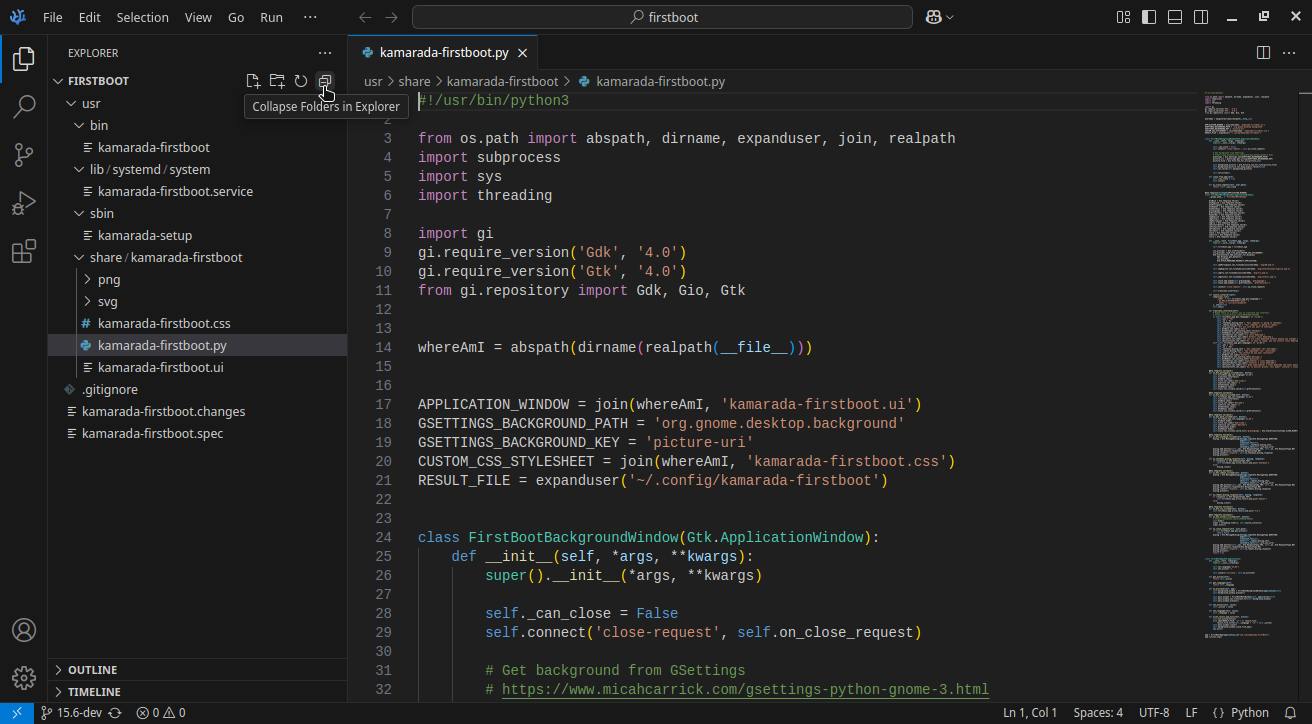
You can use it to manage project files and folders (create, rename, move, delete, etc.). Double-click a file to open it in the editor.
Tip: if your project has a lot of files, as you navigate the file and folder tree, it can become very long. To collapse it to its initial state, you can use the Collapse Folders in Explorer button.
Out of curiosity, the project I’m using as example is the firstboot project, in the 15.6-dev branch.
Command Palette
The VS Code Command Palette is a great tool for doing a lot of things. It can be used in two ways.
One of them is to open project files. Use the Ctrl + P keyboard shortcut and start typing the name of the file you want to open:
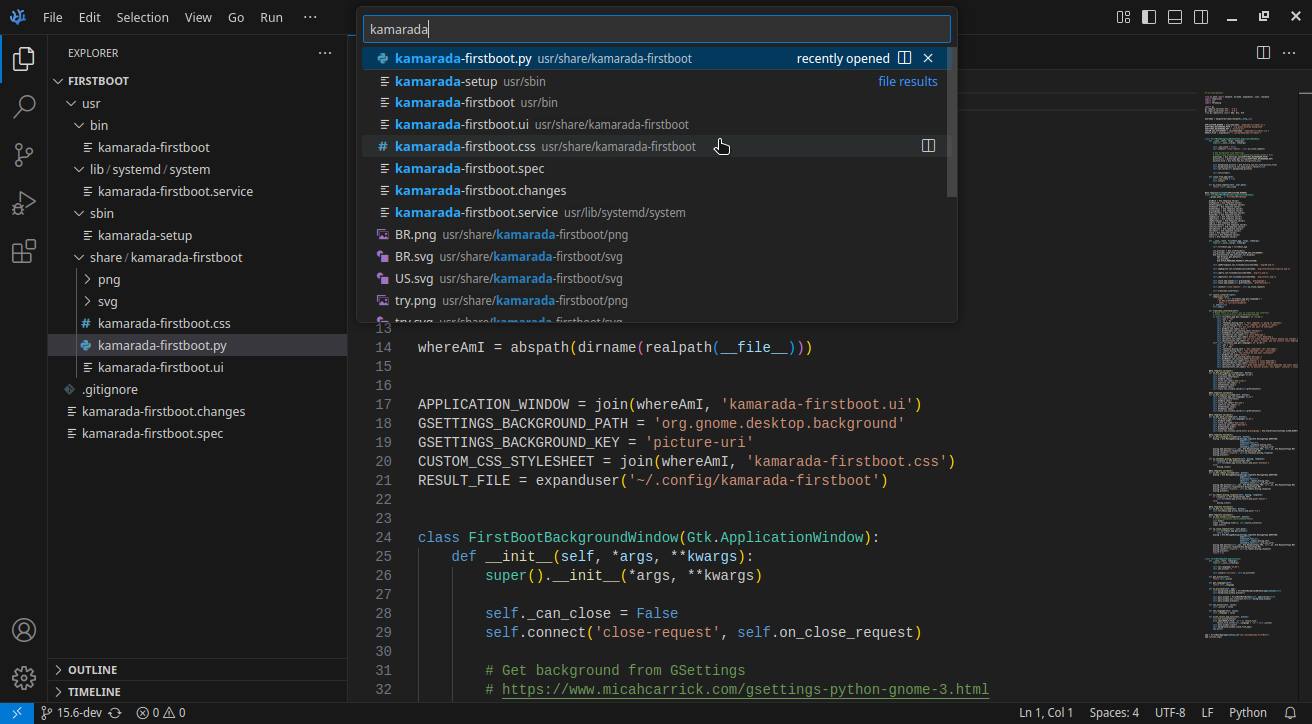
This is often more practical than trying to locate the file in the Explorer view.
The other way allows you to execute commands so that the IDE does things. You can use the same Ctrl + P shortcut and start typing > (greater than), or press Ctrl + Shift + P, or go to View > Command Palette, and then start typing the desired command:
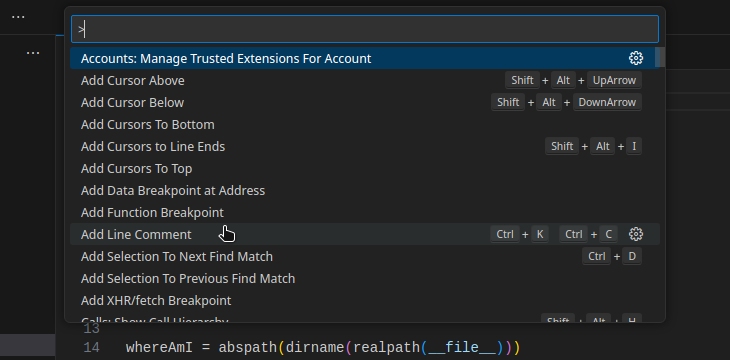
Tip: notice that the Command Palette shows the keyboard shortcut associated with each command. You can memorize the keyboard shortcut and use it to run the command directly next time instead of opening the Command Palette. For example, to comment out the current line (the Add Line Comment command), you can press Ctrl + K and then Ctrl + C.
Extensions
As I mentioned in the introduction, there are several extensions available in the VS Code Marketplace that can be installed to add functionality to the IDE, including support for many programming languages.
Since the project I’m using as example has a Python script, I’ll demonstrate how to install an extension in VS Code using, as example, the Python extension.
The Activity Bar, on the left by default, allows you to switch between different views. Switch to the Extensions view:
(notice the corresponding keyboard shortcut: Ctrl + Shift + X)
Search for the extension, select it from the list on the left, see more information about it on the right, and click Install:
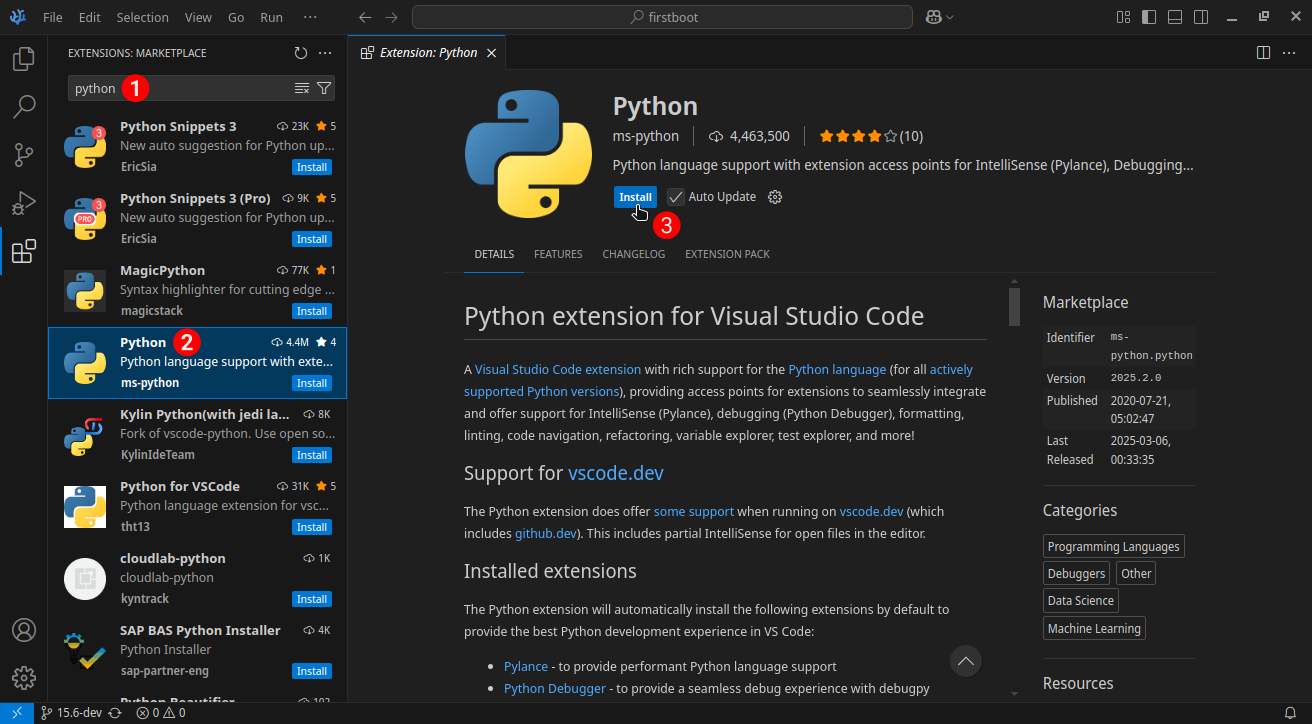
Typically, you can start using the extension right after installing it.
Tip: VS Code itself may suggest installing extensions depending on certain files it detects in the project (in my tests, this only happens in VS Code, not in VSCodium).

Translating the interface
VS Code comes by default in English, but it is possible to translate it into other languages, such as Brazilian Portuguese, the one I speak.
Note: according to my tests, this is another feature that works only in VS Code.
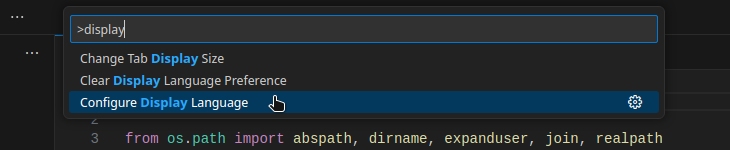
To change the VS Code interface language, press Ctrl + Shift + P to open the Command Palette, then start typing display and finally click the Configure Display Language command:
Select the desired language:
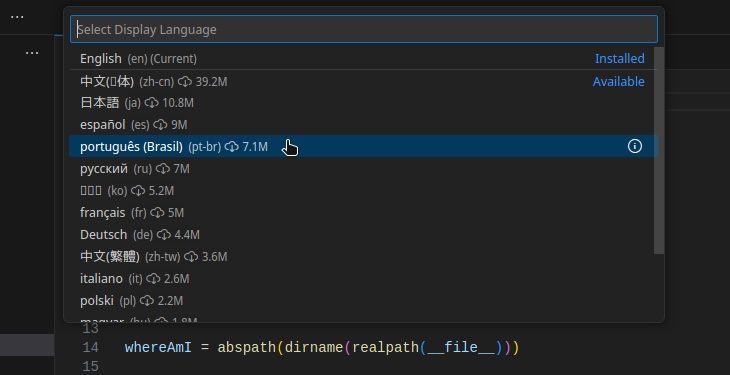
Out of curiosity, VS Code Language Packs are extensions. If the selected Language Pack is not yet installed, VS Code installs it.
At the end, the IDE will be restarted and its interface will appear translated:
For the purposes of this tutorial, I will continue to use VS Code in English. Feel free to use VS Code in the language you prefer. You can use the same path presented here to translate the interface back to English, if you want.
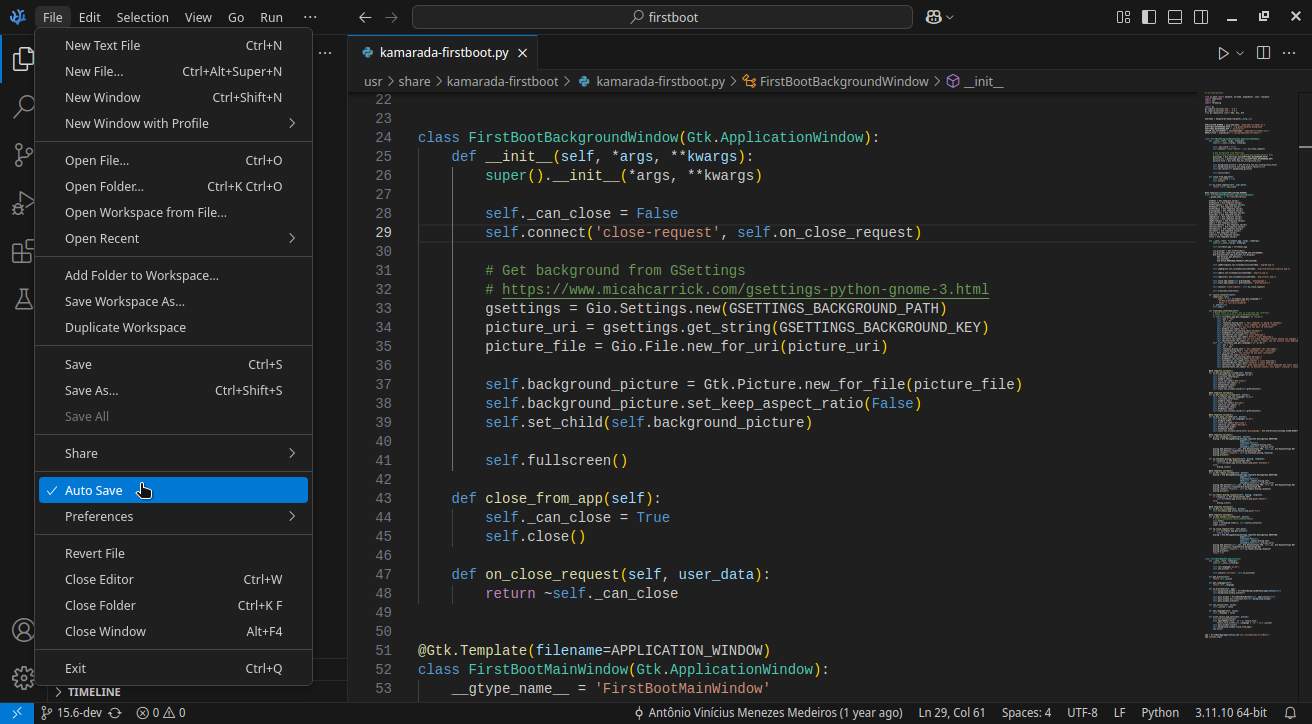
Automatically saving
Here’s another great VS Code feature: you can set it to save files automatically. This means that when you start typing and then stop, the IDE itself saves the modified file the next second.
Activate this feature by going to File > Auto Save:
Using the integrated terminal
Another great thing about VS Code: it has an integrated terminal, which you can open using Ctrl + ` (grave accent), that is, Ctrl + Shift + ´ (acute accent):
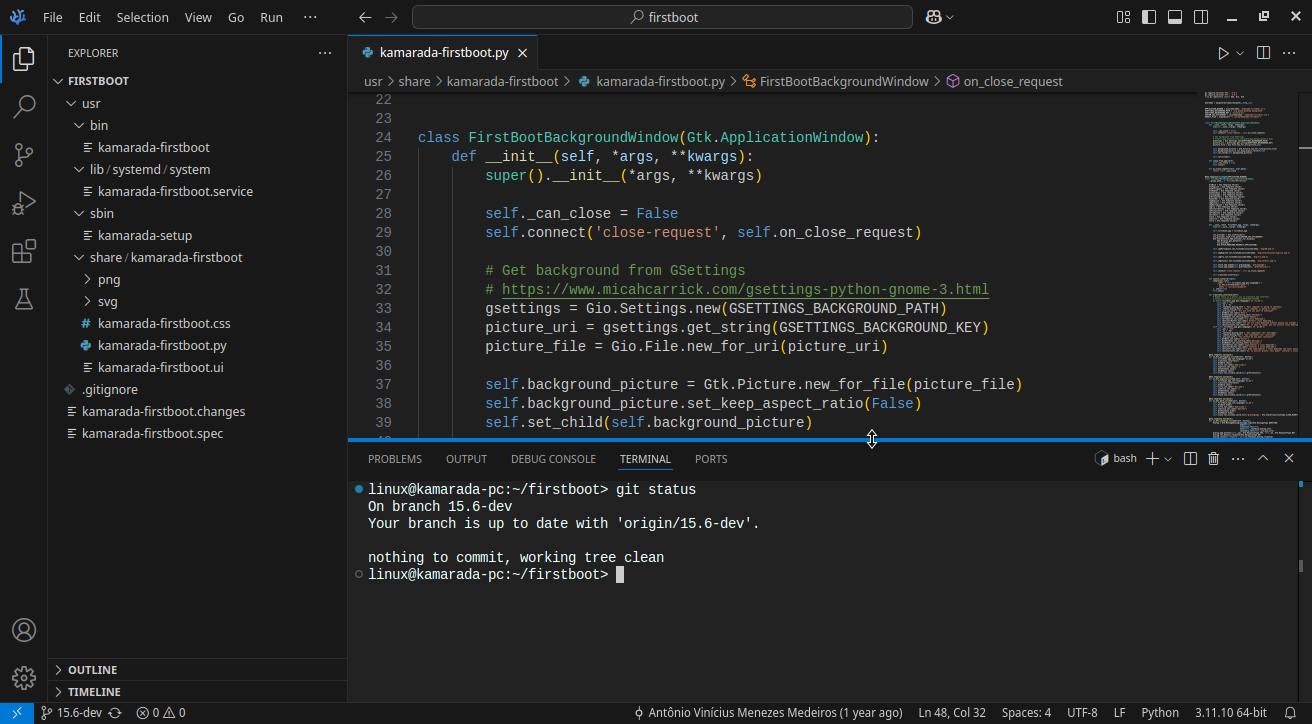
The integrated terminal is one of the tabs in the Panel, which by default is located at the bottom of the screen. To see it, you can also pull it down from the bottom.
In this terminal, you should be able to run most of the commands that you would be able to run in the operating system’s own terminal.
Running and debugging
VS Code can run and debug code in a variety of programming languages, as long as the appropriate extensions are installed. The exact way in which you run and debug code may vary depending on the programming language, but you interact with the debugger interface in pretty much the same way.
To demonstrate how to run and debug code in VS Code, I will use the python-colors project as example. It is written in the Python programming language. So, to run and debug it, we will need the Python extension that we installed earlier.
You can clone this project and prepare your system to run it with these commands:
1
2
3
4
5
$ sudo zypper in git python311 python311-pip
$ python3.11 -m pip install scipy
$ git clone https://github.com/kamarada/python-colors.git
$ cd python-colors
$ code .
Using the Explorer view or the Command Palette, open the colors.py file.
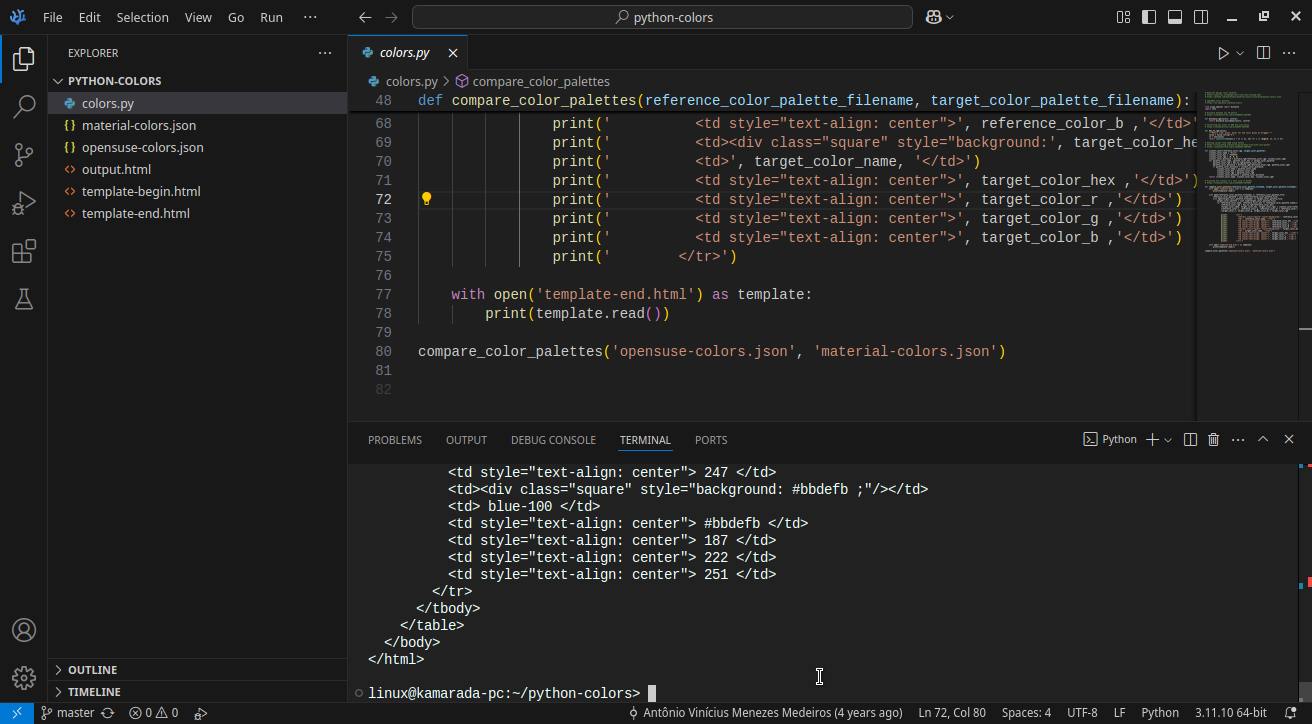
To simply run the program (without debugging it), use the Run Python File icon in the top right corner of the screen:
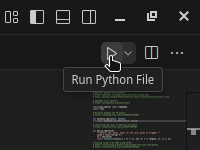
Alternatively, you can press Ctrl + F5.
The program is run and its output is displayed in the terminal:
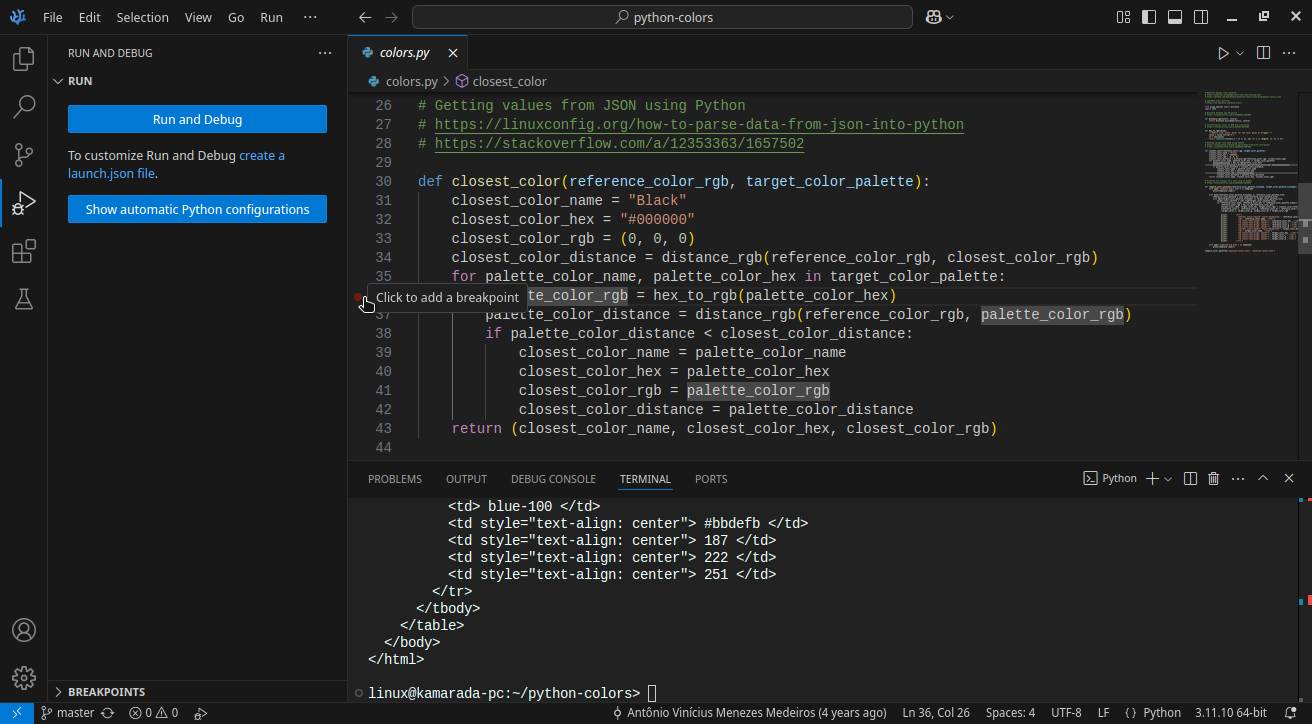
To debug the program, switch to the Run and Debug view.
Set a breakpoint by placing the cursor on the desired line and pressing F9. Alternatively, you can hover your mouse near the line number and click the red dot that appears:
Press F5 to start debugging. Notice that the program starts running, but stops at the breakpoint you set:
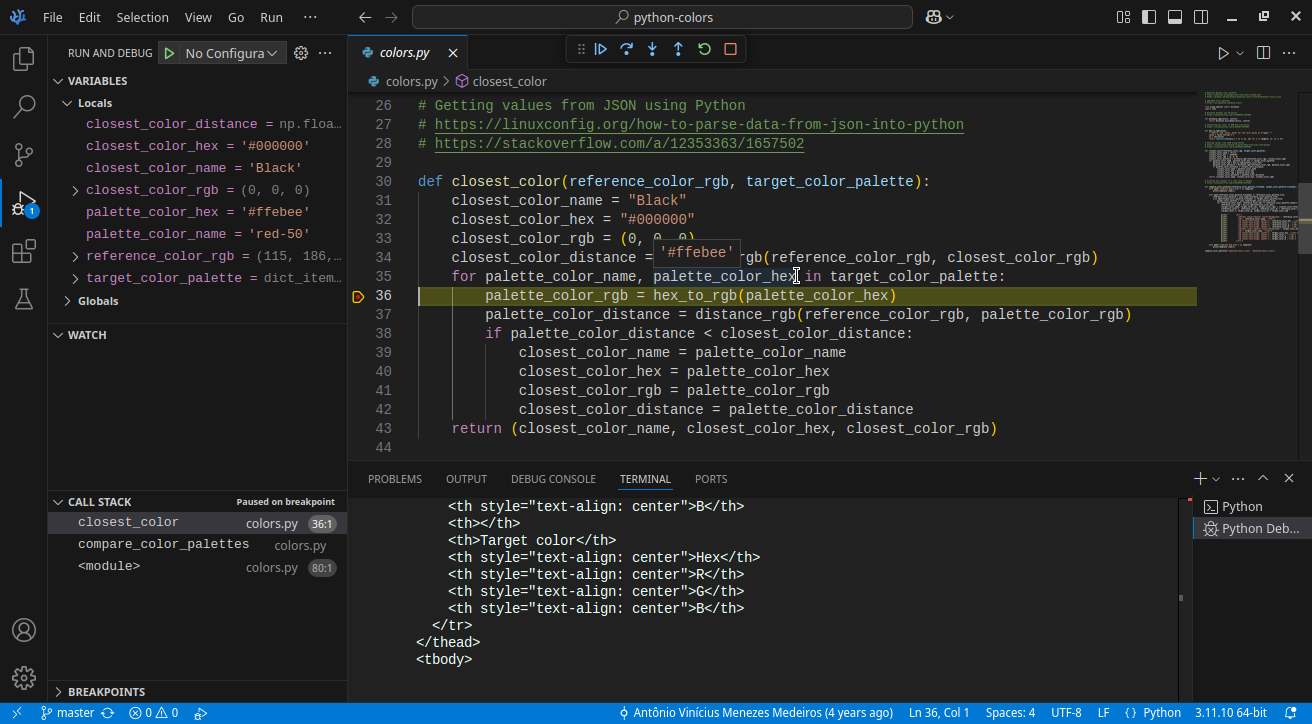
You can inspect the value of a variable by hovering over it in the editor while execution is paused. Also, all variables and their respective values are displayed in the Variables view on the left.
To run the current line and move to the next, press F10 or click the Step Over icon at the top of the screen, where the debugging controls are:

To resume normal program execution until the end, or up to the next breakpoint, press F5 or click the Continue icon.
If you want to terminate the program execution, click the Stop icon or press Shift + F5.
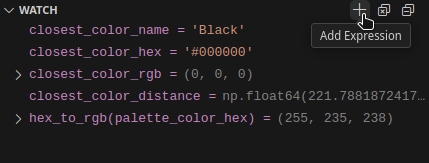
Tip: if you are interested in monitoring the value of a particular variable, you can add it to the Watch view. Note that you can monitor even the value of expressions, such as the value returned by function calls.
There are many more debugging features in VS Code. For more information, read the documentation:
Keyboard shortcuts
We programmers use our hands a lot to type. And performing tasks using keyboard shortcuts can be more practical than taking our hand off the keyboard and using the mouse to click a GUI button.
Fortunately, VS Code lets you perform most tasks directly from the keyboard. Below, I’ve listed some of the keyboard shortcuts I use the most (in addition to the ones I’ve already mentioned earlier in this article).
| Action | Keybinding |
|---|---|
| Find in the currently opened file | Ctrl + F |
| Find in project files | Ctrl + Shift + F |
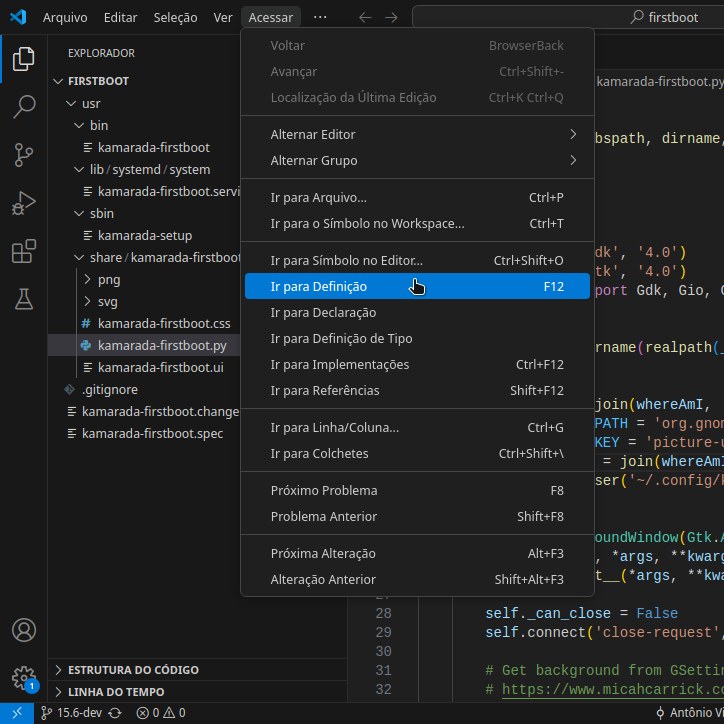
| Go to definition (of a variable or function) | Ctrl + click the variable or function |
| Go to line | Ctrl + G |
| Toggle line comment | Ctrl + / |
For a complete list of keyboard shortcuts, see the documentation:
Conclusion
VS Code is a really good development environment: lightweight, with a simple, clean and intuitive interface, it comes with the bare minimum that allows programmers to at least start writing code with minimal syntax highlighting (as if it were an improved text editor). But its functionality can be easily expanded through extensions, which can be installed according to each developer’s needs, so that the IDE supports various programming languages and technologies. Microsoft got it right when designing this environment, so much so that today it is one of the most (if not the most) used in the world. And since it is free and open source software, it will only get better with contributions from the community.
I hope this article has helped you get started with VS Code. Since I use it every day, I tried to show what I consider to be the most important and add some tips. But this article is not exhaustive, there is still a lot for you to discover in VS Code.
You can check out the official tutorial, which contains much of the information already presented here, but also some more that may be of interest to you:
As well as check the official documentation:
For future reference, version 1.98.0 of both VS Code and VSCodium, released in February 2025, was used here.
If you have any questions about this article or suggestions on how to improve it, or suggestions for future articles, please comment. See you next time!


