On my personal blog, I made a tutorial (in Brazilian Portuguese) explaining how to set up a VPN on a MikroTik home router using L2TP (Layer 2 Tunneling Protocol) and IPsec (IP Security Protocol). The purpose of that VPN was to allow outside computers (e.g. me with my laptop connected to a cafe’s Wi-Fi network) to connect to the home network. But note that organizations (such as companies and universities) may also provide VPNs of that type to allow people (staff and students) to remotely connect to their networks.
If you use a Linux computer and need to connect it to a VPN based on L2TP and IPsec, here you are going to see how to do this, installing and configuring the necessary software.
As a reference, I’m going to use the Linux Kamarada 15.3 distribution. The instructions below also apply to the openSUSE Project distributions (Leap and Tumbleweed). I use the GNOME desktop, but the settings should be similar on other desktops.
Installing the needed packages
Install the needed packages using the zypper package manager:
1
# zypper in NetworkManager-l2tp-gnome NetworkManager-l2tp-lang NetworkManager-strongswan-gnome NetworkManager-strongswan-lang strongswan-ipsec
Configuring the VPN
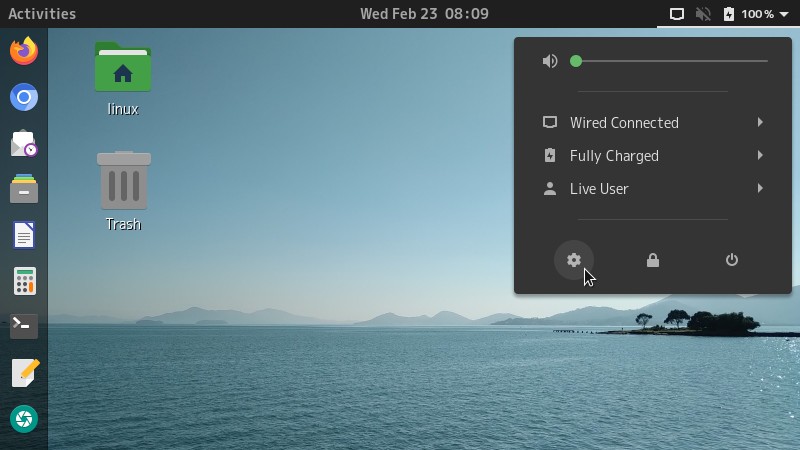
Open the Settings app. You can do this by opening the system menu, at the upper-right corner of the screen, and clicking the gear icon:
On the Settings app, by the left, select Network. By the right, next to VPN, click the add button:

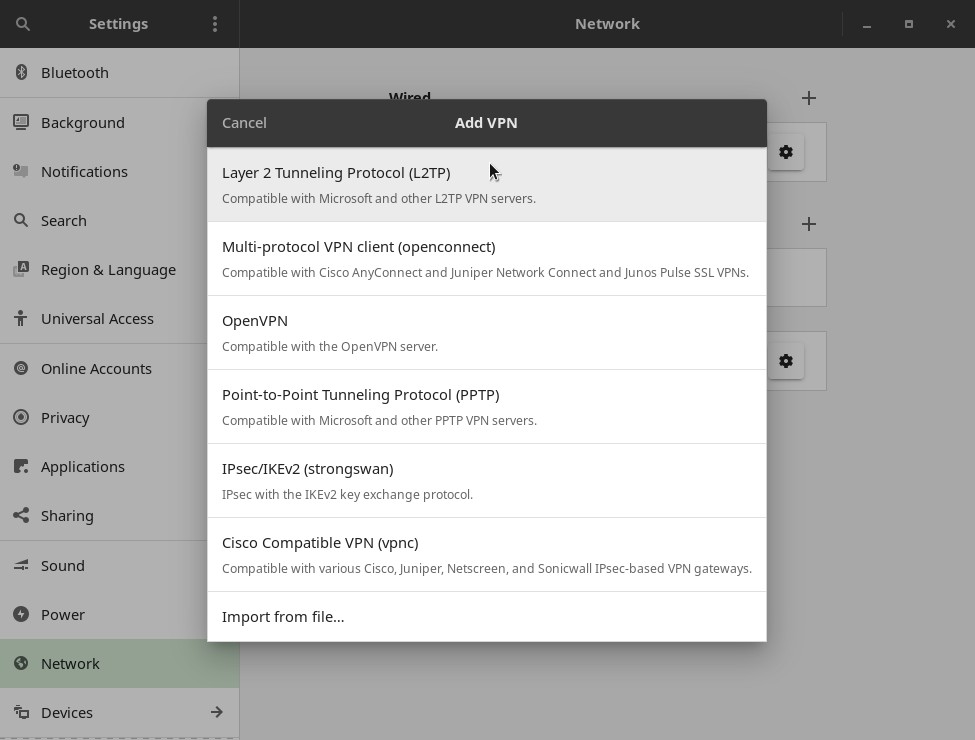
Choose the Layer 2 Tunneling Protocol (L2TP) VPN type:
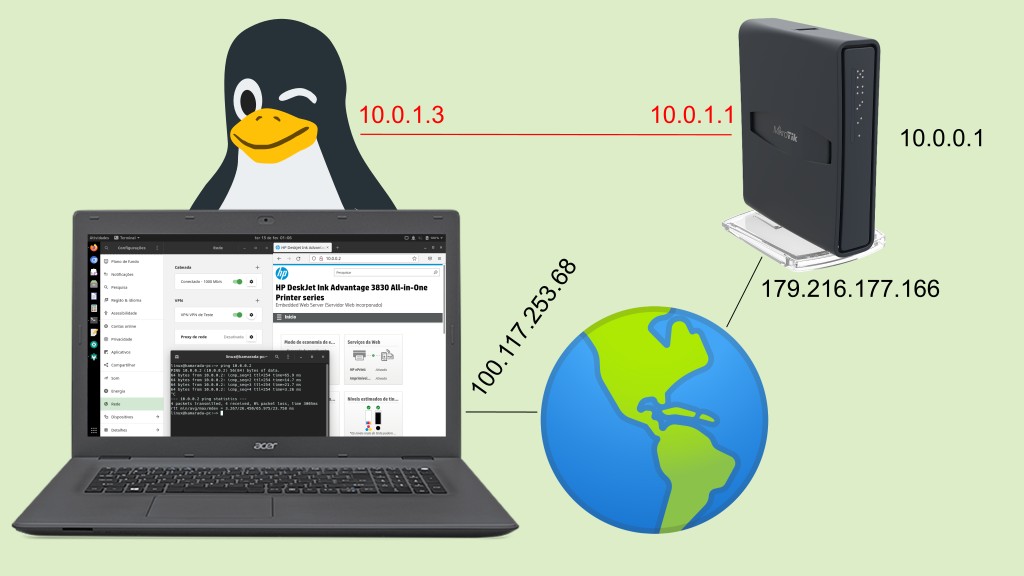
Fill in the VPN settings according to the following instructions, but also pay attention to the orientations given to you by the network administrator who set up the VPN (the examples below refer to my tutorial on how to set up a VPN on the MikroTik router):
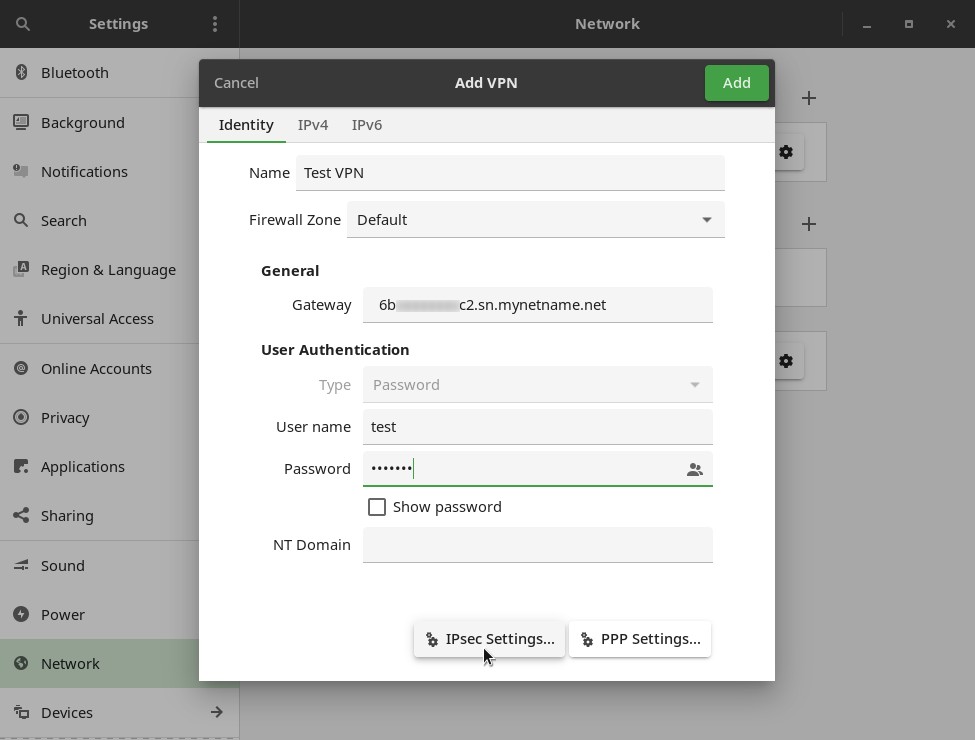
- In the Name field, define a name that will allow you to identify the VPN, it can be whatever name you want (example:
Test VPN) - In Gateway, inform the IP address (e.g.
179.216.177.166) or DNS name and domain (e.g.6bxxxxxxxxc2.sn.mynetname.net) of the VPN server (in this case, the MikroTik router) - Enter your Username to connect to the VPN (e.g.
test) - Enter your Password to connect to the VPN (e.g.
testing)
Click the IPsec Settings button.
On the dialog box that appears, check the Enable IPsec tunnel to L2TP host option:
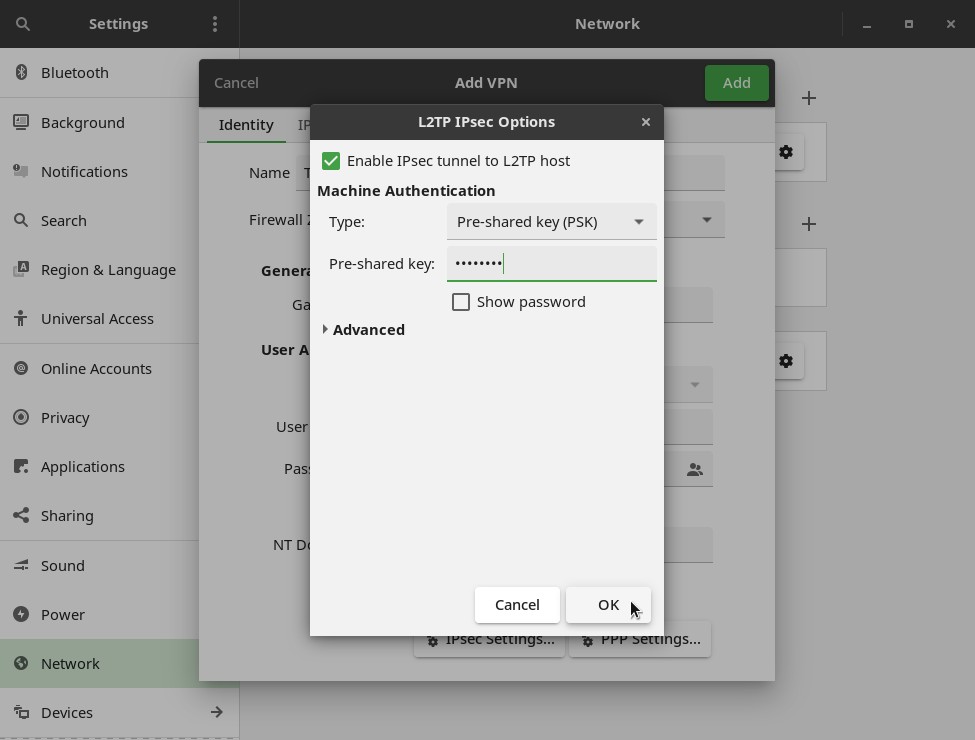
Enter the Pre-shared key (e.g. 12345678).
Click OK to return to the VPN settings, then click PPP Settings.
Disable the PAP authentication method and click OK:
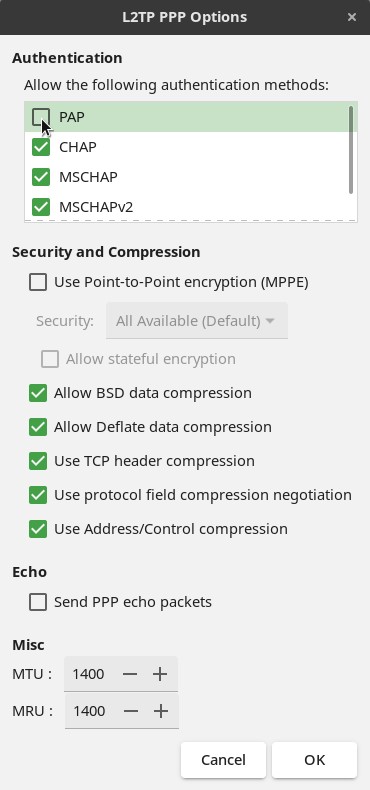
To finish configuring the VPN, click Add.
Back to the Network settings, note that the VPN now appears in the list of VPNs:
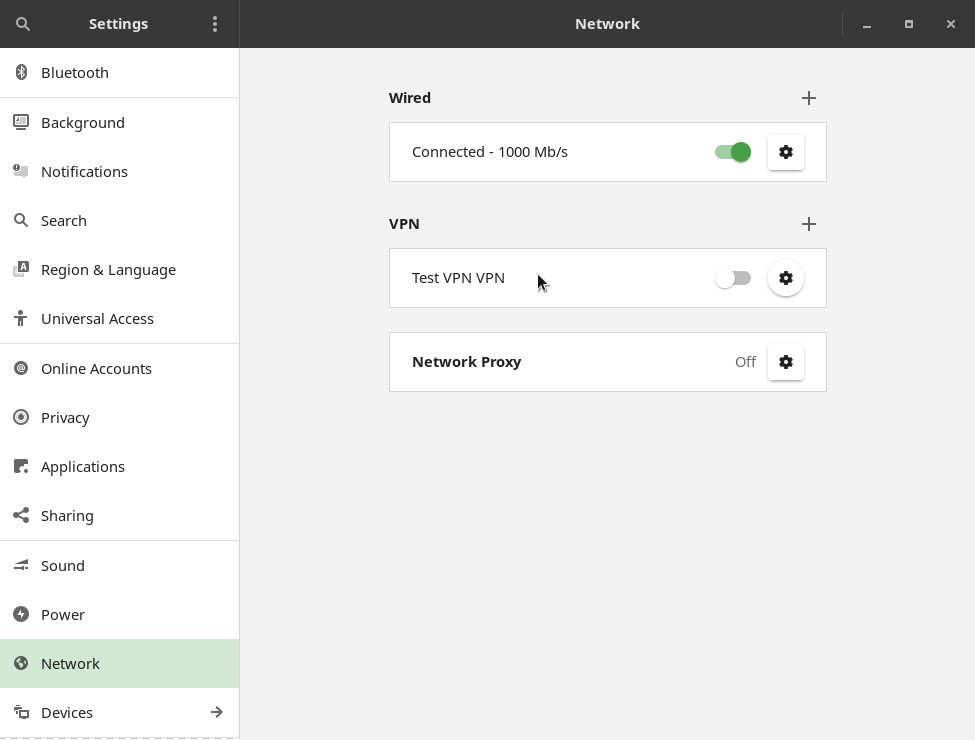
Using the Settings app, you can enable or disable the VPN connection, as well as change its settings. But let’s see a more practical way to do this on a daily basis, without having to open this app. You can now close it.
Using the VPN
To connect to the VPN, open the system menu, expand the VPN submenu and click Connect:

If the connection is successful, you will see an icon indicating it:

You can test the VPN connection with the ping command, pinging to some address on the VPN’s local network:
1
$ ping 10.0.0.2
(use Ctrl + C to stop the ping command)
If you know of any web servers on the VPN’s local network, you can also test the VPN connection by opening your browser and accessing that server. In this example, I test the VPN connection by accessing my printer’s web interface:

When you no longer need to use the VPN, disconnect by opening the system menu, then expanding the VPN submenu and finally clicking Disconnect:


