It’s easy to install openSUSE Leap on your computer. Here is a brief how-to that will help you doing that. In case you need further information, refer to the openSUSE Leap official documentation.

Before installation
Before starting, there are a few things you should be aware of.
openSUSE supports most PC hardware components and can be installed alongside your current operating system (maybe your computer already has Windows installed, for example). You don’t need to remove it in order to install openSUSE.
However, to ensure smooth operation of openSUSE Leap, your computer should satisfy the following requirements:
- Intel, AMD or compatible 64-bit processor (32-bit processors are not supported, but if your computer is at least relatively new, there is a good chance its processor is 64-bit);
- 1GB physical RAM (2GB or more recommended); and
- 5GB available disk space (more recommended for personal files and software to be installed in the future).
If you are going to install openSUSE Leap on a laptop, make sure its battery is fully charged and its AC adapter is plugged in. Do not remove the battery or unplug the AC adapter during installation.
Getting started
Which media are you using to install openSUSE Leap? If it’s the LiveDVD built by the Linux Kamarada Project, put it into your computer’s DVD-drive. If it’s a LiveUSB, insert it on one of your computer’s USB ports. Then, in both cases, restart your computer.
Within moments, you will get to the KDE’s Plasma desktop:
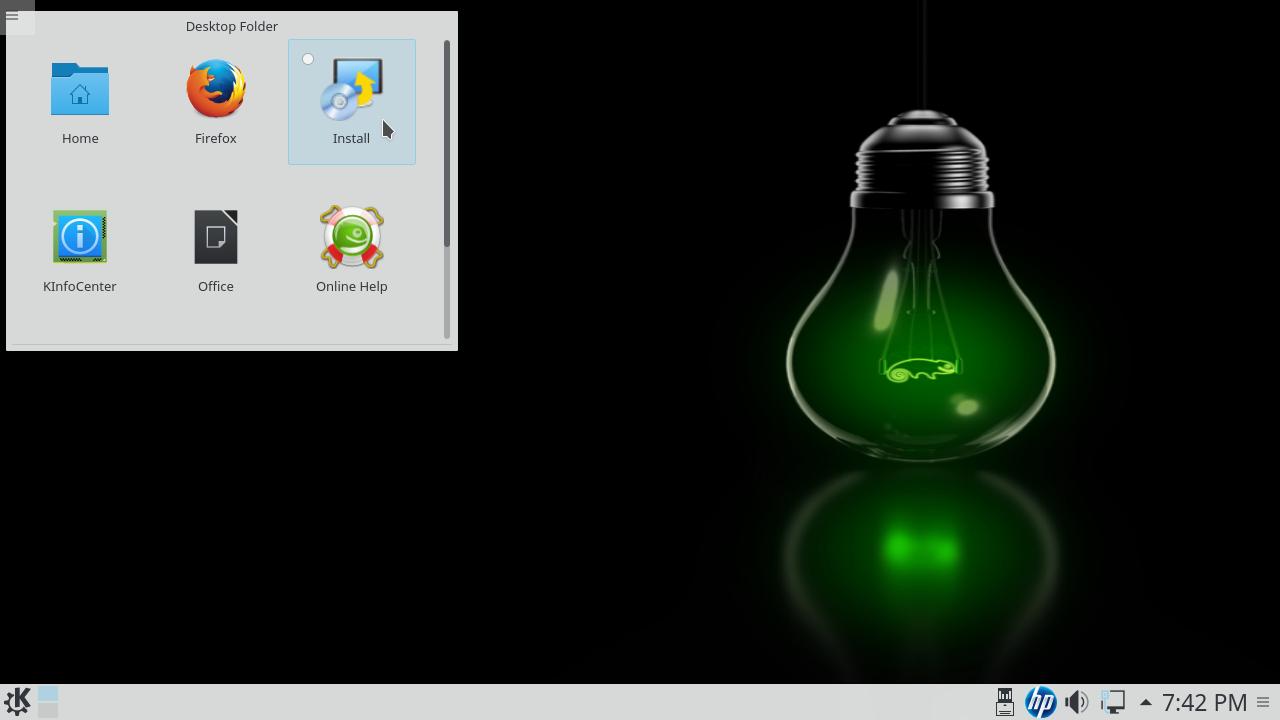
Click the Install icon on the desktop to start installer.
1) Language, keyboard layout and license
On the first screen, you are presented to the language and keyboard layout settings and the openSUSE Leap license:
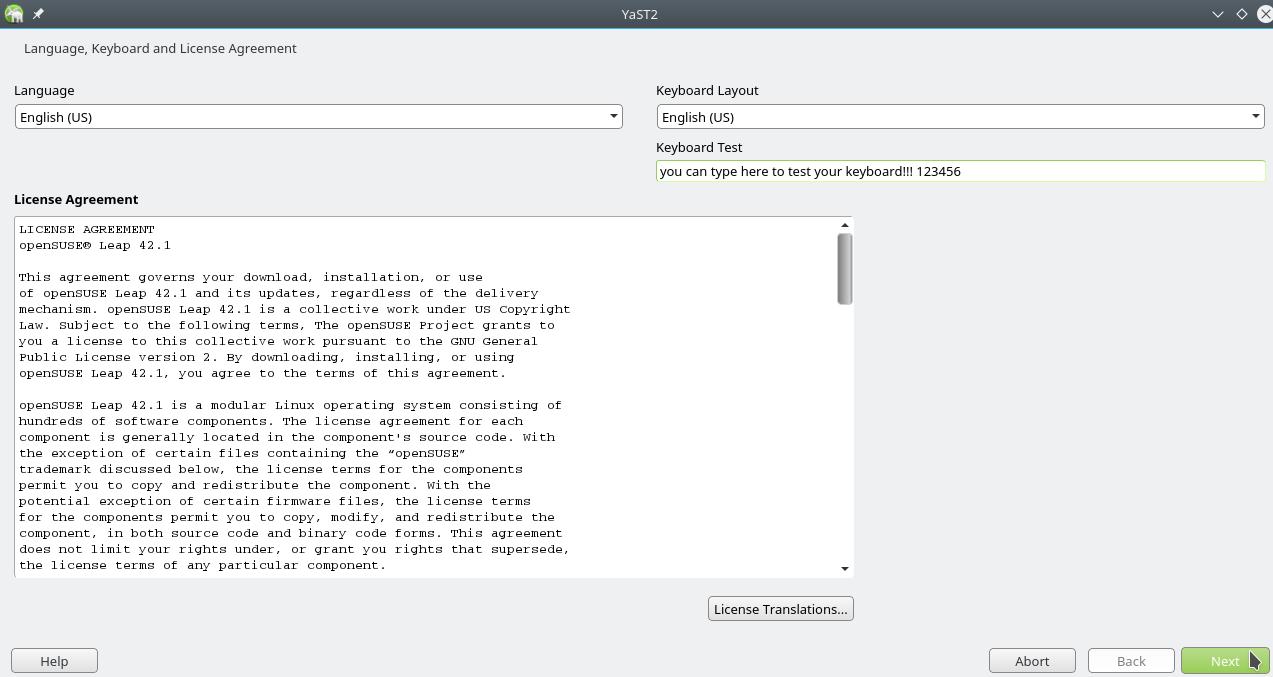
Check that the language and keyboard layout settings are as desired. The installer offers a text field in which you can type something to test your keyboard.
You don’t need to worry about the software license: since openSUSE is a software libre, its license does not limit your use. You can read it just to know your rights as an openSUSE user.
When you finish, click Next.
2) Clock and time zone
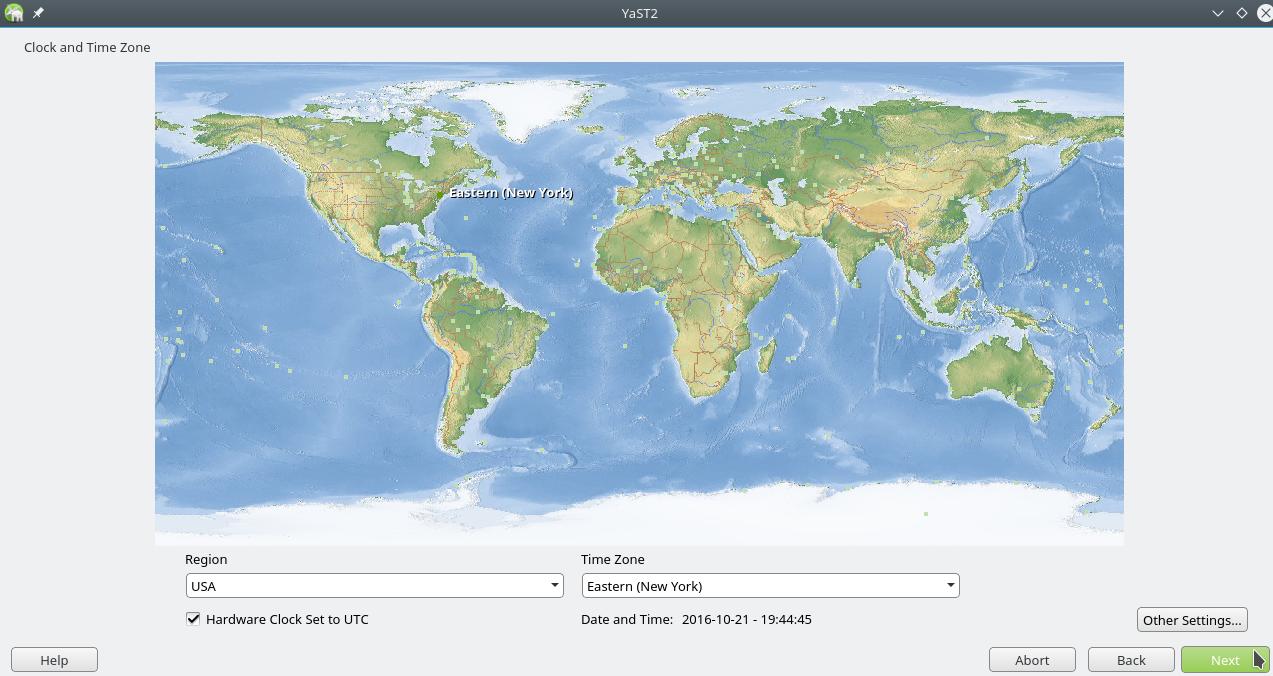
Check that your time zone, date and time settings are correct.
If you need to change the time zone, click on the map closest to your current location or use the Region and Time Zone dropdown menus below the map.
If your computer will have only Linux installed, it’s recommended to keep the Hardware Clock Set to UTC option checked. If you are installing Linux alongside Windows or other operating system, make sure you unckeck that box.
If you need further information about that screen, please refer to the Sync your system time with NTP post.
When you finish, click Next.
3) Partitioning
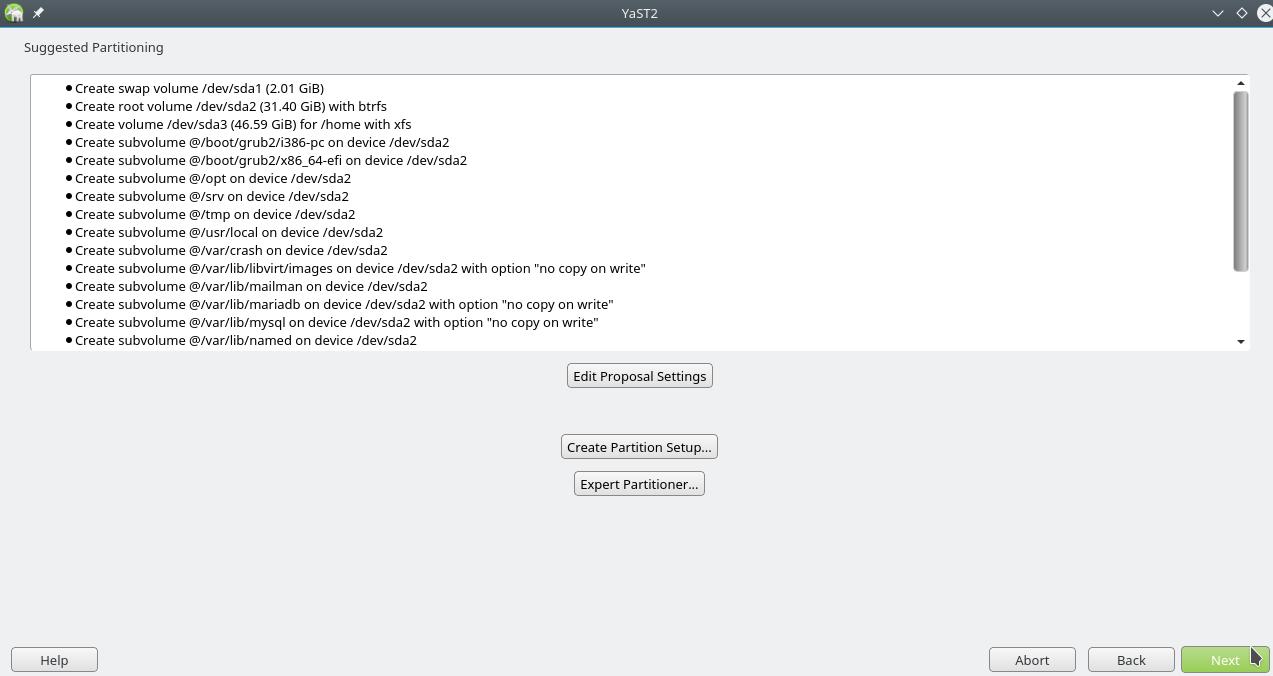
By default, openSUSE proposes to create three new partitions:
/(root), for system files;/home, for personal files of users; and- swap, which is used as a supplement for RAM, similar to the page file in Windows.
If your computer is in UEFI mode (as is the case in the figure), possibly the installer will suggest creating a fourth partition, which is the ESP. If your computer came with Windows pre-installed, probably it already has an ESP, so its creation is not suggested.
I’m not going to dive into details about partitioning here, as that would be a subject for an entire (and long) post. If you need more information, I suggest you take a look at the openSUSE Leap official documentation.
Usually the openSUSE installer is smart enough to suggest you the best possible partitioning setting for your computer. Change it only if you know what you are doing, since improper partitioning can lead to accidental loss of data.
When you finish, click Next.
4) Username and password
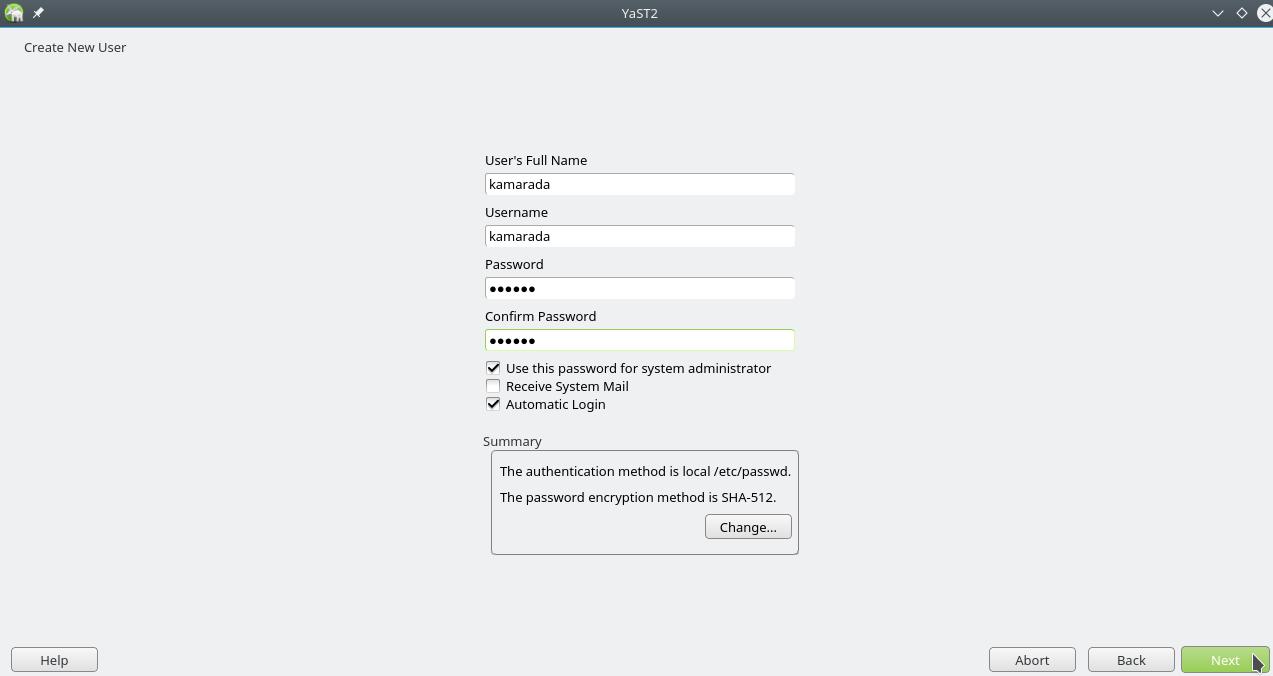
On that screen, you are going to create an user account for you. Enter your full name and the desired username and password.
If security is a concern, please note that the installer suggests to:
- use the same password for the administrator user (in Linux, it is called superuser or root); and
- automatically log in your user account when the computer turns on.
Those options are suggested for convenience, but actually they make your system a little less secure. Consider unchecking the Use this password for system administrator option and setting up a different password for the root user. Also, unchecking the Automatic Login option will enforce that an username and password must be provided to use the computer.
When you finish, click Next.
The installer may complain about your password if it is considered easy to guess:
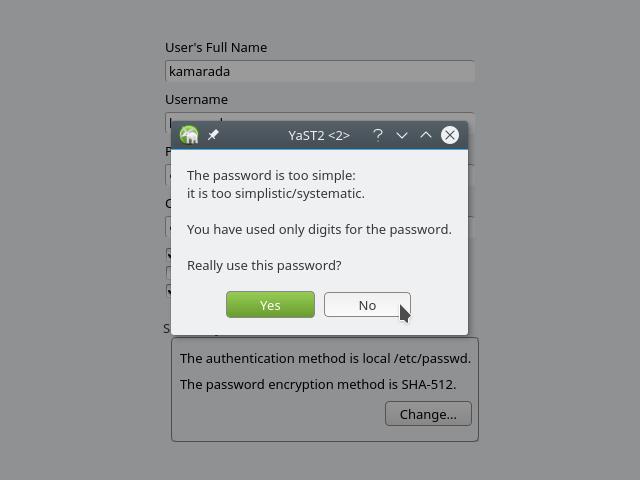
If that is the case, it is strongly recommended that you click No and set up a safer password.
If you need help on how to elaborate a strong password, you may check this Lifehacker’s post Four Methods to Create a Secure Password You’ll Actually Remember.
5) Installation overview

Check that everything is as desired. Once you click Install, there will be no way back.
If you need to change any setting, click on its link to go to the corresponding screen.
Else, if you are ready, click Install. A confirmation message is shown:
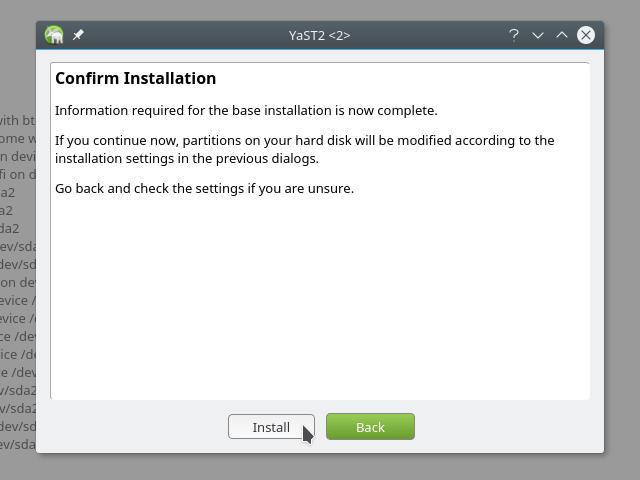
Click Install to start de facto installing openSUSE Leap.
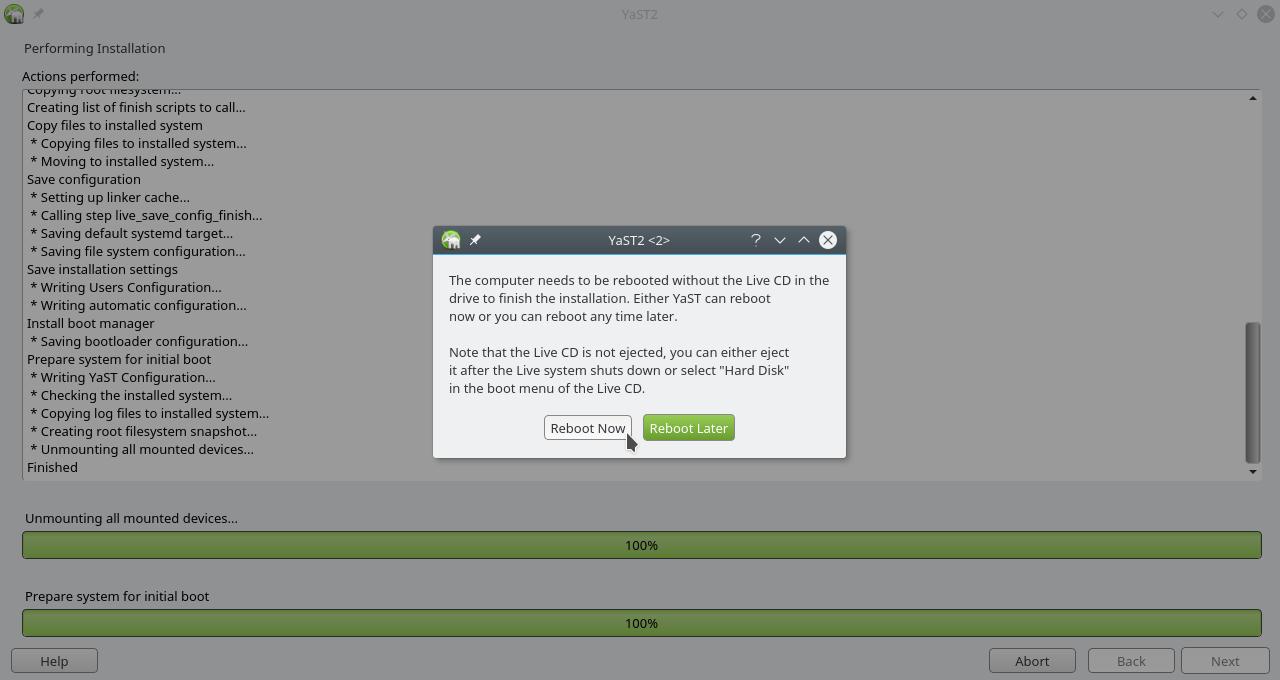
6) Actual installation

Now the actual installation is performed. That screen shows its progress in detail.
Even though you are allowed to use your computer during installation, avoid doing that, so it won’t crash and the system being installed won’t be corrupted, what could turn your computer unusable.
When the installation is done, the installer asks you to reboot your computer:
That’s all folks!
Now you just need to restart your computer and start using openSUSE Leap.
Have a lot of fun!


