
VirtualBox allows you to use Linux within a window, just like you use any other app on your familiar operating system. Do you want to use Linux? Just start it. Finished using? Just close it. That is handy because you can have your first contact with Linux without actually installing it. It is even handier than a LiveDVD/USB, because to use live media you need to reboot.
By “window”, I meant to simplify it, so that you could have a picture of how it looks like. But actually that “window”, technically speaking, is a virtual machine (often abbreviated as VM): it is an emulated computer created by software. It provides similar functionality to a physical machine, so that you can install operating systems and apps on it. The operating system (OS) installed on a virtual machine “believes” it is installed on a “real” computer.
Your computer (which is a physical machine and is, in contrast, called a real machine) can run many virtual machines at the same time (as long as the needed amounts of RAM and disk space are available). In practice, that means you can use multiple OSes at the same time. For example, you can use both Windows and Linux at the same time.
The operating system of the real machine is called host operating system (host OS): it hosts the virtual machine, whose operating system is called guest operating system (guest OS).
This technology is called virtualization. And put simply, VirtualBox is a software that provides you an user-friendly way to do virtualization using your personal computer.
VirtualBox is a free and open-source cross-platform virtualization software developed by Oracle. It can be installed on your PC, whether you use Windows, macOS, Linux or Solaris, and it supports a large number of guest operating systems, including, but not limited to: Windows (3.x, 95, 98, NT, 2000, XP, Server 2003, Vista, 7, 8, 8.1, 10, Server 2008, Server 2012 and Server 2016), DOS, Linux (2.4, 2.6, 3.x and 4.x), Solaris, OpenSolaris, OS/2 and OpenBSD.
We already talked a little about VirtualBox in another post:
Today we are going to see how to install VirtualBox on Windows, create a virtual machine and boot a Linux live image on it. To demonstrate how to do that, I’m going to use the Kamarada Linux distribution, which you get on the Download page.
Part 1 of 3
For the post not to be too long, I decided to split it into three parts:
- in this first part, you are going to install VirtualBox on Windows, learn its basics and start using Linux inside a virtual machine;
- in the second part, you will see how to install VirtualBox on Linux;
- in the third part, you will see some useful tips for using VirtualBox daily.
This sequence of posts is devoted mainly to Windows users who haven’t had their first contact with Linux yet and want to try it using the safety of VirtualBox.
If you already use Linux, you may want to install VirtualBox to try another distribution. VirtualBox can be useful for other purposes too.
Downloading VirtualBox for Windows
Download the VirtualBox installer going to its official website at:
Click the Download VirtualBox 6.0 banner:

Under VirtualBox binaries, click Windows hosts:
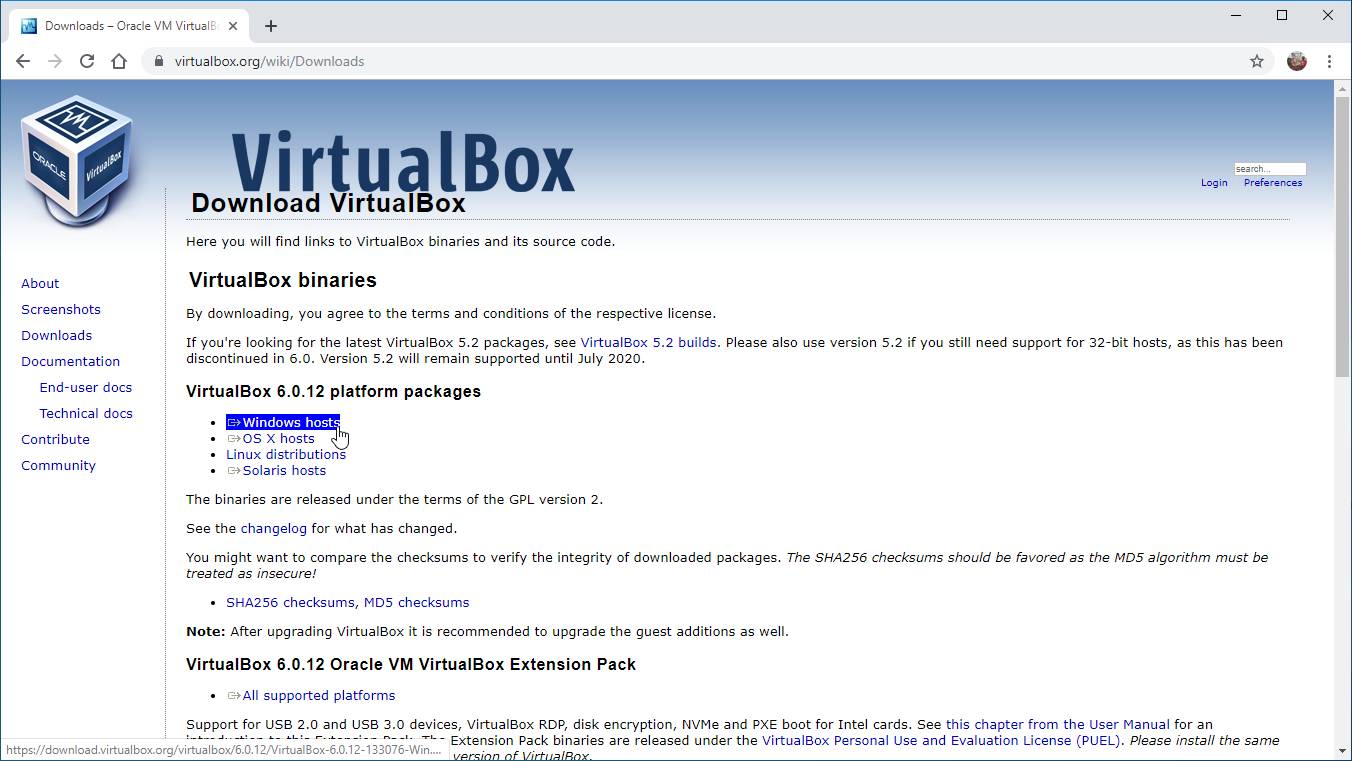
The download starts.
Installing VirtualBox on Windows
Run the installer when the download is complete.
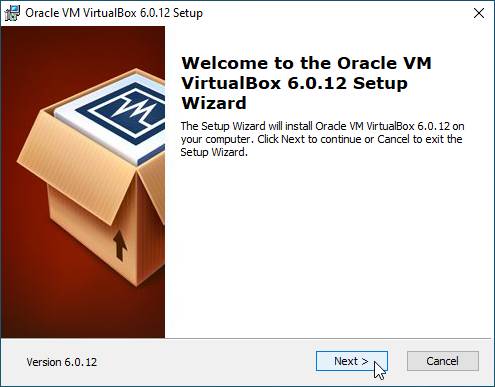
You can install VirtualBox just like you install most programs on Windows (next, next, next).
During installation, Windows prompts you whether to install drivers for VirtualBox:
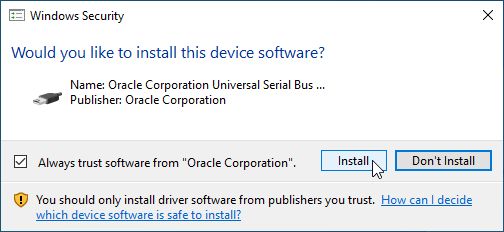
Allow it by clicking Install.
At the end, click Finish to exit the installation wizard and start VirtualBox:

Creating a new virtual machine
This is the VirtualBox start screen, so far without any virtual machine:
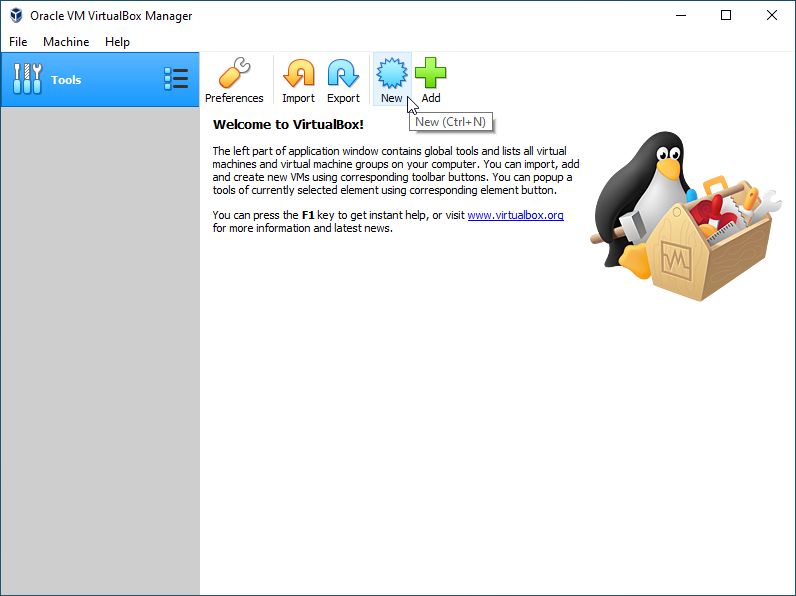
To create a new virtual machine, click the New button.
The Create Virtual Machine wizard is started:
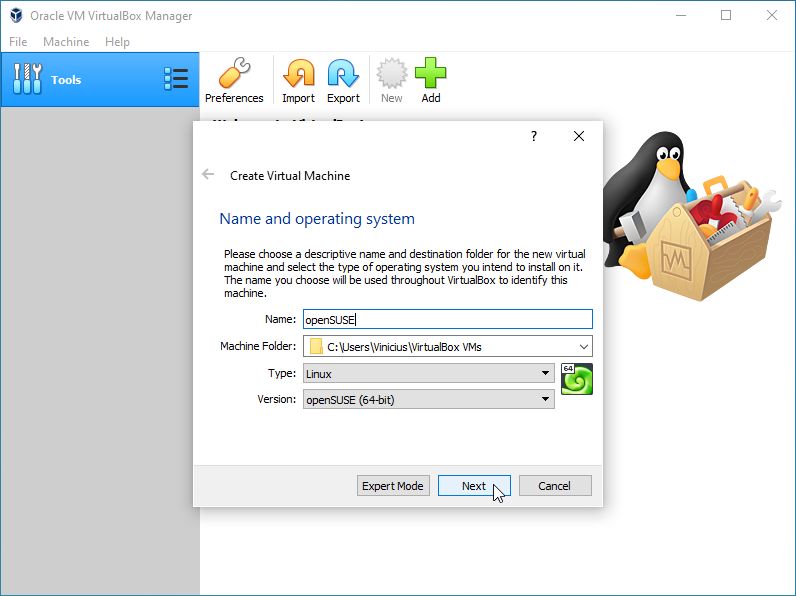
Give the virtual machine a Name. For instance, openSUSE.
Note that when you type openSUSE, the wizard suggests the settings Type — Linux — and Version — openSUSE (64-bit). If you wanted, you could have given another name to the virtual machine (e.g. Testing Linux) and filled those other fields manually. Regarding the name, what really matters is that it makes sense for you and helps you identify the VM.
When you are finished, click Next.
On the next page, inform the amount of RAM you want to reserve for the VM:
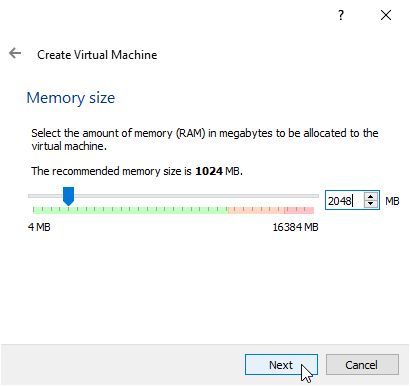
In the image example, my real machine has a total of 16GB of RAM (16384MB) and I decided to reserve 2GB for the VM. In the future, when I start this VM, the guest OS will “believe” that it is running on a computer with 2GB of RAM, while the host OS will have 14GB left for all the other software (including any other virtual machines).
Split the RAM so that there is enough memory for both the real and the virtual machines. Mind the green bar, which indicates the maximum amount of memory considered to be safe to reserve for the VM. In the example, that limit is somewhere around 10.5GB (doing the maths, 2/3 or 66% of the 16GB total).
Note that the amount of RAM to be allocated is expressed in MB (2GB x 1024 = 2048MB).
When you are finished, click Next.
On the next page, we can create a virtual hard disk for the VM:
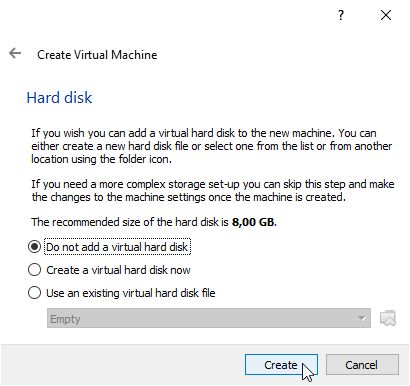
A virtual hard disk, from the host OS perspective, is a large file, such as a ZIP archive. But VirtualBox presents it to the VM as if it were a physical HDD or SSD.
Since we are going to use a live image, for now we don’t really need to create a virtual hard disk to try Linux. We’ll see how to create a virtual hard disk later.
Then, choose Do not add a virtual hard disk and click Create.
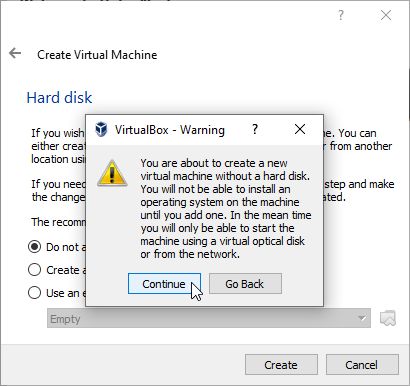
Click Continue to ignore the VirtualBox warning:
Now the VirtualBox start screen shows your first virtual machine:
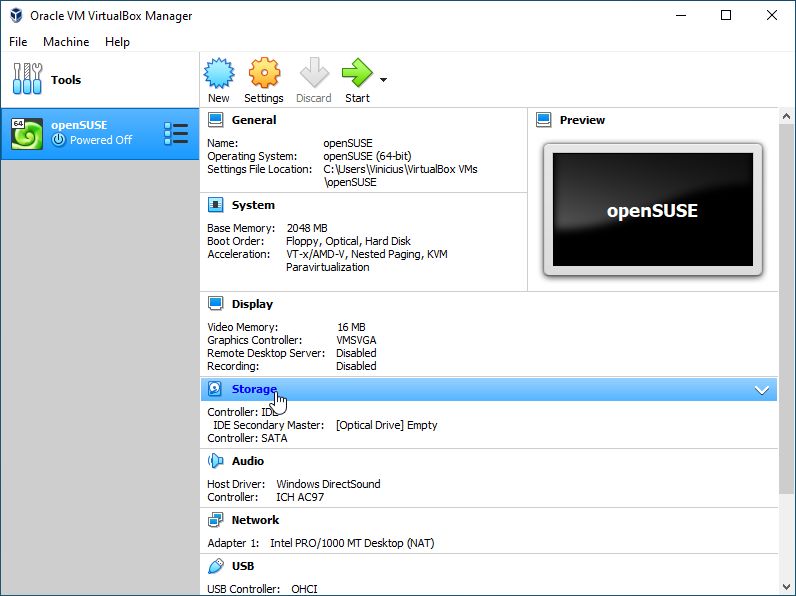
Note that you can configure every aspect of the virtual machine (memory, display, storage, audio, network, etc.) to mimic a physical machine.
Inserting the ISO image into the virtual DVD drive
Let’s insert the ISO image of the Linux distribution into the virtual DVD drive of the virtual machine, as if we were inserting a DVD into the DVD drive of a physical machine.
On the VirtualBox start screen, which shows the virtual machine settings, click Storage.
By the left, under Storage Devices, within the Controller: IDE, select the DVD drive that appears as Empty:
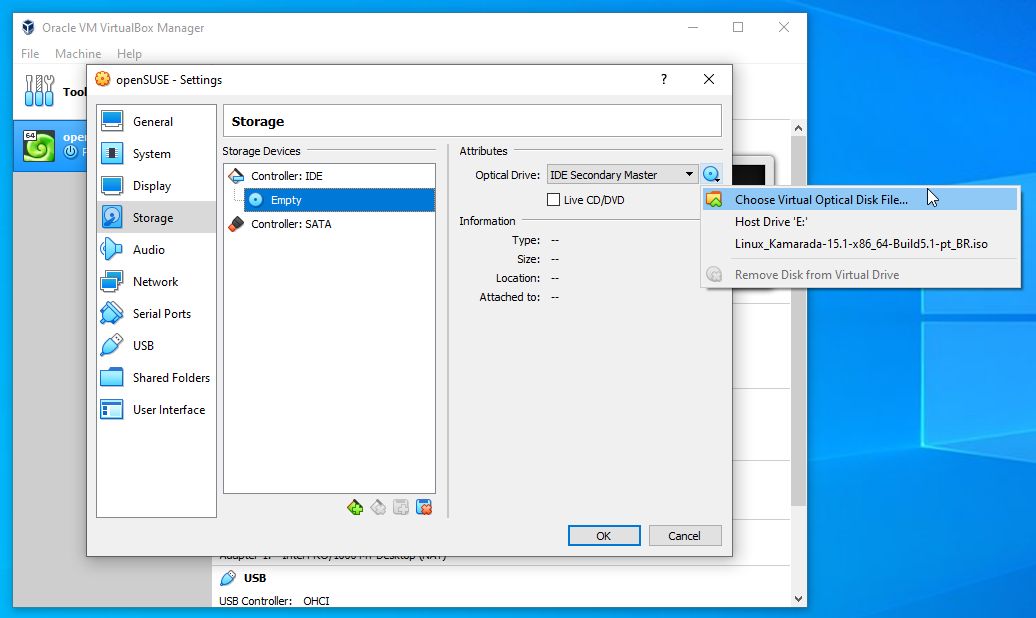
By the right, click the media icon and then, on the drop-down menu that appears, click Choose Virtual Optical Disk File.
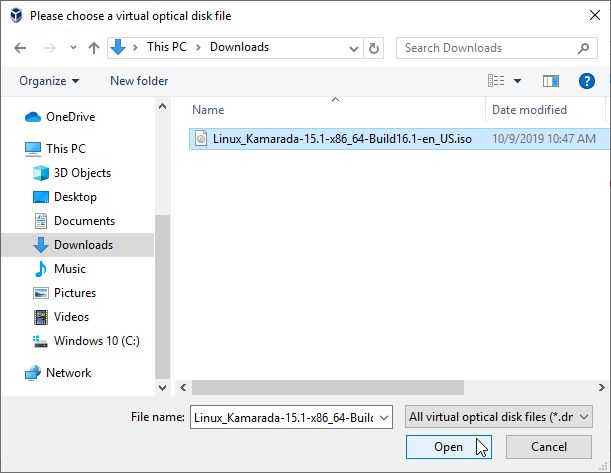
Select the ISO image of the Linux distribution you downloaded and click Open:
Click OK to close the Settings dialog box and return to the VirtualBox start screen.
Starting and using the virtual machine
To start the virtual machine, click the Start button:
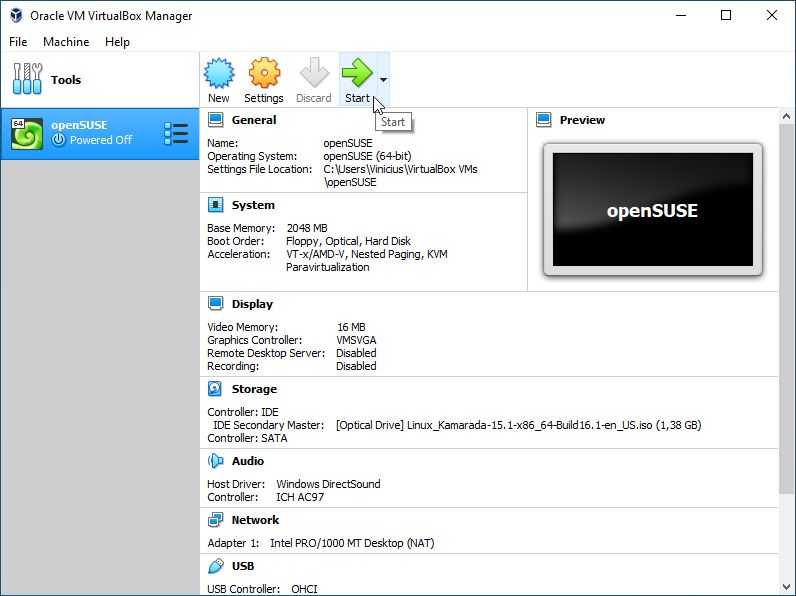
(doing that is similar to pressing the power button of a physical machine)
VirtualBox opens a new window for the virtual machine, which starts to boot the operating system up, just like a physical machine would do:
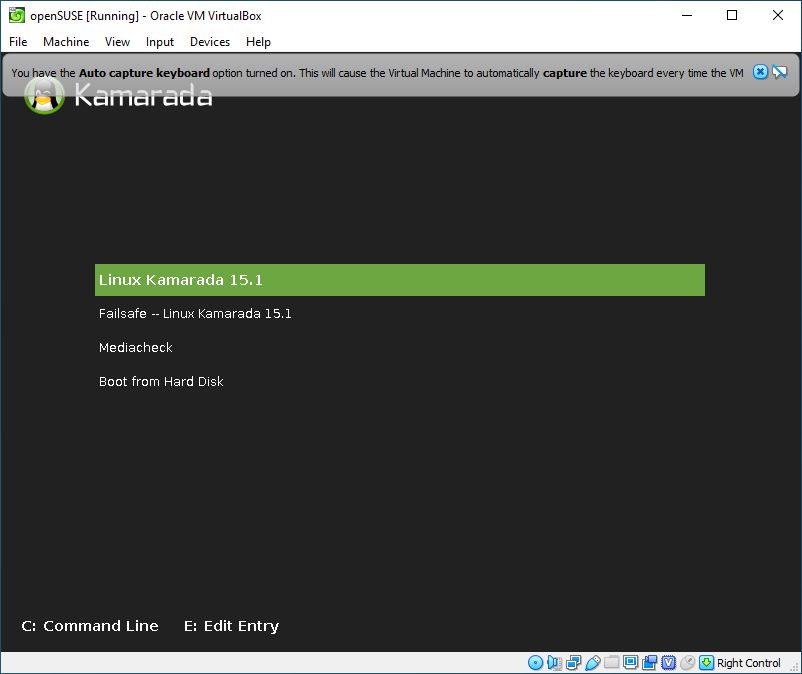
Everything which would normally be seen on the virtual machine’s monitor is shown in the window.
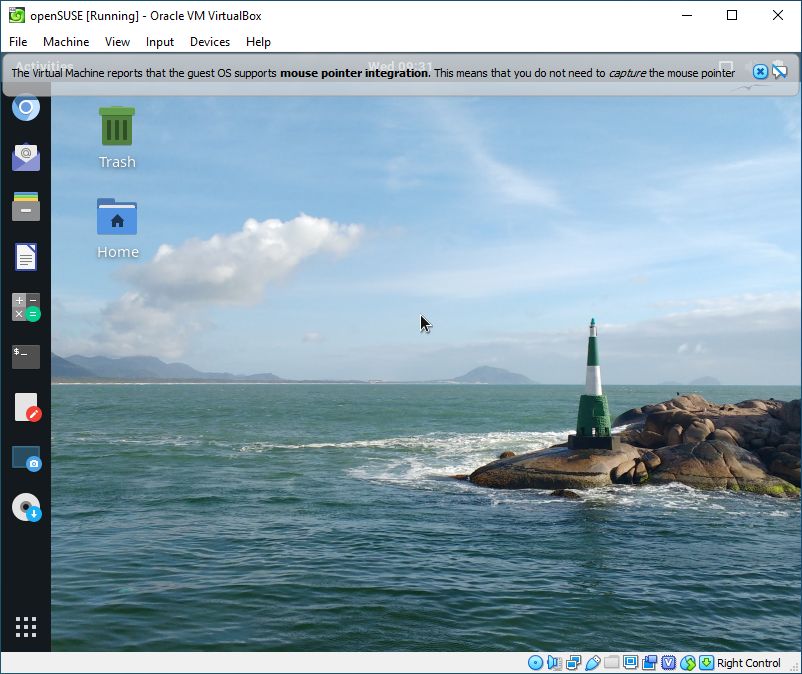
When the system finishes booting up, you will see the desktop and can start using it:
In addition to displaying image, the VM window also allows you to interact with the VM: to control the VM, click on the window, then the keyboard and the mouse are now “owned” by the VM and can be used only within it.
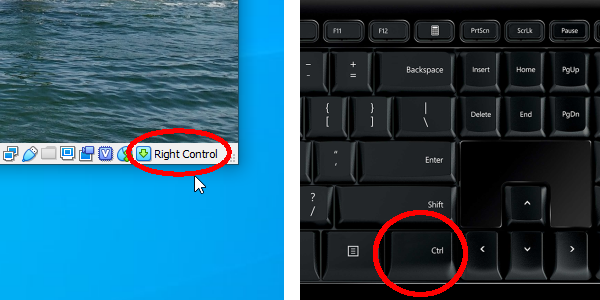
To return ownership of keyboard and mouse to the host OS, VirtualBox reserves a special key on the keyboard: it is called the Host key and it is, by default, the right Ctrl key. Press the Host key, then keyboard and mouse are now owned by the host OS again.
The current setting for the Host key is always displayed at the bottom right of your VM window:
In case the guest OS reports that it supports mouse pointer integration, that means you can move the mouse pointer freely between the virtual machine window and other opened windows on the host OS, you don’t need to click on the VM window to capture the mouse, nor hit the Host key to release it.
When used within a VirtualBox VM as a guest OS, Linux Kamarada enables mouse pointer integration by default, making the VM usage a lot more seamless.
You can change the default Host key in the VirtualBox preferences, if you want.
Shutting the virtual machine down
Warning: as you are using a Linux live image, any changes you make to the guest operating system will be lost when you shut the virtual machine down. If you created any file on the virtual machine you think is important to keep, send it by email or upload it to some cloud storage service, such as Dropbox or Google Drive, before shutting the virtual machine down.
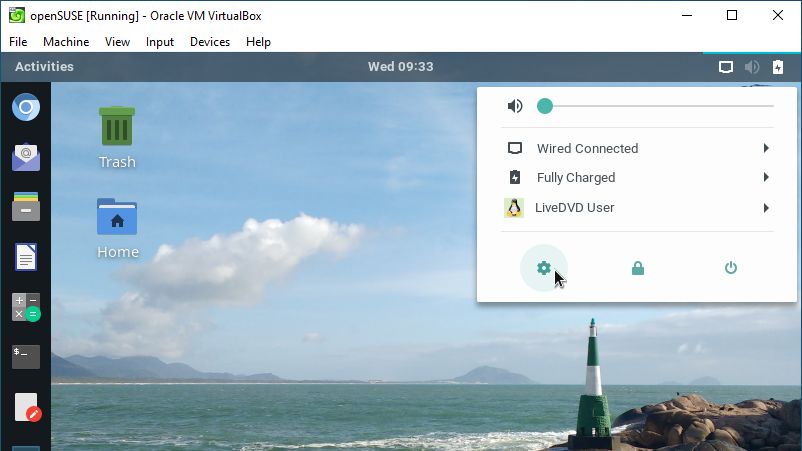
When you are finished using the virtual machine, shut it down as usual, in the same way you would shutdown a physical machine. In case your guest OS is Linux Kamarada, which comes with the GNOME desktop out-of-the-box, to shut the VM down, click the system menu, in the upper right corner of the VM screen, and then click the Shutdown icon:
In case the virtual machine freezes and you need to forcibly shut it down, click the close button of the VM window (as if you were closing the window) and VirtualBox will ask you what you want to do, choose Power off the machine and click OK:
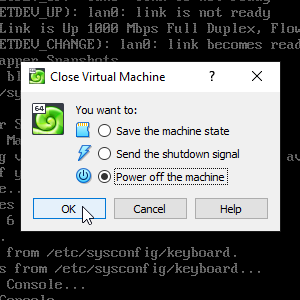
(doing that is similar to pressing and holding the power button of a physical machine for a few seconds until it forcibly shuts down)
Starting VirtualBox on Windows
If you have strictly followed this tutorial, you had VirtualBox started by its own installer.
To start VirtualBox yourself, you can double-click its desktop shortcut:
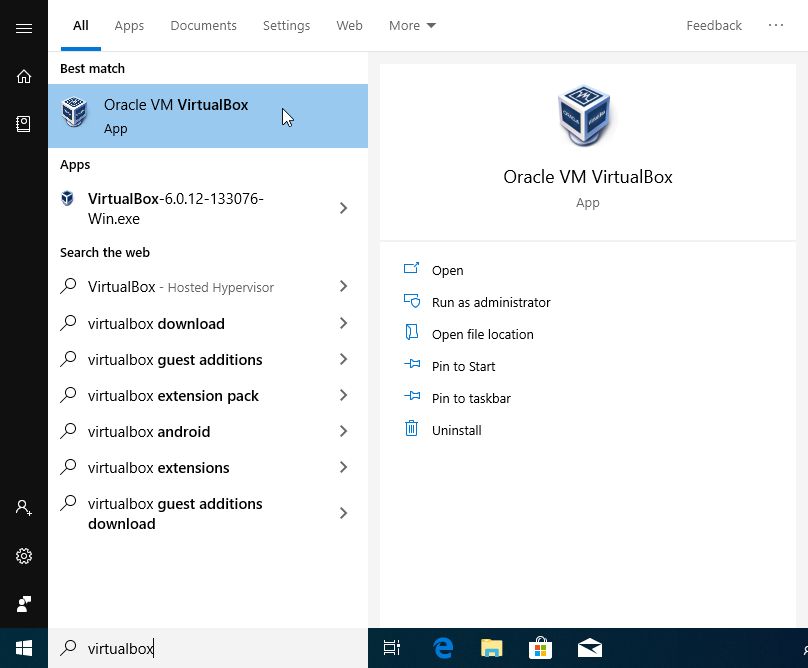
Or open the Start menu, type virtualbox and click its icon:
To be continued…
In part 2, we are going to see how to install VirtualBox on Linux. See you!
References
For future reference, here I used the following software versions:
- Microsoft Windows 10
- Oracle VM VirtualBox 6.0.12
- Linux Kamarada 15.1 Beta Build 16.1
All of them are the latest versions at the time of writing.
To write this post, I consulted:


