This is the part 2 of our trilogy of posts about VirtualBox! You are going to see how to install it on Linux. I focused on the most popular distributions, but if you don’t use any of them, in the end you will find generic instructions, which should work on most Linux systems.
In part 1, you’ve seen what virtualization is, what VirtualBox is, how to install VirtualBox on Windows, how to create a virtual machine and how to use it to try Linux.
If you fell into this page, start reading the first part:
Now let’s see how to install VirtualBox on Linux.
Usually I write about the openSUSE distribution (which is equivalent to writing about the recently released openSUSE-based Linux Kamarada). But this sequence of posts aims to show you how you can try Linux without leaving your current operating system, which can be a Linux distribution other than openSUSE. So, today, we are going to talk about openSUSE, but also about some other Linux distributions as well.
Maybe you are reading about Linux Kamarada, thinking of giving it a try… who knows?
VirtualBox on Ubuntu and derivatives
Let’s see how to install VirtualBox on Ubuntu and its derivatives, among which we can highlight: Linux Mint, elementary OS and Zorin OS.
The easiest way for Ubuntu users to install VirtualBox is to retrieve it from the official multiverse repository, which always provides the latest version of VirtualBox (or a version close to the latest).
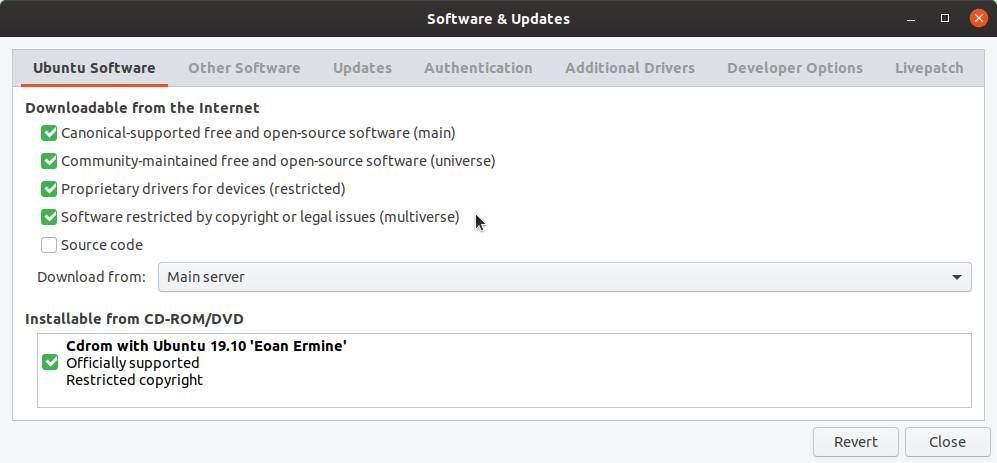
Start by enabling the multiverse repository. The easiest way to do this is by opening the Software & Updates app and checking the Software restricted by copyright or legal issues (multiverse) option on the Ubuntu Software tab:
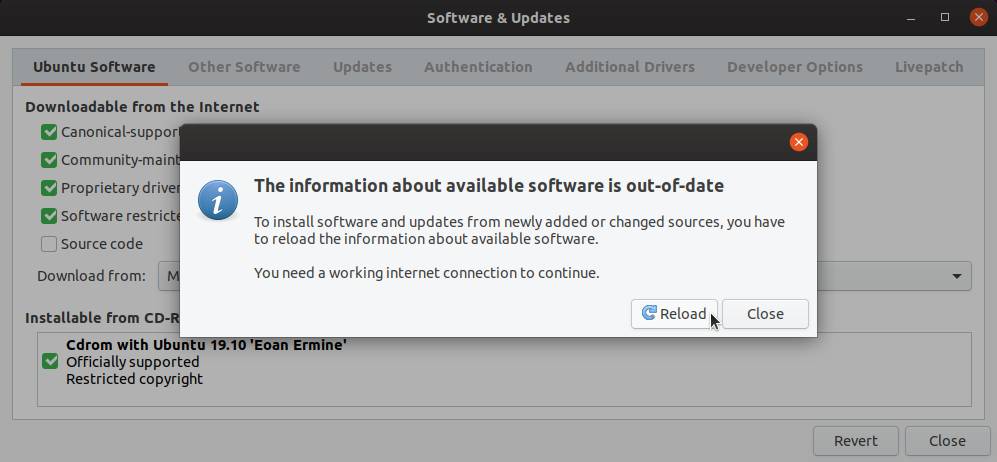
Click Close. As you changed the repository configuration, the system suggests refreshing the list of available packages. On the dialog that appears, click Reload:
If you prefer to use the terminal, you can achieve the same result with these commands:
1
2
$ sudo add-apt-repository multiverse
$ sudo apt update
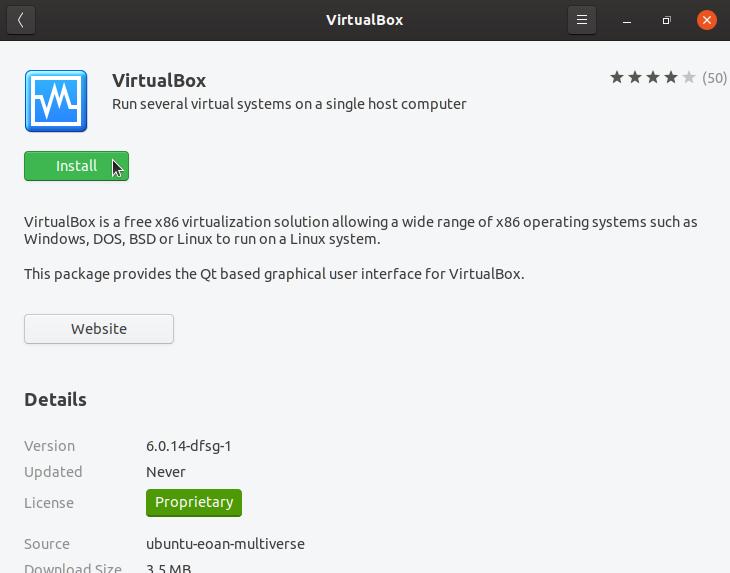
With the multiverse repository enabled and the package list updated, to install VirtualBox using the graphical interface, open the Ubuntu Software app, search for virtualbox, click the only item that appears and then click Install:
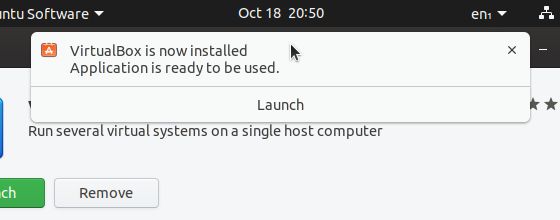
Download and installation begins, the system notifies you when the app is ready to be used:
If you prefer to install VirtualBox using the terminal, run:
1
$ sudo apt install virtualbox virtualbox-qt
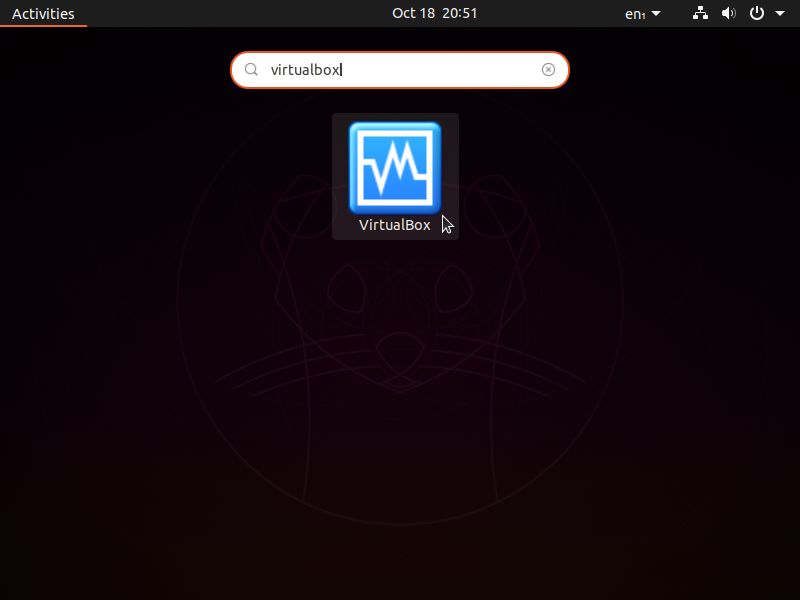
With VirtualBox installed, to start it, open the Activities menu, by the upper-left corner of the screen, type virtualbox and click its icon:
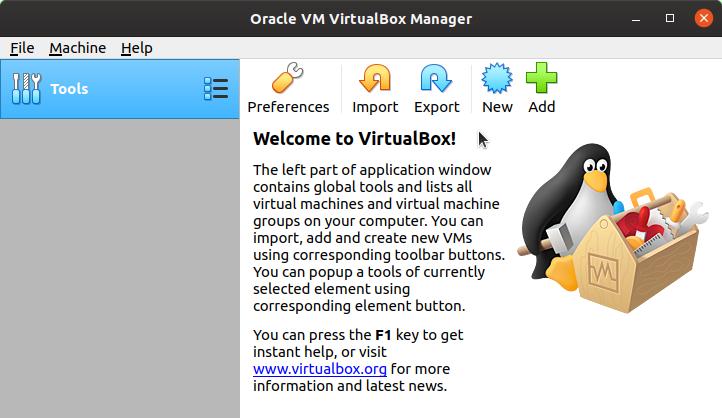
The VirtualBox start screen appears, so far without any virtual machine:
Now you can create a virtual machine and run Linux on it following the same how-to presented in part 1.
VirtualBox on Debian and derivatives
Let’s see how to install VirtualBox on Debian and its derivatives, among which we can highlight: MX Linux, deepin and KNOPPIX.
Debian does not provide VirtualBox on its official repositories. Debian users must add the repository maintained by VirtualBox, which can be done running the following command:
1
$ sudo add-apt-repository 'deb https://download.virtualbox.org/virtualbox/debian buster contrib'
(if you use another Debian release, replace buster by its codename, for instance: stretch)
Also, download and import the Oracle public key, so that VirtualBox packages can be validated:
1
$ wget -q https://www.virtualbox.org/download/oracle_vbox_2016.asc -O- | sudo apt-key add -
Refresh the list of available packages:
1
$ sudo apt update
And install VirtualBox:
1
$ sudo apt install virtualbox-6.0
If everything went well, now you can start VirtualBox and use it (see instructions in part 1).
That repository always provides the latest version of VirtualBox.
In case your installation does not have the add-apt-repository command, try this alternative:
1
$ sudo bash -c "echo 'deb https://download.virtualbox.org/virtualbox/debian buster contrib' >> /etc/apt/sources.list"
Or open the /etc/apt/sources.list file using you favorite text editor (e.g. nano):
1
$ sudo nano /etc/apt/sources.list
Add the following line and save:
1
deb https://download.virtualbox.org/virtualbox/debian buster contrib
VirtualBox on openSUSE and derivatives
Let’s see how to install VirtualBox on Linux Kamarada, which is based on openSUSE. The following instructions should also work on SUSE Linux Enterprise.
The easiest way for openSUSE users to install VirtualBox is to retrieve it from the official OSS repository, which always provides the latest version of VirtualBox (or a version close to the latest).
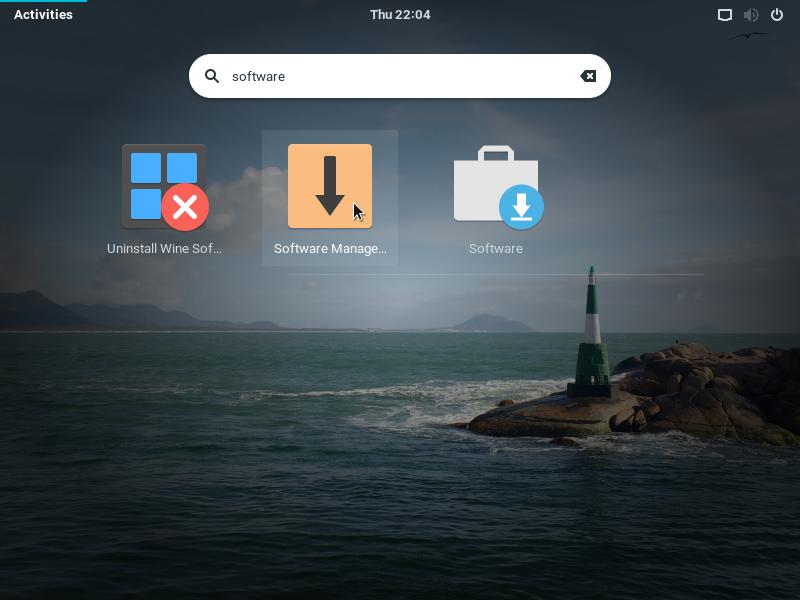
To install VirtualBox using the graphical interface, open the Activities menu, by the upper-left corner of the screen, type software and click Software Management:
Wait for the list of available packages to be refreshed:

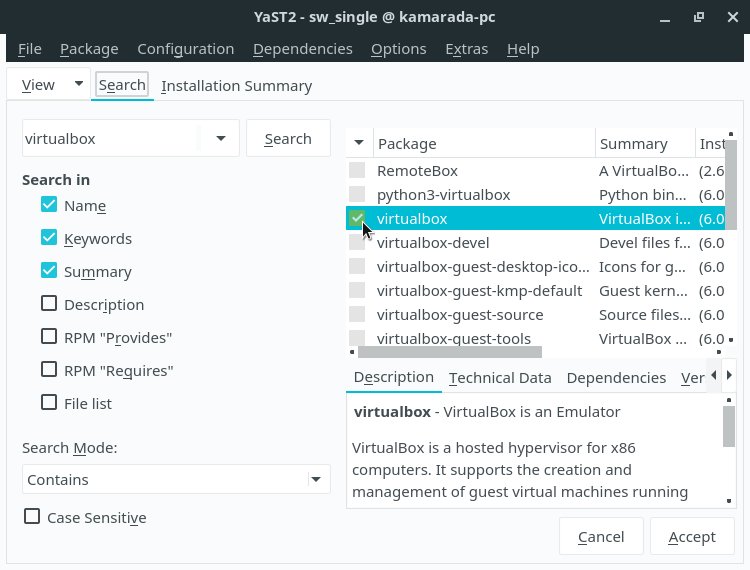
Fill in the text field with virtualbox, click the Search button (or just hit Enter), mark the virtualbox package for installation and click Accept:
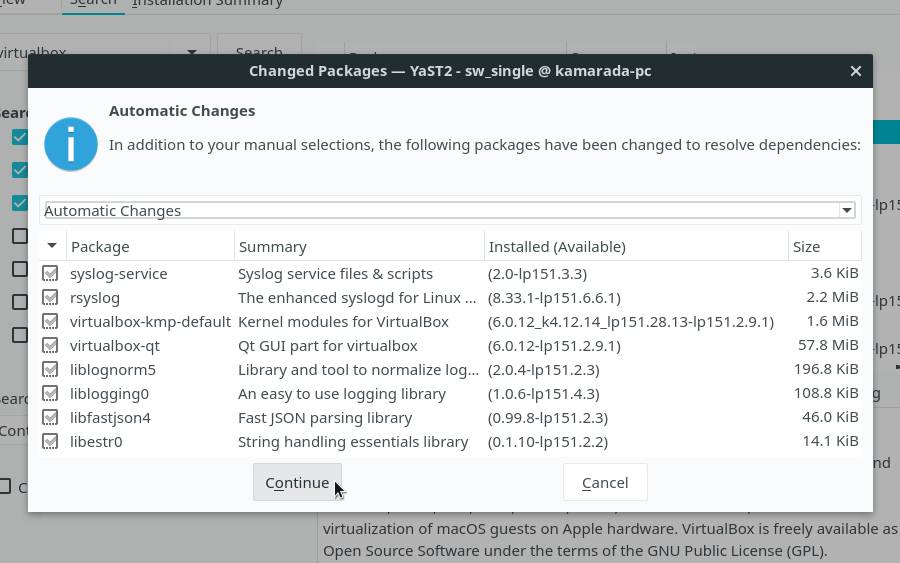
The system informs you that additional required packages are going to be installed, click Continue:
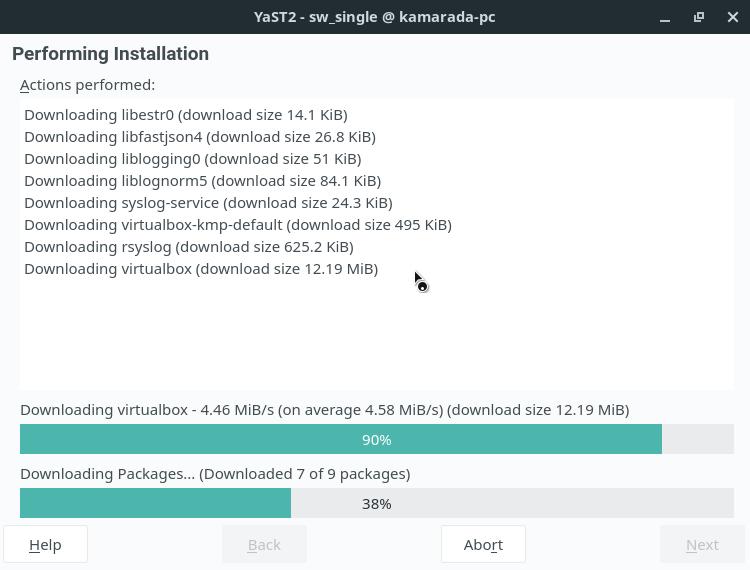
Wait while packages are downloaded and installed:
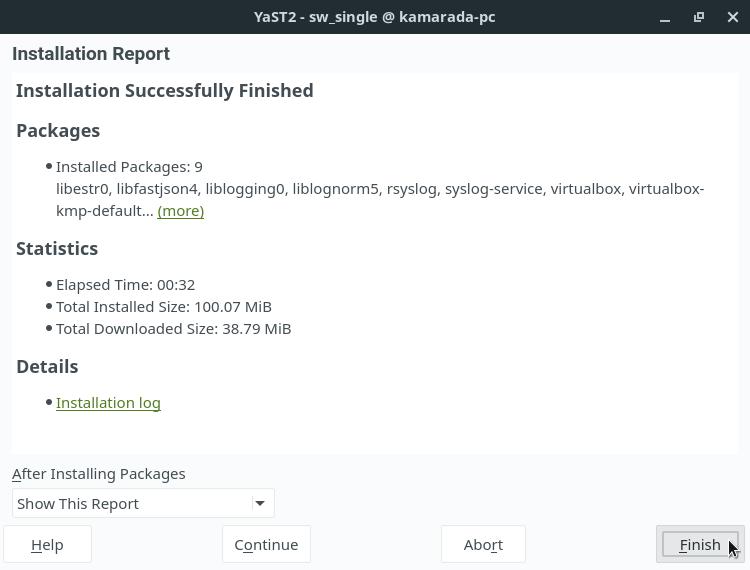
When the installation is finished, click Finish:
If you prefer to install VirtualBox using the terminal, run:
1
2
$ sudo zypper ref
$ sudo zypper in virtualbox
With VirtualBox installed, to start it, open the Activities menu, type virtualbox and click its icon:

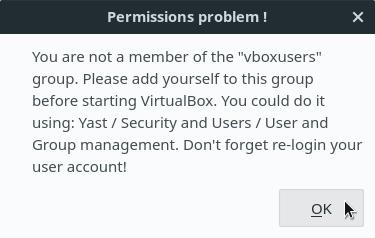
If your user account does not belong to the vboxusers user group, the following error message appears, click OK to close it:
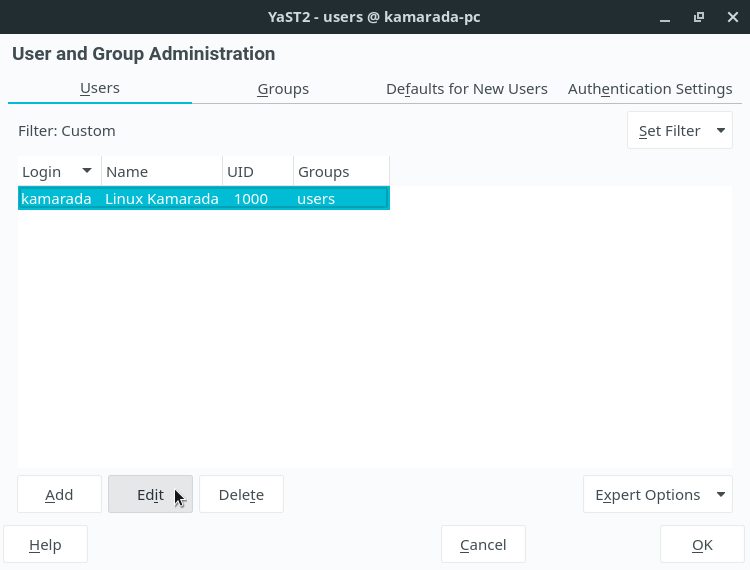
Using the Activities menu, open the User and Group Management.
Select your user account from the list and click Edit:
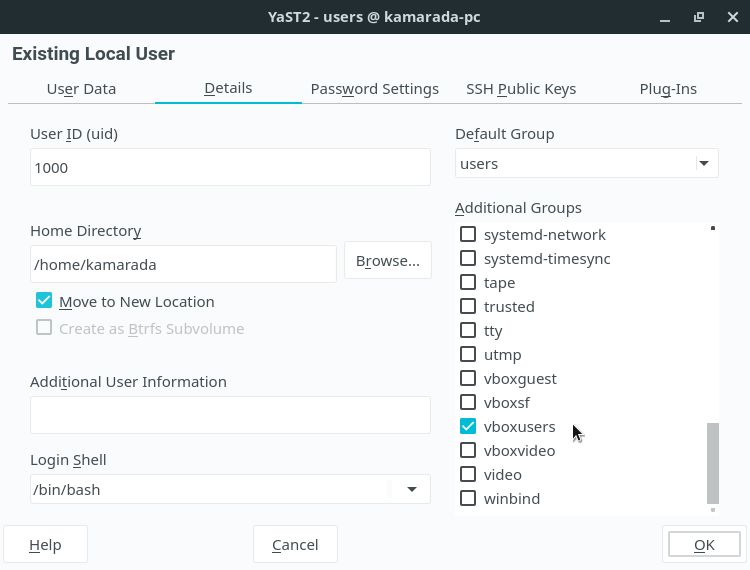
Switch to the Details tab. Under Additional Groups, select the vboxusers group and click OK:
Click OK once again to quit the User and Group Management.
Log out and log in again for the system to notice your new user group.
Start VirtualBox again. This time, it asks you whether to enable USB passthrough, this message appears only the first time you use VirtualBox:
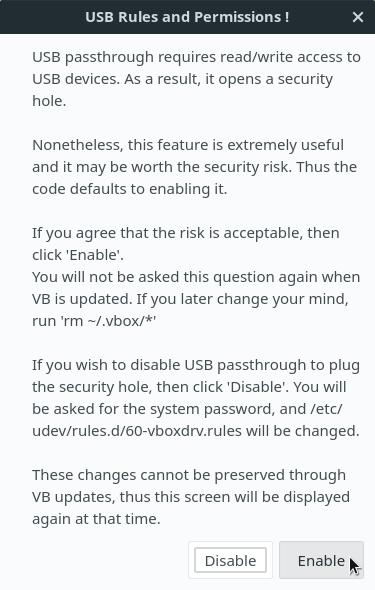
Unless you are a “security paranoid”, I think there is no reason to worry. Click Enable to proceed.
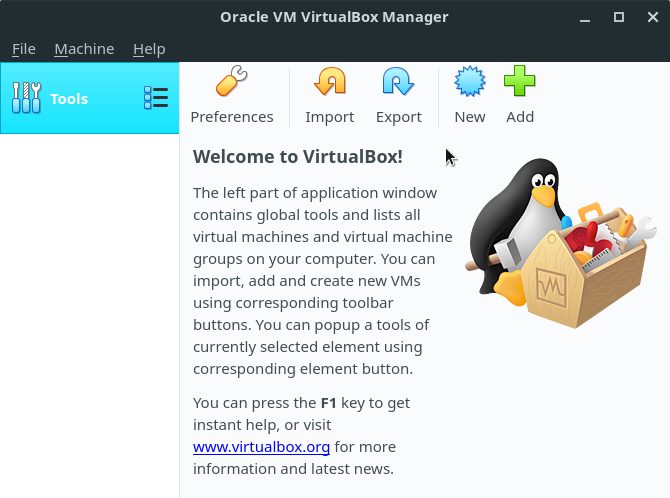
Finally, we’ve got to the VirtualBox start screen, so far without any virtual machine:
Now you can create a virtual machine and run Linux on it following the same how-to presented in part 1. And don’t forget: have a lot of fun!
VirtualBox on Fedora and related
Let’s see how to install VirtualBox on Fedora. The following instructions should also work on related distributions, such as Red Hat Enterprise Linux and CentOS.
Fedora does not provide VirtualBox on its official repositories. Fedora users must add the repository maintained by VirtualBox, which can be done running the following command:
1
$ sudo dnf config-manager --add-repo https://download.virtualbox.org/virtualbox/rpm/fedora/virtualbox.repo
Refresh the list of available packages:
1
$ sudo dnf update
After downloading the VirtualBox repository package list, the system asks whether to import the Oracle public key:
1
2
3
4
5
6
7
8
9
10
11
Fedora Modular 30 - x86_64                                        4.8 kB/s | 3.0 kB     00:00
Fedora Modular 30 - x86_64 - Updates                              5.2 kB/s | 2.8 kB     00:00
Fedora 30 - x86_64 - Updates                                      6.5 kB/s | 3.5 kB     00:00
Fedora 30 - x86_64                                                6.3 kB/s | 3.1 kB     00:00
Fedora 30 - x86_64 - VirtualBox                                   468  B/s | 181  B     00:00
Fedora 30 - x86_64 - VirtualBox                                   1.6 kB/s | 1.7 kB     00:01
Importing GPG key 0x98AB5139:
 Userid     : "Oracle Corporation (VirtualBox archive signing key) <info@virtualbox.org>"
 Fingerprint: 7B0F AB3A 13B9 0743 5925 D9C9 5442 2A4B 98AB 5139
 From       : https://www.virtualbox.org/download/oracle_vbox.asc
Is this ok [y/N]:
Type y (meaning “yes”) and hit Enter:
1
2
Is this ok [y/N]: y
Fedora 30 - x86_64 - VirtualBox                                   255 kB/s |  84 kB     00:00
Install some packages that VirtualBox needs to compile kernel modules on Fedora:
1
2
$ sudo dnf install @development-tools
$ sudo dnf install kernel-devel kernel-headers dkms elfutils-libelf-devel qt5-qtx11extras
And finally, install VirtualBox itself:
1
$ sudo dnf install VirtualBox-6.0
If everything went well, now you can start VirtualBox and use it (see instructions in part 1).
That repository always provides the latest version of VirtualBox.
VirtualBox on Arch Linux and Manjaro
Let’s see how to install VirtualBox on Arch Linux and its derivative Manjaro.
The easiest way for Arch users to install VirtualBox is to retrieve it from the official repository of the distribution. Due to its rolling release nature, that repository always provides the latest version of VirtualBox.
To install VirtualBox on Arch or Manjaro, just run:
1
$ sudo pacman -Sy virtualbox $(pacman -Qsq "^linux" | grep "^linux[0-9]*[-rt]*$" | awk '{print $1"-virtualbox-host-modules"}' ORS=' ')
If everything went well, now you can start VirtualBox and use it (see instructions in part 1).
VirtualBox on other distributions
Just as the VirtualBox website provides a Windows installer, it also provides packages for the most popular Linux distributions and a generic installer which can be used to install VirtualBox on any Linux system.
Go to the official VirtualBox website at:
Click the Download VirtualBox 6.0 banner.
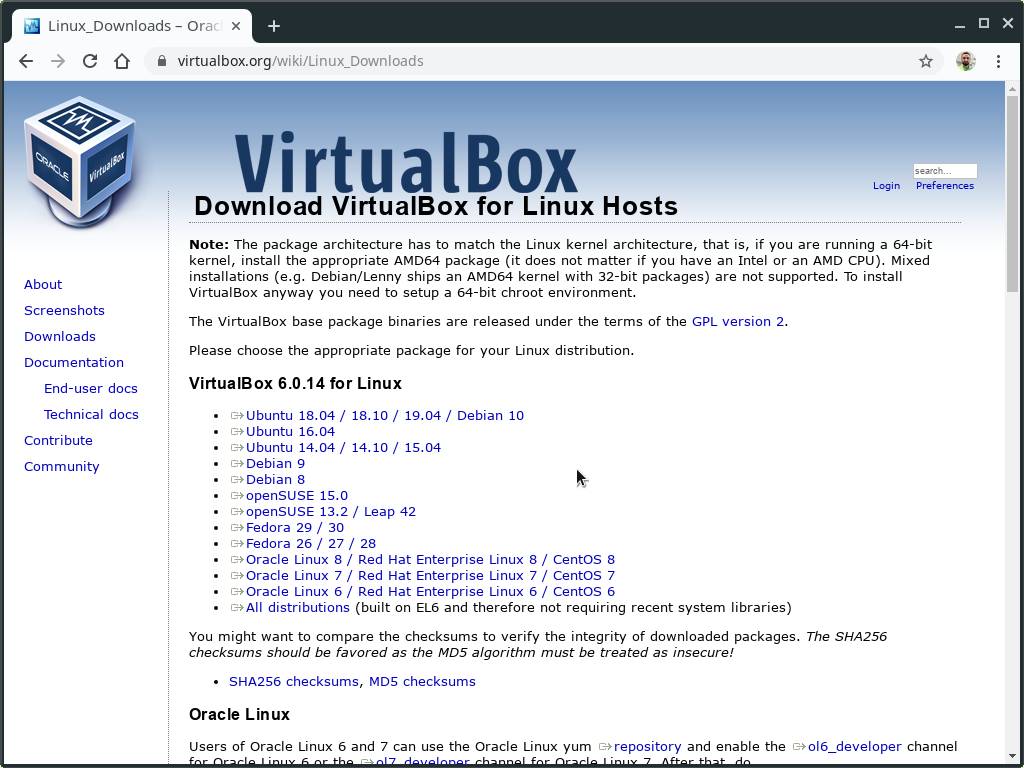
On the next page, under VirtualBox binaries, click Linux distributions.
On this page, click the link corresponding to the distribution you use (note that it may not be on the list, but it may be based on one of those):
Once you have downloaded the package, use your distribution appropriate tool to install it.
Alternatively, you can download the generic installer by right-clicking All distributions (the last link) and using Save link as.
Once you have downloaded the generic installer, run it using the terminal:
1
2
$ chmod +x Downloads/VirtualBox-6.0.12-133076-Linux_amd64.run
$ sudo Downloads/VirtualBox-6.0.12-133076-Linux_amd64.run
If you are in doubt, search your distribution documentation for instructions on how to install VirtualBox.
There is more to come…
Now, Windows and Linux users are all on the same page: we already know how to install VirtualBox on the operating systems we use and we are able to create virtual machines.
In part 3, we are going to see how to create a virtual hard disk and install Linux on the virtual machine, as well as tips for using VirtualBox daily.
References
For future reference, here I used the following software versions:
- Ubuntu 19.10 (Eoan Ermine) with VirtualBox 6.0.14
- Debian 10.1.0 (Buster) with VirtualBox 6.0.14
- Linux Kamarada 15.1 Beta Build 16.1 with VirtualBox 6.0.12
- Fedora Workstation 30 with VirtualBox 6.0.14
- Manjaro GNOME 18.1.1 with VirtualBox 6.0.12
All of them are the latest versions at the time of writing.
To write this post, I consulted:
- Linux Downloads - Oracle VM VirtualBox
- Oracle VM VirtualBox - User Manual - Chapter 2 - Installation Details
- package management - How do I enable the “multiverse” repository? - Ask Ubuntu
- How to Enable Universe and Multiverse Repositories in Ubuntu - It’s FOSS
- How to install VirtualBox 6 on Fedora Linux 29 - nixCraft
- Adding or removing software repositories in Fedora - Fedora Docs Site
- VirtualBox - Manjaro Linux
- VirtualBox - ArchWiki


