
Etcher is a versatile yet easy to use tool to create bootable SD cards and USB flash drives from operating system images. It provides a clean user interface that helps you selecting the right device to write to, protecting you from accidentally wiping your hard-drive, which could cause irreversible data loss. After writing, Etcher also ensures every byte of data was written correctly, which prevents you end up with a corrupted drive.
For users who are not exactly tech-savvy, those images are not the same kind of images you produce with a camera, commonly files with a .jpeg or .jpg extension. An OS image is an archive containing the whole operating system (such as Linux or Windows), all of its files. Commonly OS images are compressed and have extensions like .iso, .img, .xz, .gz or .zip.
Etcher is a free, open-source and cross-platform software developed by Balena, hence it is also called balenaEtcher. Its source code is available on GitHub.
What or who is Balena?

Balena is the name of both a set of open source tools for managing connected IoT (Internet of Things) devices, and the company who develops those tools and offer cloud infrastructure for connecting those devices. Balena is known not only for Etcher, but for several other products as well such as openBalena, balenaOS, balenaEngine and more.
The Balena team created the Etcher software to solve the complexity of writing OS images to removable media, such as SD cards and USB flash drives. To teach their clients how to flash their images, they used to provide a how-to for each of the systems (Linux, Windows and macOS), each of them composed of several manual and error-prone steps. Previously there was no tool that fitted all of their needs, so they built Etcher, which is simple for end users and works and looks the same on Linux, Windows and macOS.
What can I do with Etcher?
balenaEtcher can be used for many purposes. Below are some examples:
-
Remember Raspbian? (Debian for Raspberry Pi) It has been renamed to Raspberry Pi OS. Images of this operating system are available on its downloads page. Now they can be flashed to the memory card using Etcher, eliminating the need for NOOBS.
-
We also showed how to setup openSUSE on the Raspberry Pi 4, in that how-to we recommend balenaEtcher to flash the openSUSE image to the memory card.
-
In the PinePhone review, we saw that there are at least 18 operating systems that support it already. If you want to try one of these systems without installing it on your phone’s internal storage, you can use Etcher to flash it to a memory card.
What comes next would originally be part of the openSUSE on the Raspberry Pi 4 how-to. But as balenaEtcher can be useful in many how-tos, I decided to move all the information about it to this text dedicated to it and link other how-tos to this one.
A little issue regarding privacy…
Before we begin, I just want to note that there is a privacy issue in Etcher, but I think this is a small problem, easy to workaround: during use, balenaEtcher makes network connections to Google, Facebook and other services (more information here and here), which is intriguing, because that’s totally unnecessary for its function.
If this is an issue for you, I believe it’s enough to disconnect your computer from the Internet while using Etcher.
If you don’t want to use Etcher and you’re a Linux user, an alternative is the dd command.
What do I need to use Etcher?
balenaEtcher requires a desktop with Linux, Windows or macOS.
I’m going to use Linux Kamarada 15.2, which is a Linux distro based on openSUSE Leap 15.2.
But the steps to follow should be more or less similar in all of those systems.
You will also need a memory card with enough capacity to store the OS image you want to flash to it. You need to download this image beforehand.
Inserting the memory card
Connect the memory card to your computer, maybe using an adapter or a USB card reader.
Before proceeding, please note that anything currently stored on the memory card will be overwritten during flashing. So, if the card currently has any files on it, you may wish to back those files up first to not lose them permanently.
It is also recommended that you remove any other storage devices, other than the memory card, connected to your computer (such as other USB sticks, external hard drives, etc.) to prevent them from being erased by mistake (and losing files, probably irreversibly).
Downloading Etcher
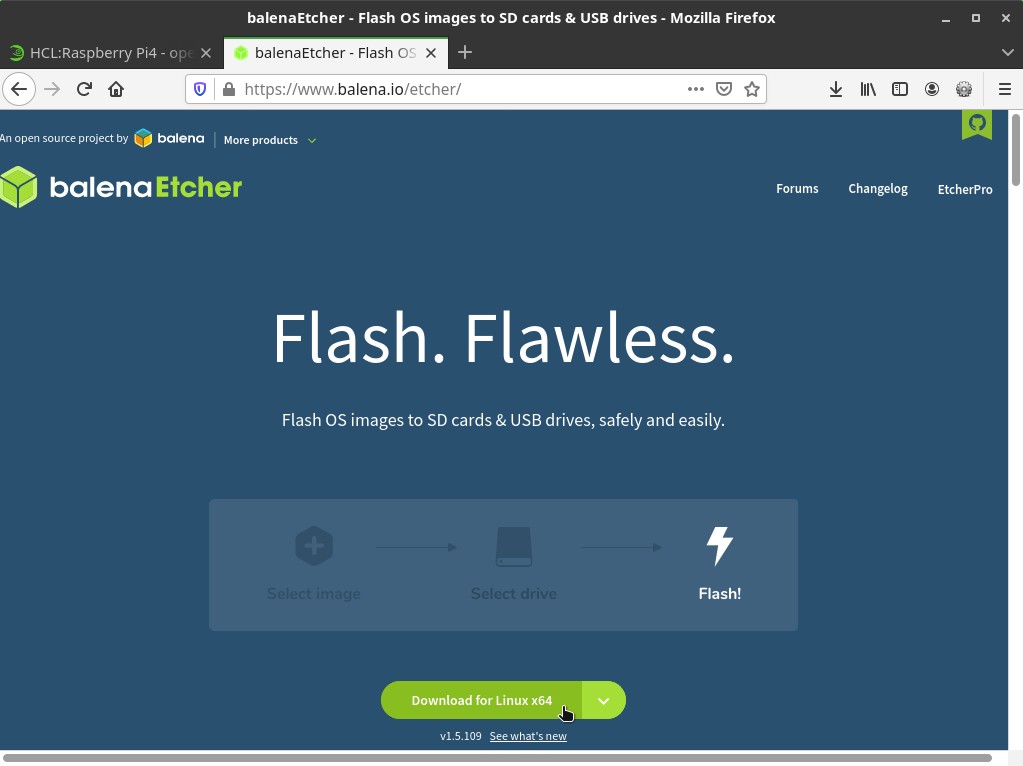
To download balenaEtcher, go to its website and click the download button:
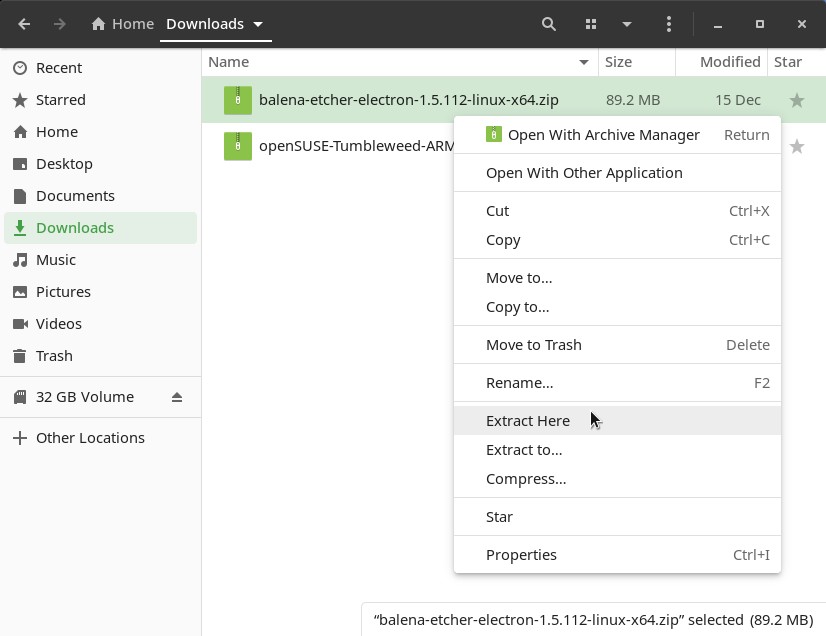
When the download is complete, open the Downloads folder and extract the contents of the downloaded compressed file:
If you are going to disconnect your computer from the Internet, the time to do that is now.
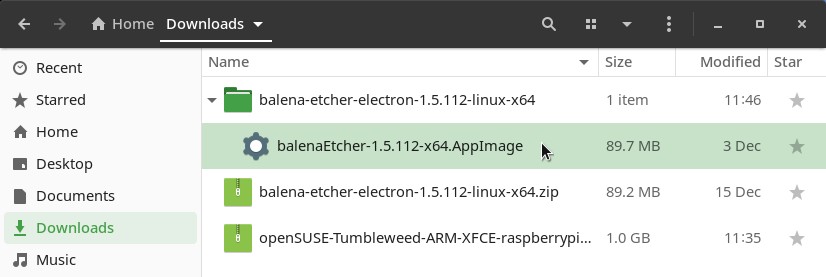
Open the extracted folder and double-click the file with AppImage extension (which is actually the balenaEtcher program itself, doing that is going to start it):
Flashing the image to the memory card
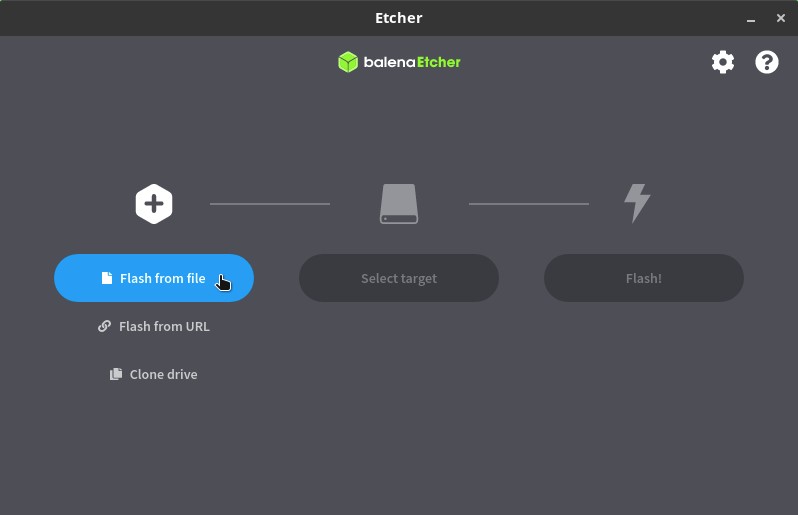
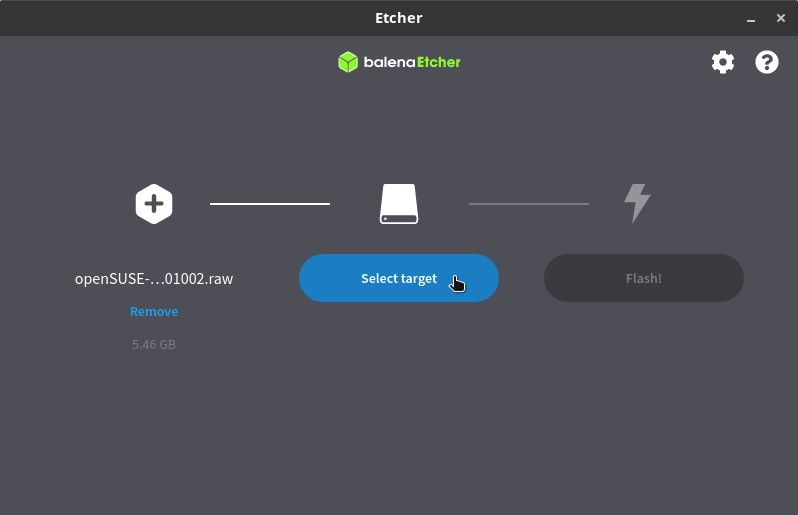
On balenaEtcher, click the Flash from file button and select the image file you downloaded:
Then, click the Select target button:
Tick the memory card and click Select:
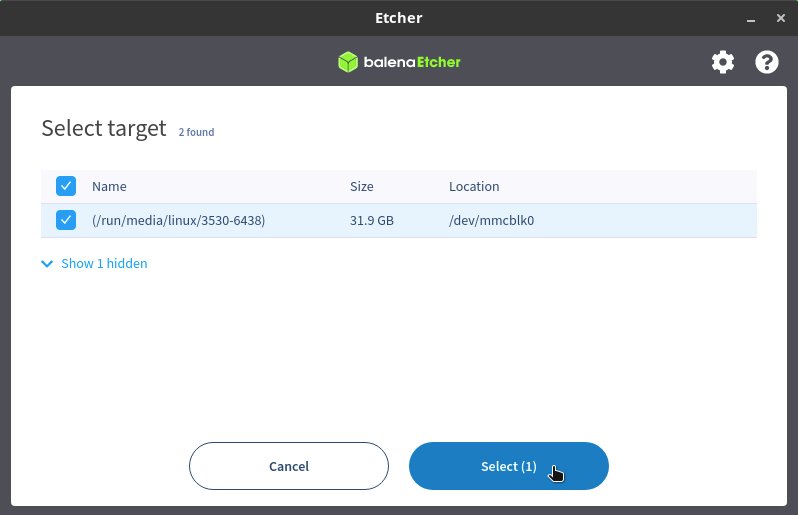
Caution: be sure to correctly identify the memory card, otherwise the image will be written to the wrong device and you will lose data irreversibly. I usually look at the device’s Size.
Finally, click the last button, Flash, to start:
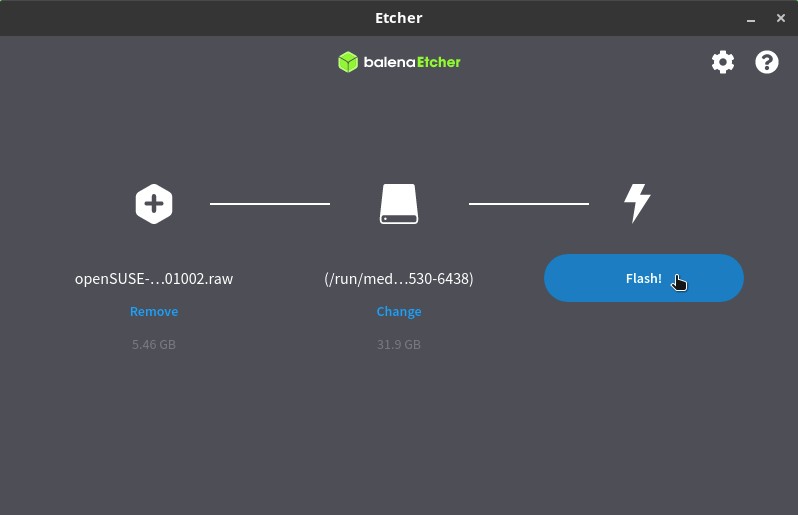
You will be asked for the administrator password (Linux calls it the root user), which you must provide to proceed.
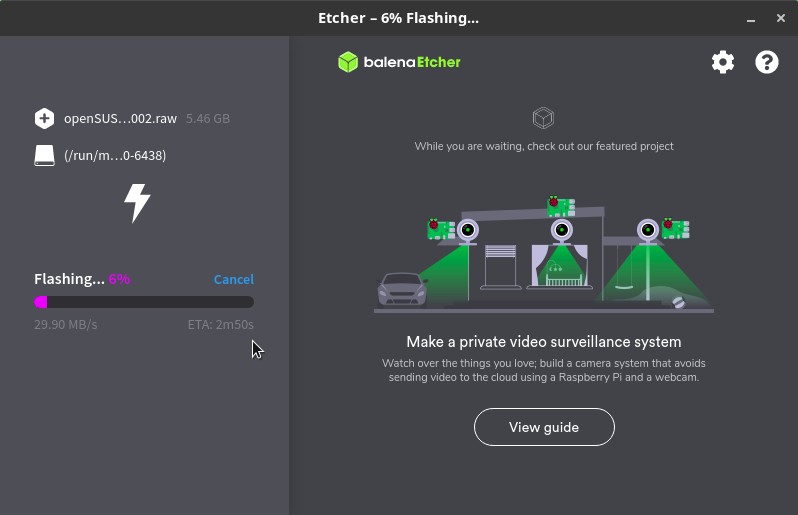
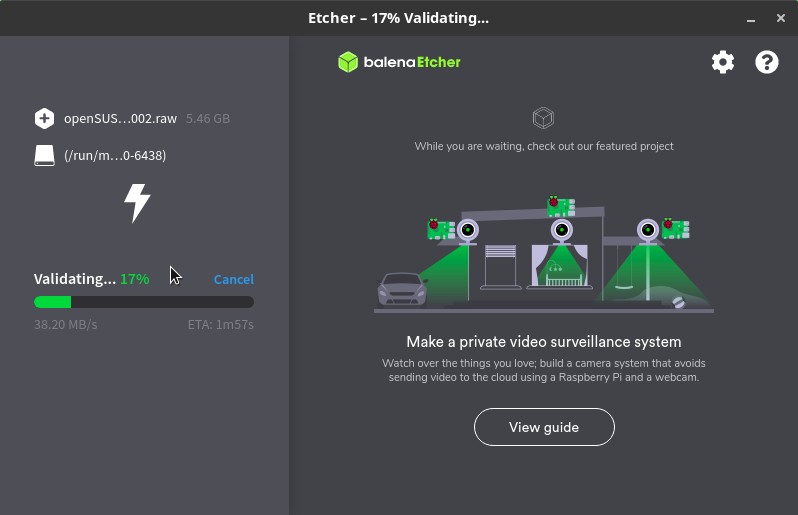
Wait for the image to be flashed to the memory card. Etcher shows an estimate of how long that is going to take (you can go have a coffee and come back later):
After flashing, balenaEtcher checks the files on the memory card (your coffee time can last a little longer):
At the end, balenaEtcher informs you that flashing is complete:
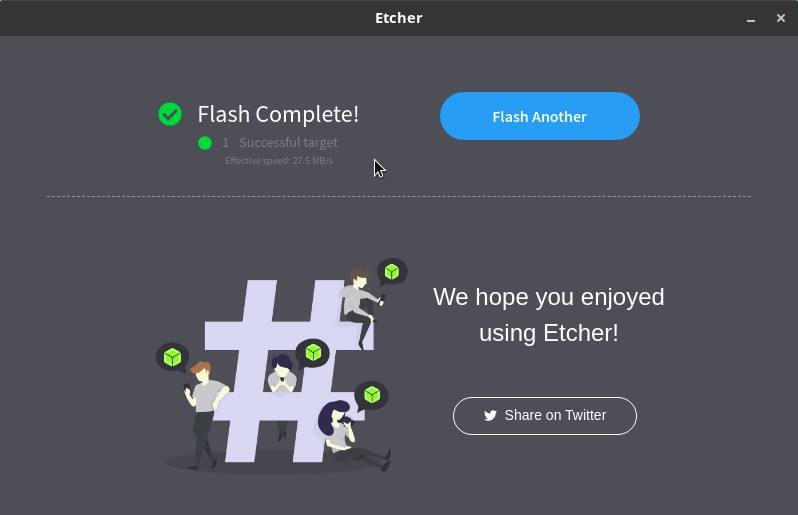
You can simply close the program.
If you disconnected your computer from the Internet, you can now connect it back.
Removing the memory card
balenaEtcher does not mount the memory card after flashing the image.
If you open the Files app, you will see that the memory card is listed, but the usual Unmount icon is not shown next to it:
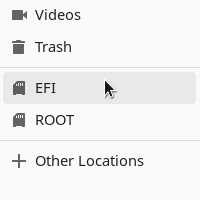
Therefore, you can simply remove the memory card from your computer.
Uninstalling Etcher
Note that Etcher was not actually installed to your system. The entire program consists only of that file with AppImage extension that you opened. If you are not going to use it anymore, you can simply delete it, if you want.
Conclusion
I hope this text was helpful to you. As I said, and you may have noticed, Etcher is very simple and easy to use. But if you have any doubts, don’t hesitate to write in the comments.
Have a lot of fun flashing images and playing with your gadgets!
References
In addition to the links that appear throughout the text, I also consulted this page:


