Did you know that it’s already possible to run openSUSE on a Raspberry Pi 4? The first time I wrote about this credit-card sized computer, a year ago, its fourth generation was not yet supported by the openSUSE Project. At that time, anyone wishing to use a Raspberry Pi 4 as a desktop would have to resort to another Linux distro, such as Raspbian or Manjaro.
If you want to know more about the Raspberry Pi 4 and its tech specs, please read:
Even nowadays, openSUSE support for the Raspberry Pi 4 is not yet complete. I explain.
openSUSE vs Raspbian and Manjaro
Pieces of the software specific to the Raspberry Pi — firmware, bootloader and Linux kernel modules — are released closed source by its processor manufacturer, Broadcom, which has been unwilling to make them open source. This may not be an issue for most Raspberry Pi users. That was understandably a trade-off that the board’s creators had to make to offer it at an affordable price. But that could be an issue for open-source purists.
The Raspberry Pi Foundation makes available on GitHub the source code of their own fork of the Linux kernel and the pre-compiled binaries of the closed-source Broadcom software.
Raspbian offers full Raspberry Pi 4 support because it uses the Linux kernel and pre-compiled binaries from the Raspberry Pi Foundation. Manjaro has followed the same path and, therefore, also offers full Raspberry Pi 4 support right now. This path is shorter, provides a system that just works as soon as possible, and there is nothing wrong with that.
But openSUSE chose to take a different approach, trying to add Raspberry Pi 4 support to the mainline Linux kernel, which is used by the distro. It is a longer and more time-consuming path, but at least in theory it should deliver better results in the long run, which also may benefit other Linux distros. The downside of this approach is that, while open-source modules are not developed, it’s not possible to use some of the Raspberry Pi 4 features.
openSUSE Leap vs openSUSE Tumbleweed
Did you know that there are two openSUSE distros?
Until 2014, there was only one Linux distro called openSUSE, which was then at version 13.2.
Later, the openSUSE Project started to offer two Linux distros: openSUSE Leap and openSUSE Tumbleweed. If you didn’t know them already, you may want to read:
Usually I write about openSUSE Leap here. But today I want to talk about Tumbleweed.
When I wrote the original version of this text in Brazilian Portuguese, a few months ago, openSUSE Tumbleweed did a little better than openSUSE Leap on the Raspberry Pi 4, but today both perform the same. Anyway, I think it’s interesting to keep and eye on Tumbleweed, because support for the board is still being developed and new features always arrive in Tumbleweed first. So, let’s try Tumbleweed today.
If you prefer to use Leap, you can follow this how-to the same way. Instructions are the same.
What works, what does not work
Brief: when it comes to hardware support for the Raspberry Pi 4, there is no difference between Leap and Tumbleweed. If you plan to use your Raspberry Pi as a home server, any of the openSUSE distros will suit you very well. If you plan to use it as a desktop, you may miss some features on both distros, such as Bluetooth and sound.
I tested the following Raspberry Pi 4 features on both openSUSE distros:
- Wi-Fi network: on both, I was able to connect to both 2.4GHz and 5GHz networks;
- Ethernet network: on both, I was able to connect to an Ethernet wired network;
- Bluetooth: on both, Bluetooth did not work;
- USB ports: on both, all the 4 USB ports worked, I just found a few issues regarding keyboard and mouse:
- keyboard does not work on the GRUB menu;
- on both distros, depending on the model of the keyboard and/or mouse, when rebooting the Raspberry Pi, they may stop working. If that happens, you need to unplug and plug them back so they get to work again;
- HDMI ports: on both distros, both HDMI ports worked, but when changing the HDMI cable from one port to the other, no image was immediately displayed on the new port — so, if you need to switch the HDMI port, you need to reboot the Raspberry Pi;
- Audio output: on both distros, I was unable to output any sound from the Raspberry Pi in any way — be it via the analog output (e.g. connecting a 3.5mm jack headset), via HDMI (e.g. connecting a TV) or via Bluetooth.
What I haven’t tested (so I don’t know whether it works or not):
- running a dual monitor setup using the two micro-HDMI ports at the same time;
- GPIO pins;
- anything I haven’t listed above.
Knowing what you can expect if you install openSUSE on your Raspberry Pi 4 today, you can decide whether to use openSUSE (and which distro to use: Leap or Tumbleweed) or to use another distro and wait for the Raspberry Pi 4 support on openSUSE to improve.
Downloading the openSUSE image
To download the openSUSE image and save it to the memory card, you will need a PC running Linux, Windows or macOS and a micro-SD memory card of at least 8GB.
I’m going to use Linux Kamarada 15.2, which is a Linux distro based on openSUSE Leap 15.2.
Go to the Raspberry Pi 4 page on the openSUSE wiki:
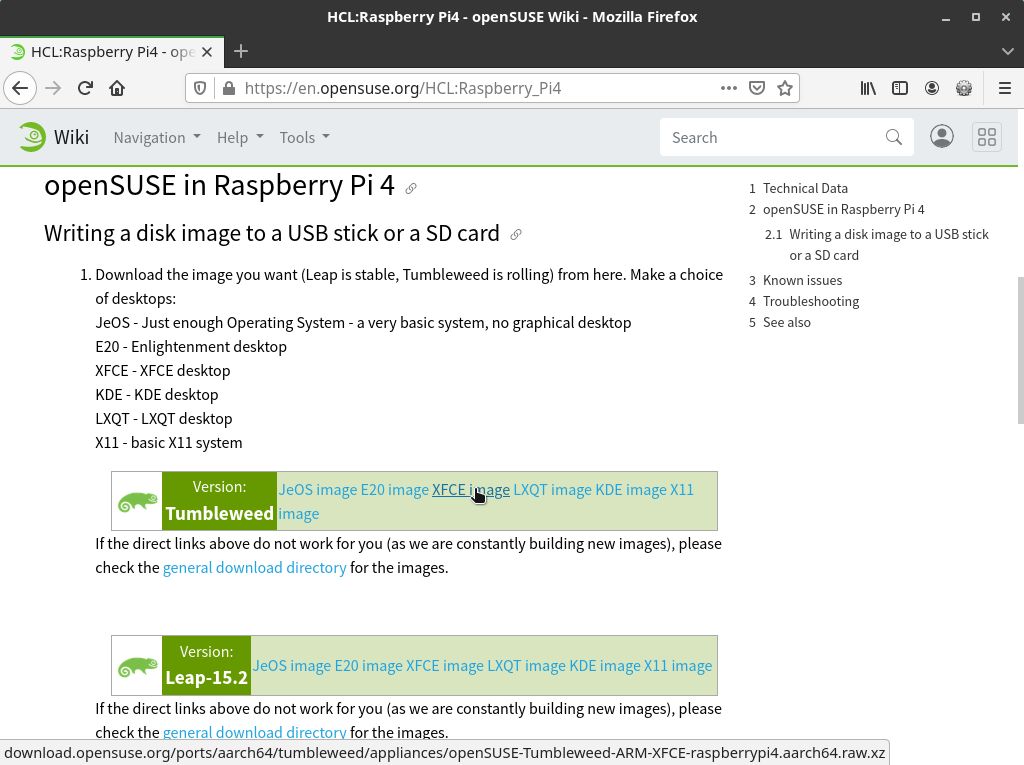
Note that there are several image options for both Tumbleweed and Leap 15.2. If you want to use the Raspberry Pi as a server, the JeOS image (Just enough Operating System) is the best choice. If it’s going to be a desktop, you can choose another image with a graphical desktop.
Here, I’m going to use the Tumbleweed XFCE image. The XFCE desktop is very lightweight and therefore appropriate for the Raspberry Pi.
Click the link for the image you chose. Downloading it may take a while, considering that the image file is large (mine was almost 1GB).
Flashing the image to the memory card using balenaEtcher
To flash the downloaded openSUSE image to the memory card, I recommend you to use balenaEtcher, which is a simple and easy to use, free and open source software.
balenaEtcher can be handful in some scenarios, so it has a how-to of its own:
Just observe that there is a little issue regarding privacy, which I explain in the how-to and has a simple workaround. For me, that doesn’t seem as a big reason to avoid balenaEtcher.
If that is an issue for you, an alternative is to use the dd command, if you are on Linux.
Alternative to Etcher: the dd command
If you chose to follow my recommendation and use balenaEtcher, you can skip this section.
The dd command is probably present on all Linux distros.
Connect the micro-SD card to your computer, maybe using an adapter or a USB card reader.
Before proceeding, please note that anything currently stored on the SD card will be overwritten during flashing. So, if the card currently has any files on it, you may wish to back those files up first to not lose them permanently.
It is also recommended that you remove any other storage devices, other than the SD card, connected to your computer (such as other USB sticks, external hard drives, memory cards, etc.) to prevent them from being erased by mistake (and losing files, probably irreversibly).
Identify the memory card that is going to receive the image. You can do this with the aid of the fdisk command, which is probably another universal command:
1
2
3
4
5
6
7
8
9
10
11
12
13
14
# fdisk -l
Disk /dev/sda: 447.1 GiB, 480103981056 bytes, 937703088 sectors
Disk model: KINGSTON SA400S3
[...]

Disk /dev/mmcblk0: 29.7 GiB, 31914983424 bytes, 62333952 sectors
Units: sectors of 1 * 512 = 512 bytes
Sector size (logical/physical): 512 bytes / 512 bytes
I/O size (minimum/optimal): 512 bytes / 512 bytes
Disklabel type: dos
Disk identifier: 0xc74ce35c

Device         Boot   Start      End  Sectors  Size Id Type
/dev/mmcblk0p1         2048 62332927 62330880 29.7G  b FAT32 W95
In my case, the memory card is the /dev/mmcblk0 device. I usually look at the device’s size (here, a 32GB memory card, the size informed by the operating system differs slightly).
Then, run the following command to flash the image into the memory card, making the necessary adjustments.
Caution: be sure to correctly identify the memory card, as well as correctly type its name next, so as not to format another device by mistake (and irreversibly lose data).
1
# xzcat [image].raw.xz | dd bs=4M of=[device] iflag=fullblock oflag=direct status=progress; sync
The sync command at the end ensures that data that are eventually still cached on RAM are persisted, making it safe to remove the memory card.
Neither the dd nor the sync command mounts the memory card.
If you open the Files app, you will see that the memory card is listed, but the usual Unmount icon is not shown next to it:
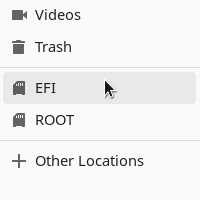
Therefore, you can simply remove the SD card from your computer.
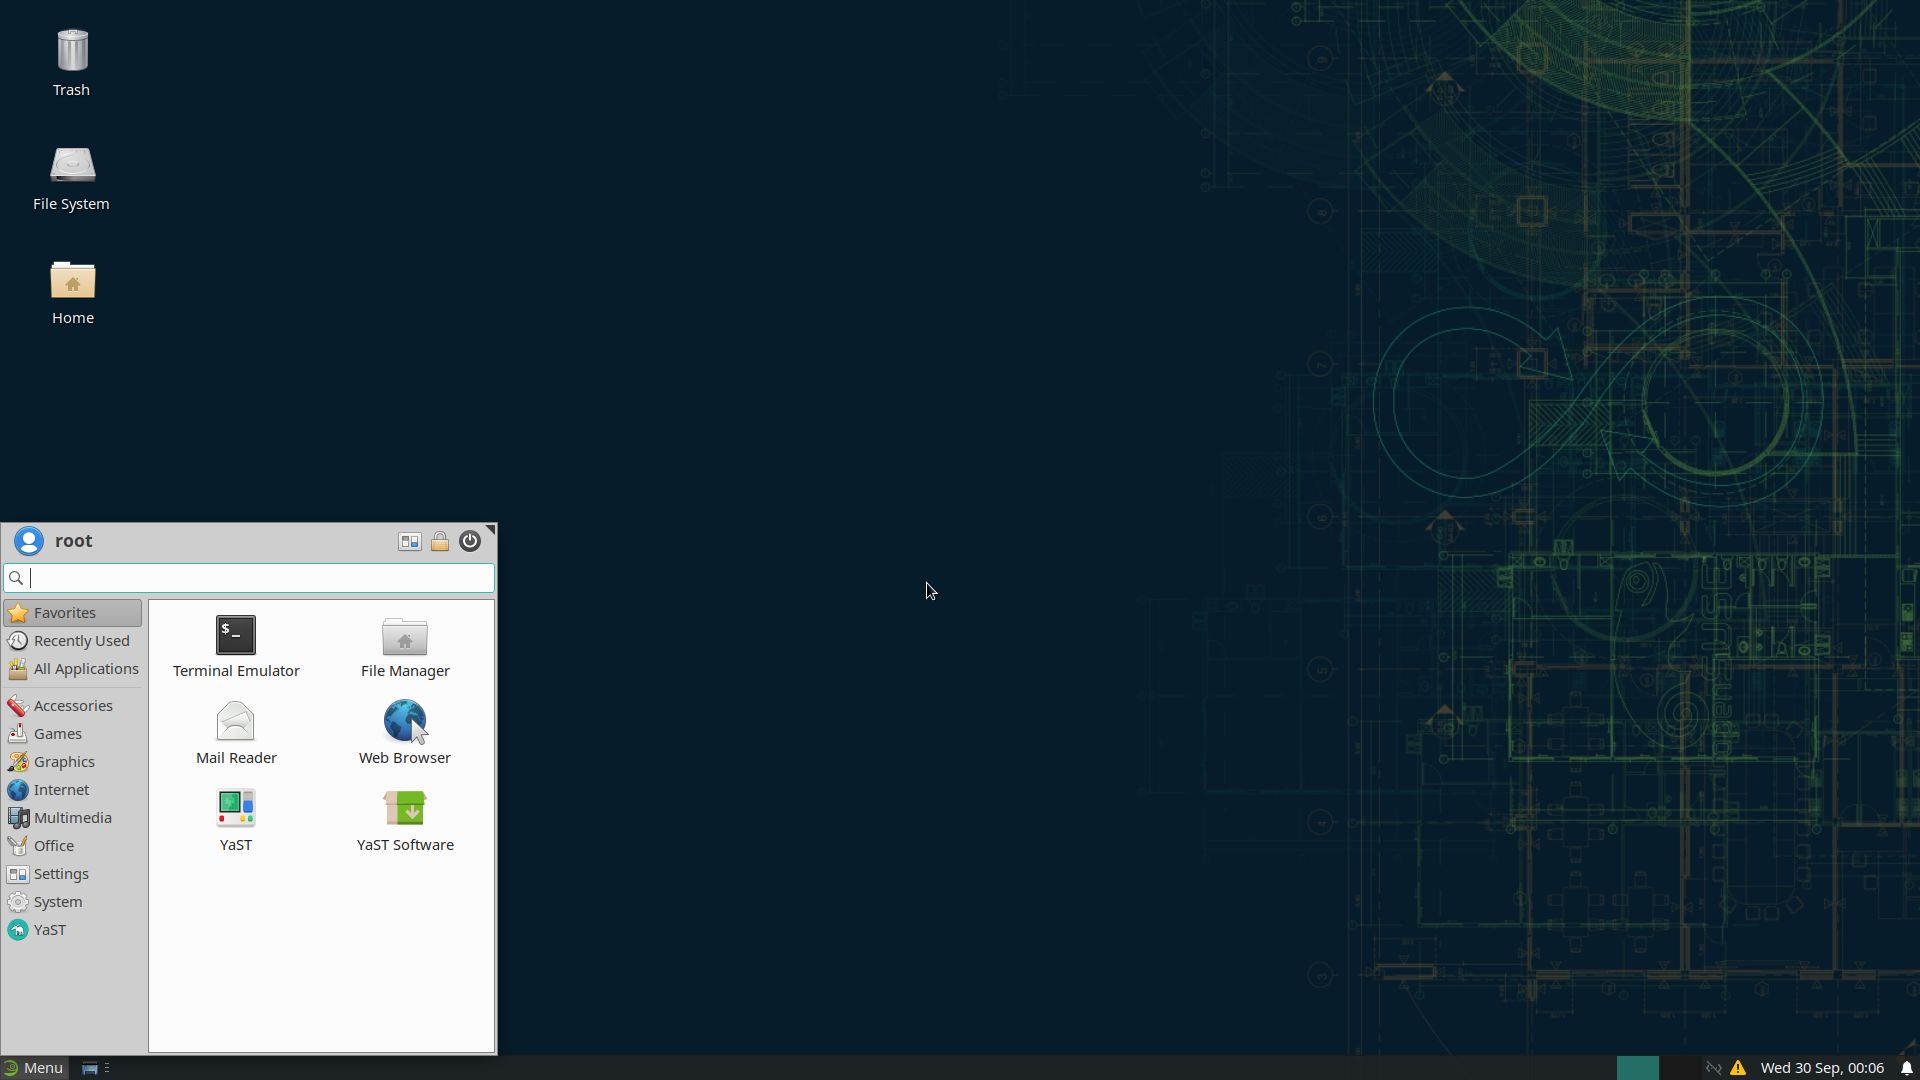
Starting openSUSE
Insert the memory card on the Raspberry Pi and make the necessary connections, as we saw on the previous post about the Raspberry Pi. Turn it on and openSUSE will start.
On the login screen, use the credentials: root as username and linux as password.
What if Tumbleweed does not boot?
In case you tried to boot Tumbleweed on your Raspberry Pi 4 and you got this:
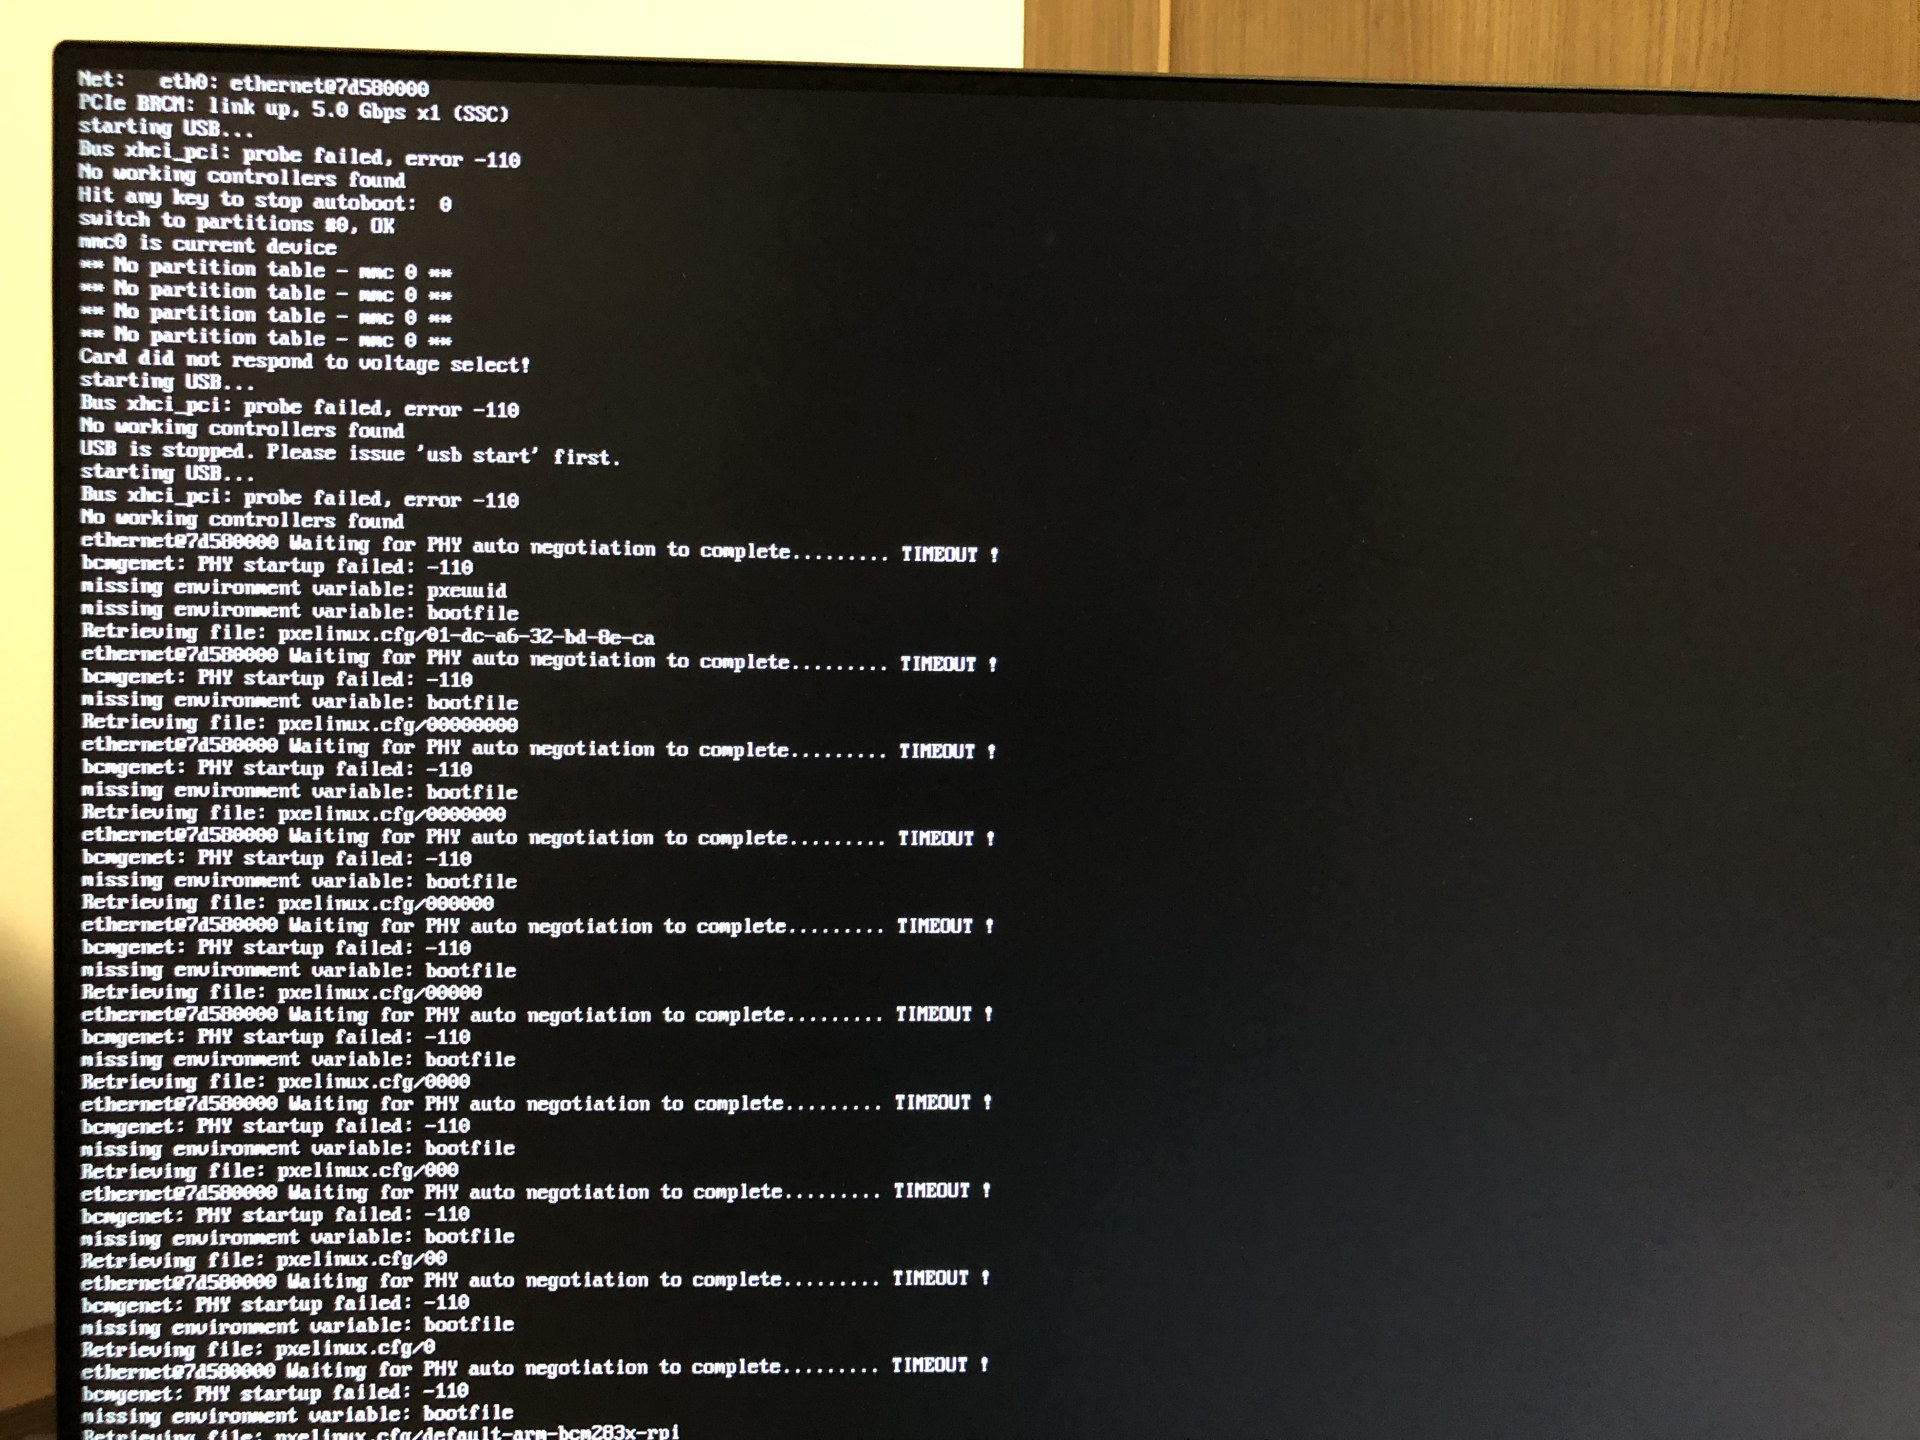
The system keeps repeatedly saying: Waiting for PHY auto negotiation to complete…
This is a known Tumbleweed bug and you can find more info about it and how to fix it here:
This bug does not affect Leap.
To be continued…
If I included what to do after installing openSUSE on the Raspberry Pi here on this text, it would be very long, so I decided to split it in two parts.


