If you have a digital certificate, you can sign documents before sending them, so that who receives them feels confident about their authenticity and integrity. Today you are going to see how to do that with the LibreOffice office suite, which is able to sign not only ODF documents created by itself, but also any PDF documents (even those created by other programs).
Although capable of signing, LibreOffice does not have its own public key infrastructure. Instead, it uses the infrastructure of a web browser to sign documents.
By default, LibreOffice looks for certificates and cryptographic media in the Mozilla Firefox configuration. So, if you use Firefox, you need to set it up before signing documents with LibreOffice. These two posts show how you can get everything working:
Linux Kamarada 15.1 brings Chromium as default web browser. If you use Chromium (or a Chromium-based browser, such as Google Chrome, Opera, Vivaldi or Brave), you can set up LibreOffice to use it instead of Firefox. But also in that case your browser must be setup first:
Then, refer to the end of this post to see how to set up LibreOffice to use Chromium.
Everyone on the same page (tokens and browsers setup), let’s move on to LibreOffice!
Signing an ODF document
The Open Document Format (ODF) is the default file format for LibreOffice. The most common filename extensions used for Open Document files are:
.odtfor text documents, opened with Writer;.odsfor spreadsheets, opened with Calc;.odpfor presentations, opened with Impress;.odgfor graphics (diagrams, vector images), opened with Draw;.odbfor databases, opened with Base; and.odffor mathematical equations (formulas), opened with Math.
Let’s see how to sign a text document (a .odt file) with LibreOffice Writer (steps are similar for any application of the LibreOffice suite).
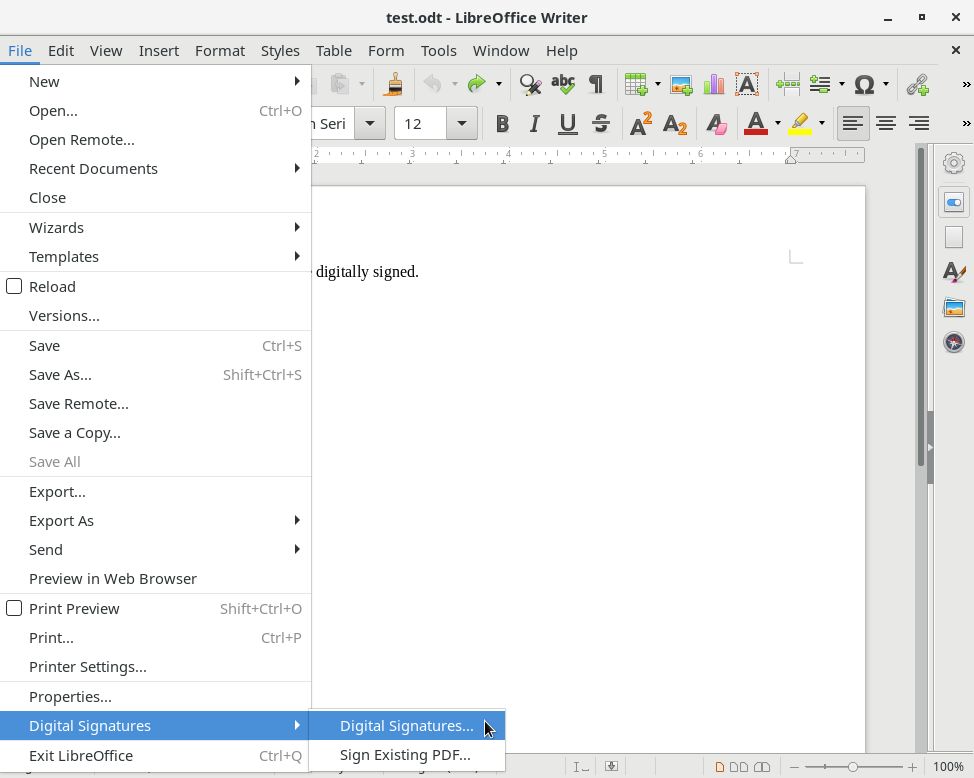
Open the File menu, Digital Signatures submenu, and click Digital Signatures:
If you haven’t previously saved the document, LibreOffice alerts you that it has to be saved before it can be signed, and asks if you want to save it. Click Yes and save the document:

On the Digital Signatures dialog box, click Sign Document:

LibreOffice asks for your token’s PIN password. Type it and click OK.
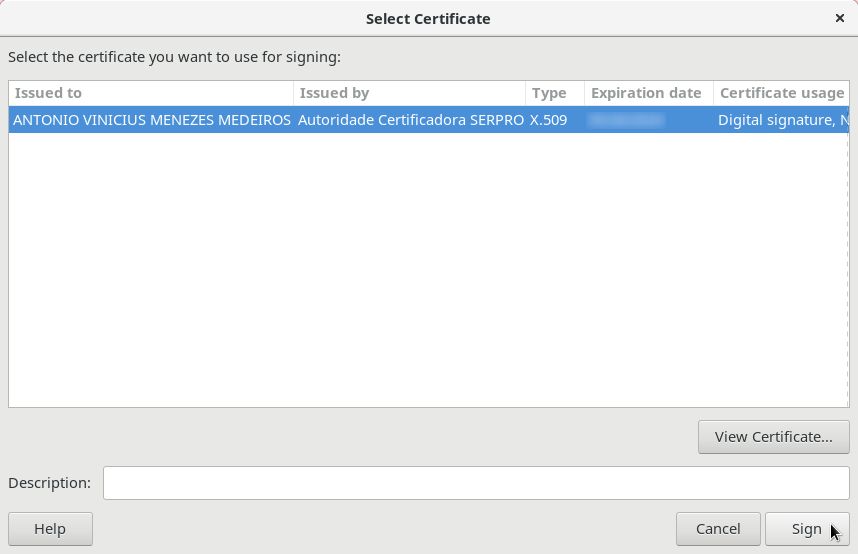
On the Select Certificate dialog box, choose the certificate to be used to sign and click Sign:
Back to the Digital Signatures dialog, note that the digital signature of the document is shown:
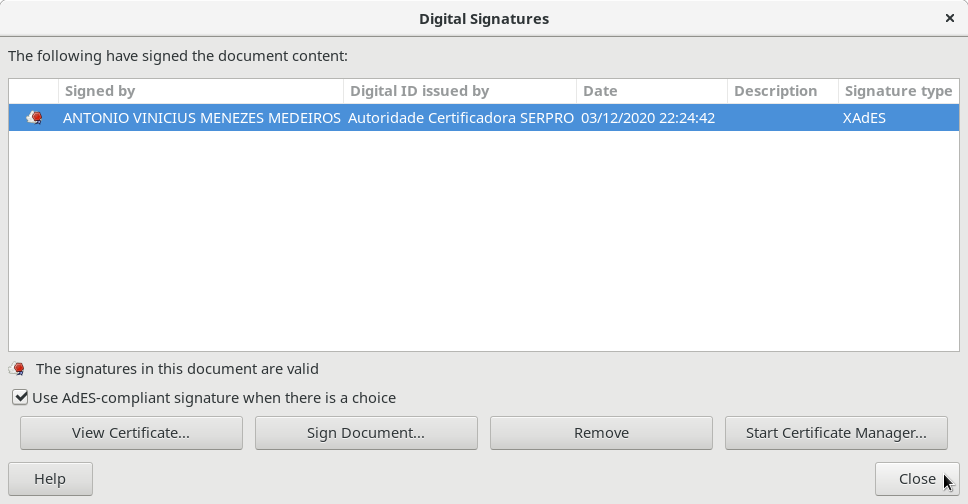
Click Close.
Checking the digital signature of an ODF document
When you open a signed ODF document, LibreOffice informs that the document is signed. In other words, you are seeing the original, unchanged document. It also shows the Digital Signature icon on the status bar:
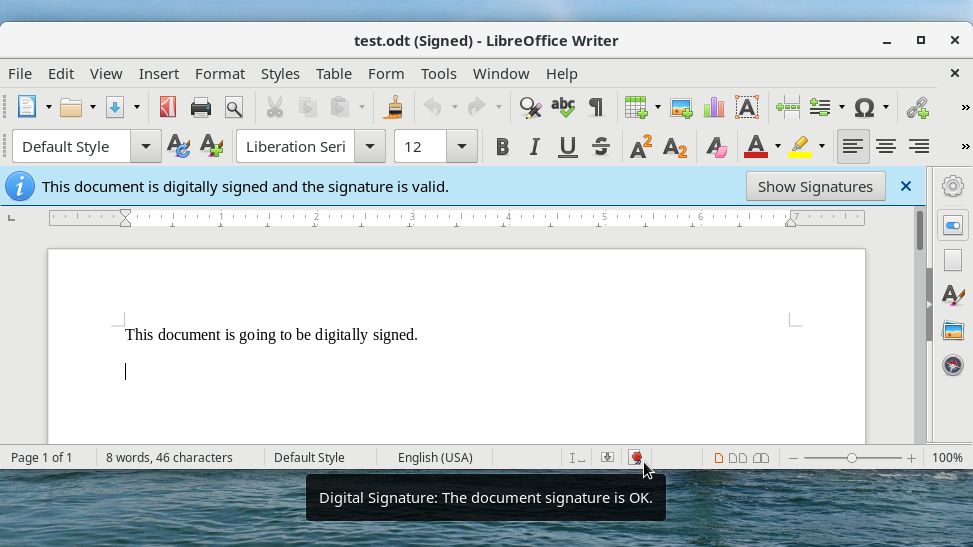
To view the digital signature of the document, you can either double-click the Digital Signature icon on the status bar, or click the Show Signatures button on the alert.
On the Digital Signatures dialog box, you can select a signature and click View Certificate to see more information about the signer:
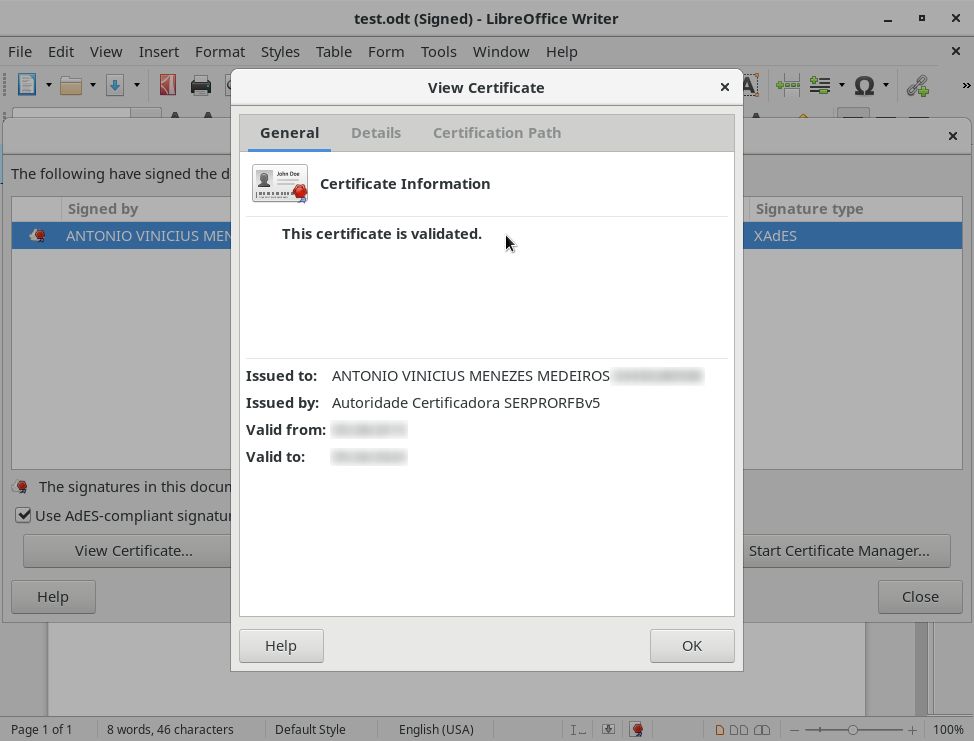
The message This certificate is validated indicates that LibreOffice was able to establish the Certification Path up to the certificate of a known certification authority:
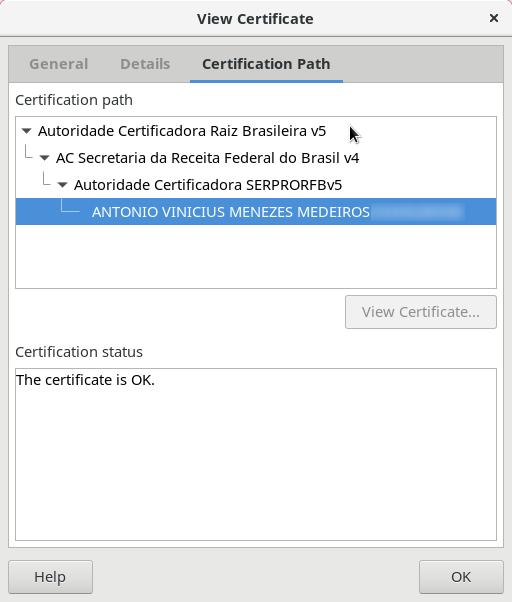
That is similar to a web browser displaying a lock icon when you access an HTTPS website. I explained the certificate hierarchy in another post.
Modifying a signed ODF document
Note that although you can modify a signed ODF document, when you save it, LibreOffice warns you that the existing signatures are not valid anymore and will be removed:
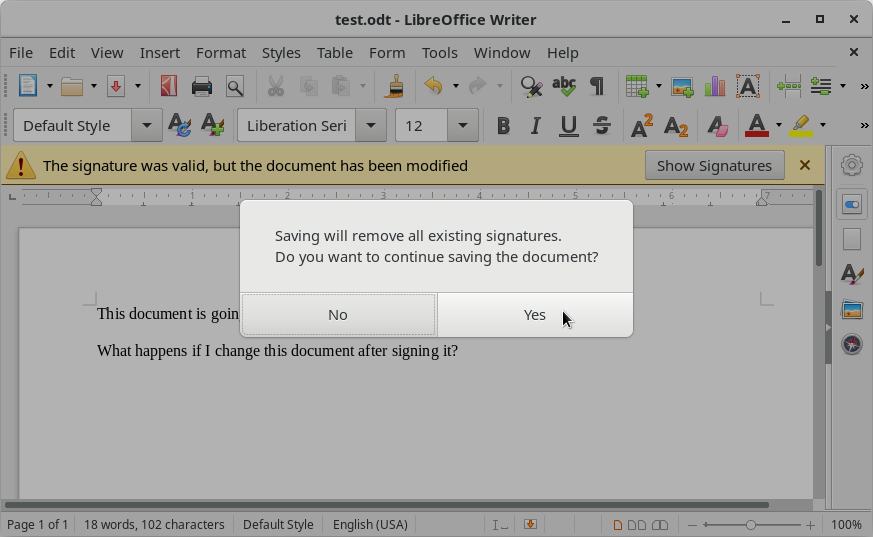
If you want to keep the document signed, after saving you will need to sign it again.
Thus, anyone who had access to the previous version of the document can check its digital signature (by opening the Digital Signatures dialog box) and notice that it was signed again at a different date and time, possibly by another person.
Exporting a document as a signed PDF
The Portable Document Format (PDF) has been developed by Adobe to present documents, including text formatting and images, in a manner independent of application software, hardware and operating systems. It was initially a proprietary format, which was later released as an open standard. PDF is a common format for sharing final versions of files, because it prevents loss of formatting.
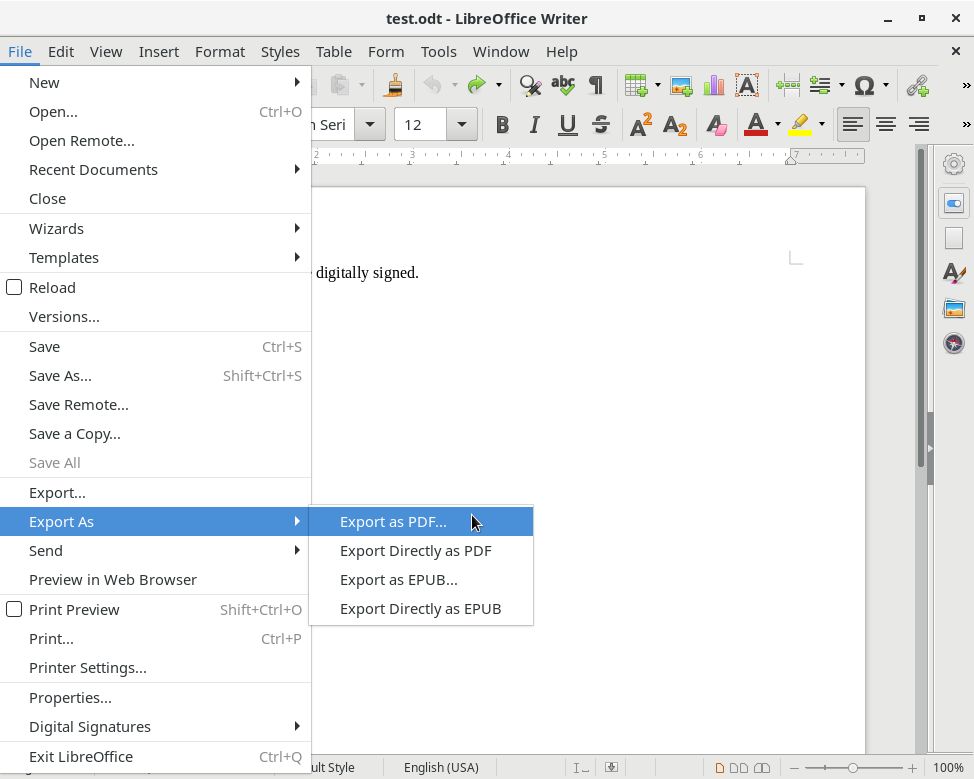
To export an ODF document as a signed PDF (please note that ODF document does not need to be previously signed), go to the File menu, Export As submenu and click Export as PDF:
Switch to the Digital Signatures tab and, under Certificate, click Select:

On the Select Certificate dialog box, choose the certificate to be used to sign and click Sign.
Finally, click Export and save the PDF document.
Checking the digital signature of a PDF document
LibreOffice Draw can open PDF documents.
When you open a signed PDF document, LibreOffice Draw notifies you that the document is signed, it also shows the Digital Signature icon on the status bar (just as it does with signed ODF documents):
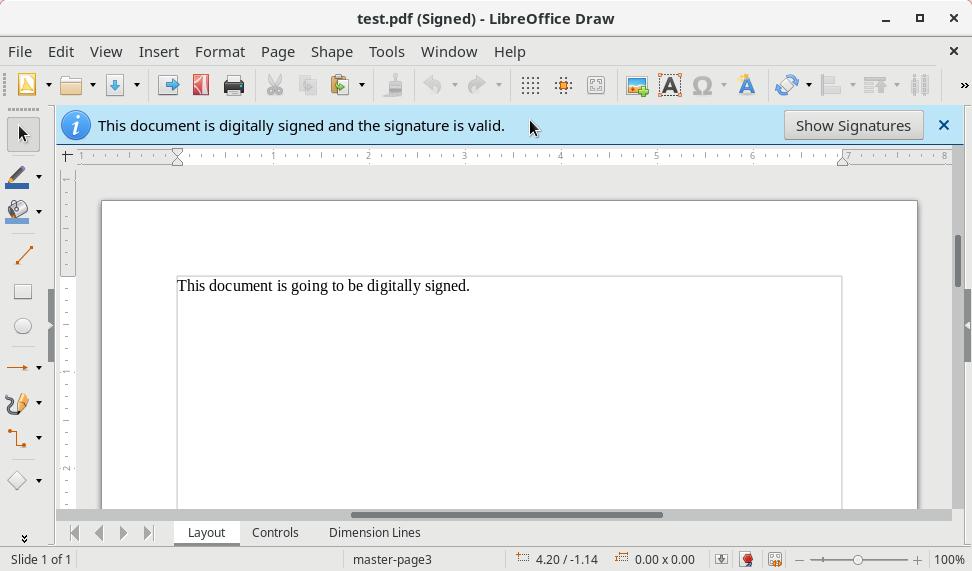
To view the signature, you can either double-click the Digital Signature icon on the status bar, or click the Show Signatures button on the alert.
Signing an existing PDF document
LibreOffice is able to sign PDF documents created not only by the office suite itself, but also any existing PDF documents, even those created by other applications (outside LibreOffice).
You can sign an existing PDF document from any application of the LibreOffice suite: just go to the File menu, Digital Signatures submenu, click Sign Existing PDF and open the PDF document that you want to sign. LibreOffice Draw opens the document in read-only mode:
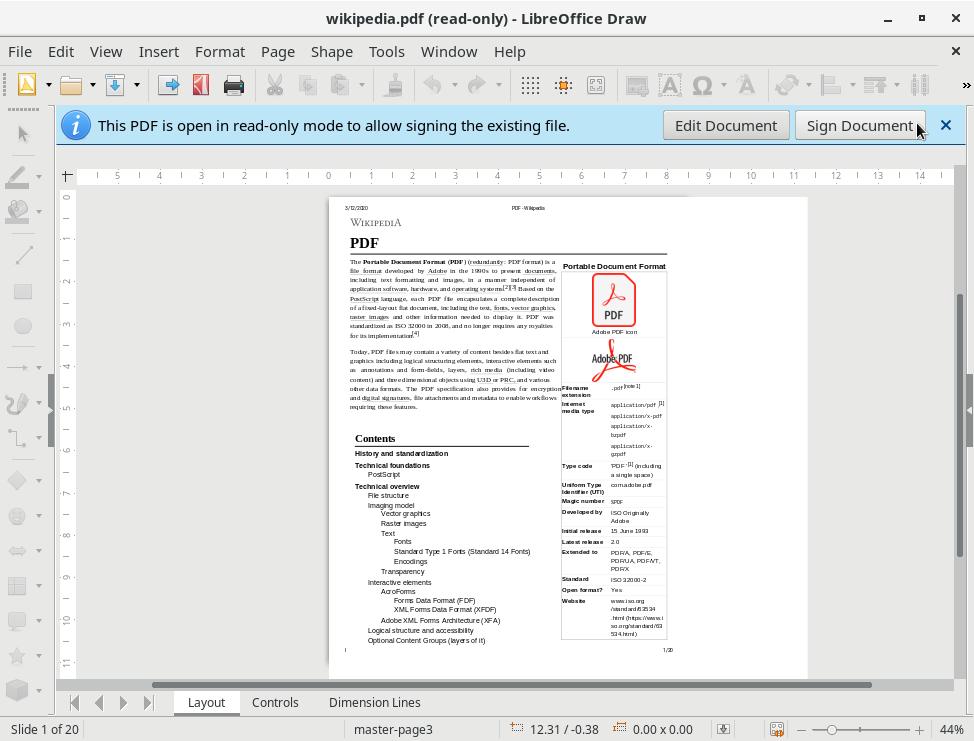
Click Sign Document. LibreOffice Draw presents the Digital Signatures dialog box.
Now you can sign the PDF document the same way you would sign an ODF document.
Setting up LibreOffice to use Chromium certificates
Chromium users don’t need to install and set up Firefox to sign documents with LibreOffice: they can set up LibreOffice to use the Chromium public key infrastructure.
To do that, open the Tools menu and click Options.
On the tree by the left, expand LibreOffice, then select Security:

By the right, under Certificate Path, click the Certificate button.
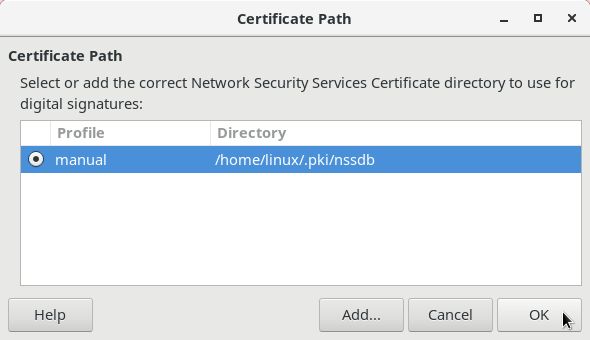
On the Certificate Path dialog box, click Add:

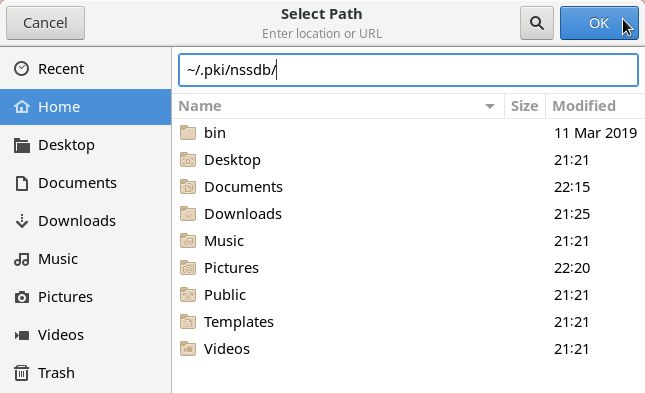
Chromium stores its certificate configuration in ~/.pki/nssdb/.
On the Select Path dialog box, press Ctrl + L to manually enter the location, type ~/.pki/nssdb/ and click OK:
Back to the Certificate Path dialog box, click OK to close it:
Back to the Options dialog box, click OK to close it.
Restart LibreOffice and you are ready to go!


